Print for a Purpose
Free to teach, adapt and share in your classroom.
- Grade 6–8 (Grade 6 and Grade 8 routes)
- Subject Visual Arts
- Duration 10 sessions · 40 min
- Instructor Mr. George
Overview
Unit Context: Relief printmaking for an audience · Elizabeth Catlett and the Taller de Gráfica Popular · an edition of three and a message poster, shown in a school-wide protest print exhibition
Big Idea
Artists print to spread a message. A message that exists once can be ignored. A message that exists three times, in three places, has to be answered. Students compress an idea into a symbol, turn it into a printing plate, use proofs to revise it, and print an edition of three that hold together as one work.
The central question is: How does repetition give a message power?
This page is one unit with two clearly labeled grade routes. The Grade 6 route, Water & Survival: Print for a Cause, is written out session by session below. It uses foam plates and needs no blades. The Grade 8 route, The Fight for Freedom: Protest Printmaking, follows the same arc with soft-cut carving and a full blade-safety protocol. It is summarized in its own section. The two tools are not interchangeable: a carving route needs the safety equipment and routines listed for it.
The anchor is a pair. The plate carries the image and the poster carries the words. Carving letters is hard, letters print backwards, and a first-year printmaker who tries to cut words loses sessions to an unreadable block. So in Grade 6 nobody carves a letter. The type is set from printed specimen sheets and combined with the print on a poster. Present this to students as a design decision, not a restriction.
Planning status: This is a fully scripted plan written for the 2026–27 school year, timed to a February protest print exhibition. The pacing is the planned pacing. It is not a report of student outcomes.
Unit at a Glance
| # | Session and goal | Time |
|---|---|---|
| 1 | Study, the icon setMake three symbols for one issue that a stranger could read from across a room, and say what a matrix is. | 40 min |
| 2 | Project launch, the cause, the routes, the criteria (arc 1 of 9)Name my issue, say what my print asks people to do, and name my route. | 40 min |
| 3 | Lab, the icon becomes a plate, the poster begins (arc 2 of 9)Turn my icon into a plate design at actual size, and start the poster that carries my words. | 40 min |
| 4 | Plate 1, transfer and begin (arc 3 of 9)Transfer my design the right way round and begin my plate with the right tool. | 40 min |
| 5 | Plate 2, the plate is not the drawing (arc 4 of 9)Finish my plate so that it reads as two values at arm’s length, before it is ever inked. | 40 min |
| 6 | Proof, read what the plate actually did (arc 5 of 9, wet)Pull a proof, read what my plate actually did rather than what I meant, and mark exactly what to fix. | 40 min |
| 7 | Fix what the proof told you (arc 6 of 9)Make the fixes my proof asked for, then stop, and finish the words on my poster. | 40 min |
| 8 | Edition, three that hold together (arc 7 of 9, wet)Print three that hold together as one edition, and say why three is different from one. | 40 min |
| 9 | Lab, the poster carries the words (arc 8 of 9)Finish the poster that carries my message, and write the label my print will be shown with. | 40 min |
| 10 | Show, trade the prints and arrange the corridor (arc 9 of 9)Arrange the corridor so a stranger understands what we were asking. I can write what I see in somebody else’s print, and I can score my own work before anyone else does. | 40 min |
| 10 sessions | 400 min |
Artist Anchor: Elizabeth Catlett
Elizabeth Catlett was born in Washington, D.C., in 1915 and trained as a sculptor. In 1946 she moved to Mexico and worked with the Taller de Gráfica Popular, a printmaking workshop that made prints for political circulation, cheaply and in quantity, so they could reach ordinary people.
For this unit, the fact that does the teaching is quantity. Catlett was a sculptor who chose printmaking because a print can exist in many places at once. Grade 6 reads her for the multiple: why an artist would choose a medium that makes more than one. The Grade 8 route reads her linocuts beside Emory Douglas’s high-contrast newspaper graphics for how an image carries a demand.
Show her prints from museum collection pages, for example by searching Elizabeth Catlett on The Met or the Museum of Modern Art. Do not reprint or redistribute high-resolution copies.
NYS Visual Arts Standards Alignment
- VA:Re7.1.6a Responding: how art is perceived. Session 1, reading symbols from a distance.
- VA:Cn11.1.6a Connecting: art in its societal, cultural and historical context. Catlett and the purpose of a print (Session 2); the message poster (Session 9).
- VA:Cr2.1.6a Creating: developing ideas and work. The icon becomes a plate (Sessions 3, 4, 7 and 8).
- VA:Cr3.1.6a Creating: reflecting on whether the work communicates its meaning, and revising. Reading the plate from six feet and marking the proof (Sessions 5 and 6).
- VA:Pr5.1.6a Presenting: analyzing and evaluating how an exhibition is presented. The corridor arranging plan and the stranger test (Session 10).
The Grade 8 route uses the same anchor standards at the 8a level.
Instructional Outcomes (Objectives)
- Studio / Experiential Students will design a symbol that reads from across a corridor, make it into a relief plate, and print an edition of three that hold together as one work.
- Cognitive / Analytical Students will read a proof for what the plate actually did, as opposed to what they meant, and make only the revisions the proof asks for.
- Civic / Communicative Students will write a specific, actionable message for a real audience, pair it with the print on a poster, and read a classmate’s print in writing for the exhibition.
Key Vocabulary
The terms are taught in three loads. Session 1 covers what a print is. Session 4 covers the doing. Session 8 covers repetition. On the Word Wall, each plate is pinned beside its pull.
- Matrix The thing that makes the artwork and can make it again: the plate, block or stamp. (Session 1)
- Block A matrix made from a solid piece that you work into. (Session 1)
- Subtractive Everything pressed or cut away stays white. “I did not draw the picture, I made the empty.” (Session 1)
- Carve Removing material from the block. In Grade 6 foam, it is a push, not a cut. (Session 1)
- Brayer A roller that lays an even film of ink. (Session 4)
- Press Applying even pressure, with a baren, a spoon or a press, to transfer ink to paper. (Session 4)
- Proof A test print that shows what the plate actually does. (Sessions 4 and 6)
- Edition A set of matching prints from one matrix, here three. (Session 8)
- Monoprint A print that exists only once. It is the opposite of an edition, and the clearest way to show why three matters. (Session 8)
- Stencil A cut mask that ink passes through. It is named and shown, but not made, in this unit. (Session 8)
- Pattern A repeated element, which is how an edition reads on a wall. (Session 8)
Materials & Resources
- Foam printing plates: about three per student. The Grade 6 default route needs no blades.
- Blunt tools for impressing foam: dull pencils, dead ballpoints or blunt styluses. No sharp pencils at the foam station; a sharp point tears through.
- Flat cardboard for the stamp-printing alternative.
- Water-based block-printing ink, brayers, inking plates or trays, and barens or wooden spoons.
- Newsprint for proofs and good paper for the edition, counted out against three per student.
- Registration jigs at every printing station, a drying line with clips, and interleaving newsprint.
- Transfer paper, plate-design templates printed at actual plate size, and type specimen sheets.
- Lab or analog poster kit: Canva for Education, or a boxed cut-and-paste kit with printed type at several sizes. Session 3 and Session 9 must be able to run with no machines.
- Wet cleanup: buckets, sponges, wipes and table covers.
- Teacher prototypes: both routes finished as editions of three with their posters, a deliberately bad first proof kept for Session 6, and one monoprint labeled “there is only one of this, forever.”
- Display: a studies grid, a Word Wall with plate-and-pull pairs, a nine-card timeline strip, and the exhibition corridor with zones numbered.
Wet and dry map: plate-making is dry and printing is wet. Only Session 6 (proof) and Session 8 (edition) need water. Ask for those two dates in a longer or lunch-block period, not for the whole unit.
Care routine, 15 seconds in every demo: say what the tool is, what it does and how we care for it. The foam plate remembers pressure, so use a blunt tool, because a torn plate prints a hole. The brayer lays an even film, so roll it until it hisses rather than squelches, and never stand it on its roller. Plates are stored face up, flat and in one layer, because a dented plate prints its dents forever.
Routes
- Grade 6, Route 1: Foam plate (default) Lines and areas are pressed into foam with a blunt tool. There are no blades, and the same route serves as the standing entry point for students with IEPs. The accommodation and the norm are the same thing.
- Grade 6, Route 2: Cardboard stamp printing (accessible alternative) Shapes are cut from flat cardboard and built up into a stamp. It is shown at the launch as an edition beside Route 1, displayed at the same size with the same caption, and it can earn the top rubric band.
- Grade 8: Single-block soft-cut linocut Carving with lino cutters under the full safety protocol below. Foam remains available as the no-blade alternative.
The guarantee: the anchor is assembled from parts already made, so nobody faces a blank plate. The icon comes from Session 1, the type from printed specimen sheets, and the layout from Session 3. The criteria are read aloud at the launch: the icon reads from across the corridor; the three prints hold together as one edition; a stranger can tell what the work is asking for. “Detailed,” “neat” and “looks professional” are not on the list.
Differentiation
- Fine-motor and IEP supports Foam is the default, so there are no blades to manage. Adapted and left-handed tools are stocked. The pull tray holds an icon-simplification sheet, a registration diagram, spare plates and pre-cut stamp bases, and a torn plate is replaced instantly with no speech.
- Multilingual learners The icon set is a symbol task that needs no English, which makes Session 1 one of the most equitable sessions of the year. Each Word Wall term is defined by a plate-and-pull pair. Posters and exhibition labels may be in the home language and English; in a print-for-a-cause show, a bilingual poster is an argument, not an accommodation.
- Social-emotional Proofs are renamed as information, not failure: “It printed precisely what is on your plate.” Critique and trade cards are about the work, never the maker. Students score themselves before the teacher does.
- Advanced (conceptual, never more work) Print the same plate on three different papers or in three placements, then write which one carries the message best and why. This is a curatorial question at Grade 6 scale.
Anticipated Misconceptions
Misconception “I can’t draw water,” or “I can’t draw.”
Intervention Correct the category, once and out loud, using the student’s own Do Now: “You are not drawing water. You are making the SIGN for water, and you already made the sign for a bathroom in ten seconds.”
Misconception The whole room writes “save the planet.”
Intervention Keep the caring and shrink the target: “Now make it something you could walk to.” A message about this school, this block or this bus stop is specific and designable.
Misconception “My icon needs the details or nobody will know what it is.”
Intervention Show the failure cheaply, on the prototype pull where a fine line closed up: “Ink does that.” Then: “Take away half of it, and make what is left bigger.”
Misconception “They don’t match.”
Intervention Give the honest standard: they will not match perfectly, and the teacher’s don’t either. The question is whether a stranger would believe they are one edition, and the answer is usually yes.
Instructional Sequence (Grade 6 route)
Ten 40-minute sessions, in a nine-step project arc after one study session: launch, lab, plate 1, plate 2, proof, fix, edition, lab, show. Sessions 6 and 8 are wet and need a longer or lunch-block period. Sessions 3 and 9 are lab sessions and run from a boxed analog kit if machines are unavailable.
Session 1Study, the icon set
40 min
Today, I can… make three symbols for one issue that a stranger could read from across a room, and say what a matrix is.
Why: the technical demand of Grade 6 printmaking is compression, not cutting. A print has two values and no detail; an icon is an idea compressed until it survives that.
Materials today: Sketchbooks and fine-liners; one plate and one pull of that plate on the demo tray, with a brayer and an inked plate; one labeled monoprint; a blunt stylus and a scrap of foam; blank Word Wall panel; studies grid taped out.
Do Now: the bathroom sign
Greet by name. Logs dated.
“Draw the sign for a bathroom. Ten seconds. Go.”
“Now write the one thing you left OUT of it, and it still read.”
Check: A sign down in ten seconds; one thing named that was left out: the door, the tiles, the face.
Props moment: plate and pull
Teach from their answers first: “Nobody drew the tiles. You made it read by leaving things out.” Hold the plate and its pull up together.
“This is not the artwork. This is the thing that MAKES the artwork, and it can make it again tomorrow. That is a MATRIX.”
“SUBTRACTIVE. Everywhere I pushed IN stays white.”
“There is one of this monoprint. Only one, forever. You are going to make three.”
Check: Cold-call three students: “Which of these two did I make first, and which one still works next week?”
Studio: three symbols, one issue
Give the constraint once and post it: one issue (from the class novel, the Do Now, or the student’s own life); three symbols for that one issue; fine-liner, filled in solid.
“No thin lines. No small details. It has to read at arm’s length.”
“That is a picture of a well, not a symbol of one. Take away half of it.”
Students: Draw three solid-filled symbols for one issue in the sketchbook.
Cleanup: everything goes up
Pens capped, caddies first, then every icon set pinned to the studies grid. Pin the first four term cards (matrix, block, subtractive, carve) beside the plate and its pull.
“All of them go up. This wall is the class, not the best six.”
The distance test
Students stand six feet from the grid, silent for forty seconds.
“Point at a symbol you can still read from here. What did its maker leave out?”
Misconception “I can’t draw.”
Intervention Hold up the student’s own Do Now: “Nobody in that bathroom sign looks like a person.” Then give a concrete move: one shape, filled solid, as big as the space allows.
Absent last time? Make the three-symbol set in the first studio block of Session 2; the bathroom-sign Do Now is the warm-up.
Session 2Project launch, the cause, the routes, the criteria (arc 1 of 9)
40 min
Today, I can… name my issue, say what my print asks people to do, and name my route.
Materials today: Both route prototypes displayed as editions of three with their posters, set out to be handled; Catlett references posted; project briefs; timeline strip with nine arc cards; printed criteria cards; plates and stamp materials staged but closed.
Do Now: people should ___
“Finish this sentence: people should ___. Thirty seconds.”
“Last time you made the picture half. Today you find out where the words go, and it is not on the block.”
The brief and the editions, handled
Students handle the prototype sets. Introduce Catlett and the Taller de Gráfica Popular: a sculptor who chose a medium that makes many.
“You are about to hold three prints that came off one plate. Write down what is the same about all three.”
“People should stop wasting water. People should be kind. Which one could a stranger actually do something about?”
Cause, route, criteria
Plates stay closed today.
“Could you point at the thing you want changed?”
“Underline the one criterion you think will be hardest for you. You read that again in Session 10.”
Students: Write the message sentence in the log; glue in the brief and criteria; circle a route.
Cleanup: a set is one object
Prototype sets return as complete sets.
“A set of three is one object. Losing one pull out of three is how an edition stops being an edition.”
Three messages read
Three messages are read aloud exactly as written; the room listens and does not answer.
“Listen for the thing you could walk to.”
Misconception Every message is “save the planet.”
Intervention “That is a real thing to care about. Now make it something you could walk to.” Offer the class novel as a second source of a specific, local issue.
Absent last time? Read the brief at the in-progress wall and write your message sentence with the teacher at the start of Session 3.
Session 3Lab, the icon becomes a plate, the poster begins (arc 2 of 9)
40 min
Today, I can… turn my icon into a plate design at actual size, and start the poster that carries my words.
Materials today: Lab machines awake and logged in; plate-design templates at actual plate size; type specimen sheets; a boxed analog fallback kit; icon sets carried by their makers.
Transition + Do Now
“Circle the ONE icon out of your three that you want to make.”
“Which of your three would survive being made ten times bigger, and which one would fall apart?”
Demo: size, ink, reversal
Print an icon at the wrong size on purpose and look at it from the back of the room. Name why thin lines and enclosed holes fail.
“You will know it worked when your icon fills the template, is solid, and is printed and in your hand.”
Plate design, then poster start
Plate first, poster second, and the plate happens on paper.
“Redraw your circled icon so it fills the template. Solid shapes only: no thin lines, no enclosed holes. Then print it.”
“Three things go on the poster: your icon placed, your word set off the specimen sheet, and your message line typed.”
Students: Finish the actual-size plate design, print it, then begin the poster layout.
Reset + return
Files named to the class convention and printed before log-off.
“Hold up the one thing Session 4 cannot start without.”
Misconception “My icon has to have the details.”
Intervention Print it, put it on the floor, stand up and look. If it doesn’t read from standing height, take away half of it and make what is left bigger.
Absent last time? Your circled icon and a printed template are in the pull tray. Draw the plate design on paper first; the poster can start in Session 7.
Session 4Plate 1, transfer and begin (arc 3 of 9)
40 min
Today, I can… transfer my design the right way round and begin my plate with the right tool.
Materials today: Route stations live (foam and stamp); blunt styluses and dead ballpoints in caddies, with no sharp pencils at the foam station; pull tray loaded; transfer paper; printed designs returned; three term cards for the Word Wall.
Do Now: X the whites
“Put your printed design on the desk and draw an X on every part that will be WHITE. Ninety seconds.”
“You push a line IN. Can ink reach down there?”
Route demo: transfer and tool
Transfer a design face down and lift it. Introduce brayer, press and proof.
“It is now backwards on the plate, which means it prints forwards. You will never have to think about it again if you always do it this way.”
Transfer and first work
Nothing starts until the teacher has checked every transfer.
“Work in this order: biggest shapes first, then the edges, and no fine detail at all today. Fine detail is the thing that closes up under ink.”
Students: Transfer the design, then press or cut the biggest white areas first.
Cleanup: count the tools
Blunt tools counted back into caddies aloud. Plates stay face up and flat.
Plates, not prints
“Look at the plate next to you and tell its owner one place where the white is going to read.”
Misconception “I tore it,” or a torn plate quietly hidden.
Intervention Hand over a spare from the pull tray with no ceremony and no speech. Once the student is working again, name the cause in one sentence: a blunter tool and lighter pressure.
Absent last time? Your printed design is in your sketchbook. Transfer it with the teacher at the start of Session 5 before you begin plate work.
Session 5Plate 2, the plate is not the drawing (arc 4 of 9)
40 min
Today, I can… finish my plate so that it reads as two values at arm’s length, before it is ever inked.
Materials today: Stations as Session 4; icon sets clipped to plates; “THE PLATE IS NOT THE DRAWING” card posted; six-foot line taped; spare plates; conference roster.
Do Now: squint test
“Hold your plate at arm’s length and squint. Write the one area that is not clear yet.”
Demo on the teacher’s plate
Find a half-pressed area on your own plate.
“That area is neither. It is half pressed, so it will print as a broken mess and it will look like an accident rather than a choice.”
Finish the plate
Students start with the area they diagnosed, not somewhere easier. Begin conferences.
“You have pressed around the shape. Now clear inside it.”
Check: Floor check: the plate reads as two values from arm’s length.
Cleanup: store flat
Walk the shelf routine now so it is not learned at the bell on a wet day.
“Face-up, flat, one layer. Dents print forever.”
Squint from six feet
“Hold that plate against criterion one: does the icon read from across a corridor? Defend it.”
Misconception “It’s finished,” said at minute nineteen of a gray plate.
Intervention “Arm’s length, squint, and tell me what you see.” The answer is usually “gray.” Then make one move: clear the biggest area that should be white, usually the background.
Absent last time? Use the squint test on your own plate first; the teacher conferences with you during the Session 6 drying time.
Session 6Proof, read what the plate actually did (arc 5 of 9, wet)
40 min
Today, I can… pull a proof, read what my plate actually did rather than what I meant, and mark exactly what to fix.
Why: nothing printed today is a product. Today the plate talks and students write down what it said. The good paper is not in the room.
Materials today: Tables covered; inking plates and brayers; newsprint only; barens and spoons; drying line strung; buckets, sponges and wipes; pencils at the drying line.
Do Now: predict
“Write what you think your plate will do badly. One line. You find out in twenty minutes.”
Two proofs, same plate
Show your deliberately bad proof beside a good one from the same plate. Name fill, ghost and patchy.
“Same matrix. Different inking. This one is not about your plate.”
Pull, hang, read, mark
Ink is issued in small amounts. Nobody reworks a plate today.
“Four marks, in pencil, on the proof itself. Circle what filled in. Circle what ghosted. Draw an arrow to anything that should be white and is not. Then write one line: Next fix, blank.”
Students: Pull one proof on newsprint, hang it with a section tag, and mark it up while it hangs.
The big wet cleanup
Wash order: plates and brayers first, then tables, then hands, then floor. Water-based ink dries fast.
“Ink dries in ten minutes. What cannot wait ten minutes?”
At the drying line
Hands behind backs; nothing on the line gets touched.
“Every one of those has something wrong with it. That is what a proof is FOR.”
Misconception “It didn’t work.”
Intervention Rename the object first: “It worked exactly. It printed precisely what is on your plate.” Then hand over the pencil and read the proof together for ninety seconds. A student holding a marked-up proof has a plan.
Absent last time? Pull your proof at the start of Session 7 at the teacher’s station, then mark it before you fix anything.
Session 7Fix what the proof told you (arc 6 of 9)
40 min
Today, I can… make the fixes my proof asked for, then stop, and finish the words on my poster.
Materials today: Dry. Stations as Session 4; marked-up proofs clipped to every plate; “FIX WHAT THE PROOF TOLD YOU” card posted; spare plates; poster drafts returned.
Do Now: one verb
“Read your own marked-up proof and write the ONE fix you will do first, starting with a verb.”
Before and after
Show a before and after with only three fixes between them.
“I am going to show you a before and an after. Write down what I did not touch.”
“Three fixes. That is all, and that is why it reads now.”
The list, then the poster
Nothing gets pressed that is not circled on the proof.
“If your plate is done, you are not done. Three jobs: your poster draft, the registration diagram, or set up your jig for next session. Nobody pulls another print today.”
Students: Make the circled fixes, stop, and move to the poster draft.
Cleanup: count the paper
Tools to caddies; plates face up and flat; good paper counted against three per student for Session 8.
Squint from six feet
“Point at a plate that changed since last time in a way you can see from here.”
Misconception “I’ll just press more everywhere.”
Intervention Make it a procedure, not a scolding: “Show me that on your proof.” If it is not circled, it is not on the list. Redirect the energy to the lines already circled.
Absent last time? Your marked proof is clipped to your plate. Start with the first circled fix and stop when the circles run out.
Session 8Edition, three that hold together (arc 7 of 9, wet)
40 min
Today, I can… print three that hold together as one edition, and say why three is different from one.
Materials today: As Session 6, plus good paper counted against the edition; registration jigs at every station; interleaving newsprint; edition record slips; the monoprint back on the demo tray; three term cards (monoprint, stencil, pattern).
Do Now: one inking change
“Look at your Session 6 proof. Write the one inking thing you will do differently today.”
Registration demo
Lay paper into the jig twice, slowly. Hold the monoprint beside an edition of three.
“Same corner, every sheet. That is the difference between an edition and three prints.”
“Ink is not eyeballed today. Count it.”
Pull the edition
Three pulls. After each pull, students write on the edition slip what changed and what they adjusted.
“Paper is the one thing this school cannot spare. Today you are holding the good paper.”
Students: Ink, register, burnish, record; repeat three times; tag and hang.
Check: Floor check: three pulls hanging and tagged.
Wet cleanup
Brayers and plates to the sink first; prints stay on the line.
“A dried brayer is a ruined brayer.”
At the line
“Find an edition where all three look like the same work.”
“If pull three does not match pull one, which is the honest one to hang, and why?”
Misconception “They don’t match.”
Intervention “They will not match perfectly. Mine do not.” Then diagnose: same corner in the jig? same ink count? same pressure? Fix one variable on the next pull.
Absent last time? The teacher reserves a printing slot at the start of Session 9 or during the Session 10 exchange; your counted paper is held for you.
Session 9Lab, the poster carries the words (arc 8 of 9)
40 min
Today, I can… finish the poster that carries my message, and write the label my print will be shown with.
Materials today: Lab, dry. Poster drafts reopened; type specimen sheets; exhibition label cardstock; the analog fallback kit; prints stay on the line and the sketchbook travels.
Do Now: the sentence now
“Write your message in one sentence. If it changed since Session 2, write the new one and cross out the old one.”
“Cross it out, do not erase it. The change is the evidence.”
Cut a poster live
Show a poster with too much on it and cut it in front of the class.
“You will know it worked when your poster is printed at final size and the biggest thing on it tells a stranger what to do.”
Poster final, then label
Poster first: icon placed, type set, message line written. The label is written only after the poster has printed.
“If it does not read from six feet, it is too many words. That is a design finding, not a mistake.”
Students: Finish and print the poster at final size; hand-write the exhibition label.
Reset + return
“Two things leave this room in your hand. Name them.”
Misconception The forty-word poster.
Intervention “Read it to me. Now say the same thing in six words.” Then print it, put it on the floor and look from standing height. Forty words disappear; six do not.
Absent last time? Build the poster from the analog kit in the studio during Session 10’s first block; the label can be written in two minutes from your message sentence.
Session 10Show, trade the prints and arrange the corridor (arc 9 of 9)
40 min
Today, we can… arrange the corridor so a stranger understands what we were asking. I can write what I see in somebody else’s print, and I can score my own work before anyone else does.
Materials today: Corridor cleared; arranging plan posted with numbered zones; editions sorted by maker; trade pairs assigned in advance, never by friendship; See-Think-Wonder and criteria-check cards; posters and labels sorted; self-score slips; rubric posted.
Do Now: self-score first
The teacher’s column stays empty until every slip is face down.
“The three criteria, one to four each.”
“The one I underlined in Session 2 was ___, and I would now score it ___ because ___.”
The plan and the jobs
Hang one pair yourself and walk the zone plan.
“A lot of you scored yourselves lowest on whether a stranger can tell what it is asking for. That is the criterion this corridor tests.”
Exchange, then arrange
Eight minutes to read and write on a received print, then ten to hang the corridor.
“Every word you write is about the WORK or about how it was made. Never about the person who made it.”
“No numbers on somebody else’s work. The one to four you wrote at the bell is only ever your own.”
Students: Write a See-Think-Wonder and criteria-check card on the traded print; hang the corridor to the plan.
Cleanup
Two prints go home: the traded one and one of the student’s own. The third stays on the wall and goes to the portfolio when the show comes down.
Curation close
Students face the wall. Read two cards aloud, naming the person who WROTE each card.
Misconception A trade card that praises the maker (“you’re so good at drawing”) or judges (“this is bad”).
Intervention Re-aim to what was seen: “What did you SEE that made you think that? Write that instead.”
Absent last time? Your edition is hung by the crew; you write your trade card and self-score with the teacher in the next unit’s first week.
Exhibition Card Prompt
On a classmate’s print: “I see ___. I think it is asking people to ___ because ___. I wonder ___.” Name one criterion and point to the evidence on the paper.
Grade 8 Route: The Fight for Freedom, Protest Printmaking
Big idea: artists have always fought with images. Essential question: how does an image carry a demand? A demand is not a feeling. An image that carries one has to be legible at a distance, survive being reproduced badly, and say something specific enough to disagree with.
Anchors: Elizabeth Catlett carries the lineage, including her linocuts of Black American women. Emory Douglas carries the method: as the Black Panther Party’s Minister of Culture, he art-directed The Black Panther newspaper from 1967, building flat, high-contrast images that had to survive cheap newsprint and read from across a street. KC George’s own Harriet Tubman poster set is the teacher anchor.
- Default route Single-block soft-cut linocut.
- Accessible alternative Foam print with no blade, shown finished at the launch at the same size and able to earn the top band.
- Sequence (10 × 40 min) 1 Response card + baseline · 2 Launch: the brief and the demand · 3 Lab: design, type and reversal · 4 Carve 1: protocol, transfer, first cuts · 5 Carve 2: carve the whites · 6 Proof (wet) · 7 Cut back what the proof told you · 8 Edition of three (wet) · 9 Critique and reprints, claim and evidence (wet) · 10 Show: the sequence is the argument.
Blade-safety protocol, required for any carving route and said at every carving session:
- Bench hook at every carving seat. The block sits against the stop and the hook braces against the table edge. Nobody carves on a bare table.
- No hand in front of the blade, ever. The non-cutting hand stays behind the cutting hand or flat on the bench hook.
- Rotate the block, not the wrist. Turn the block against the stop and keep cutting away from yourself.
- Shallow passes, not deep gouges. Most slips happen when a blade jams deep and the student shoves.
- Blades counted out and counted in, out loud. Blade changes happen at the front by the teacher, over a rigid, lidded, labeled disposal container. Used blades never go in the trash.
- The tired rule. Anyone frustrated, rushing or carving badly puts the tool down and goes to the sketchbook for two minutes. Nobody is asked why.
- Any cut stops the room. A stocked first-aid kit is out, and its location is said aloud.
Assessment & Reflection
- Formative (feedback, never grades) Icon set, actual-size plate design, the marked-up proof, edition record slips, the trade card written on a received print, and the dated process log.
- Summative The anchor pair, an edition of three plus the message poster, scored against a four-band rubric in conference. Students self-score first on the same rubric language.
- Criteria (read aloud at launch) The icon reads from across a corridor · the three prints hold together as one edition · a stranger can tell what it is asking for.
- Studio habits (kept separate from art criteria) Tool counts, wash order, storing plates flat and handling paper. These are coached as care routines, not scored as art.
Revision is real in this medium: a plate can be reworked and reprinted, which is why Session 7 exists. An edition that doesn’t match perfectly is not a failure if a stranger would believe it is one work.
Related Lessons
The Block: Places We Call Home uses the same arc and the same student-run exhibition close. In Profile: Silhouette and Collage builds two-value, shape-first thinking.
Sources & Credits
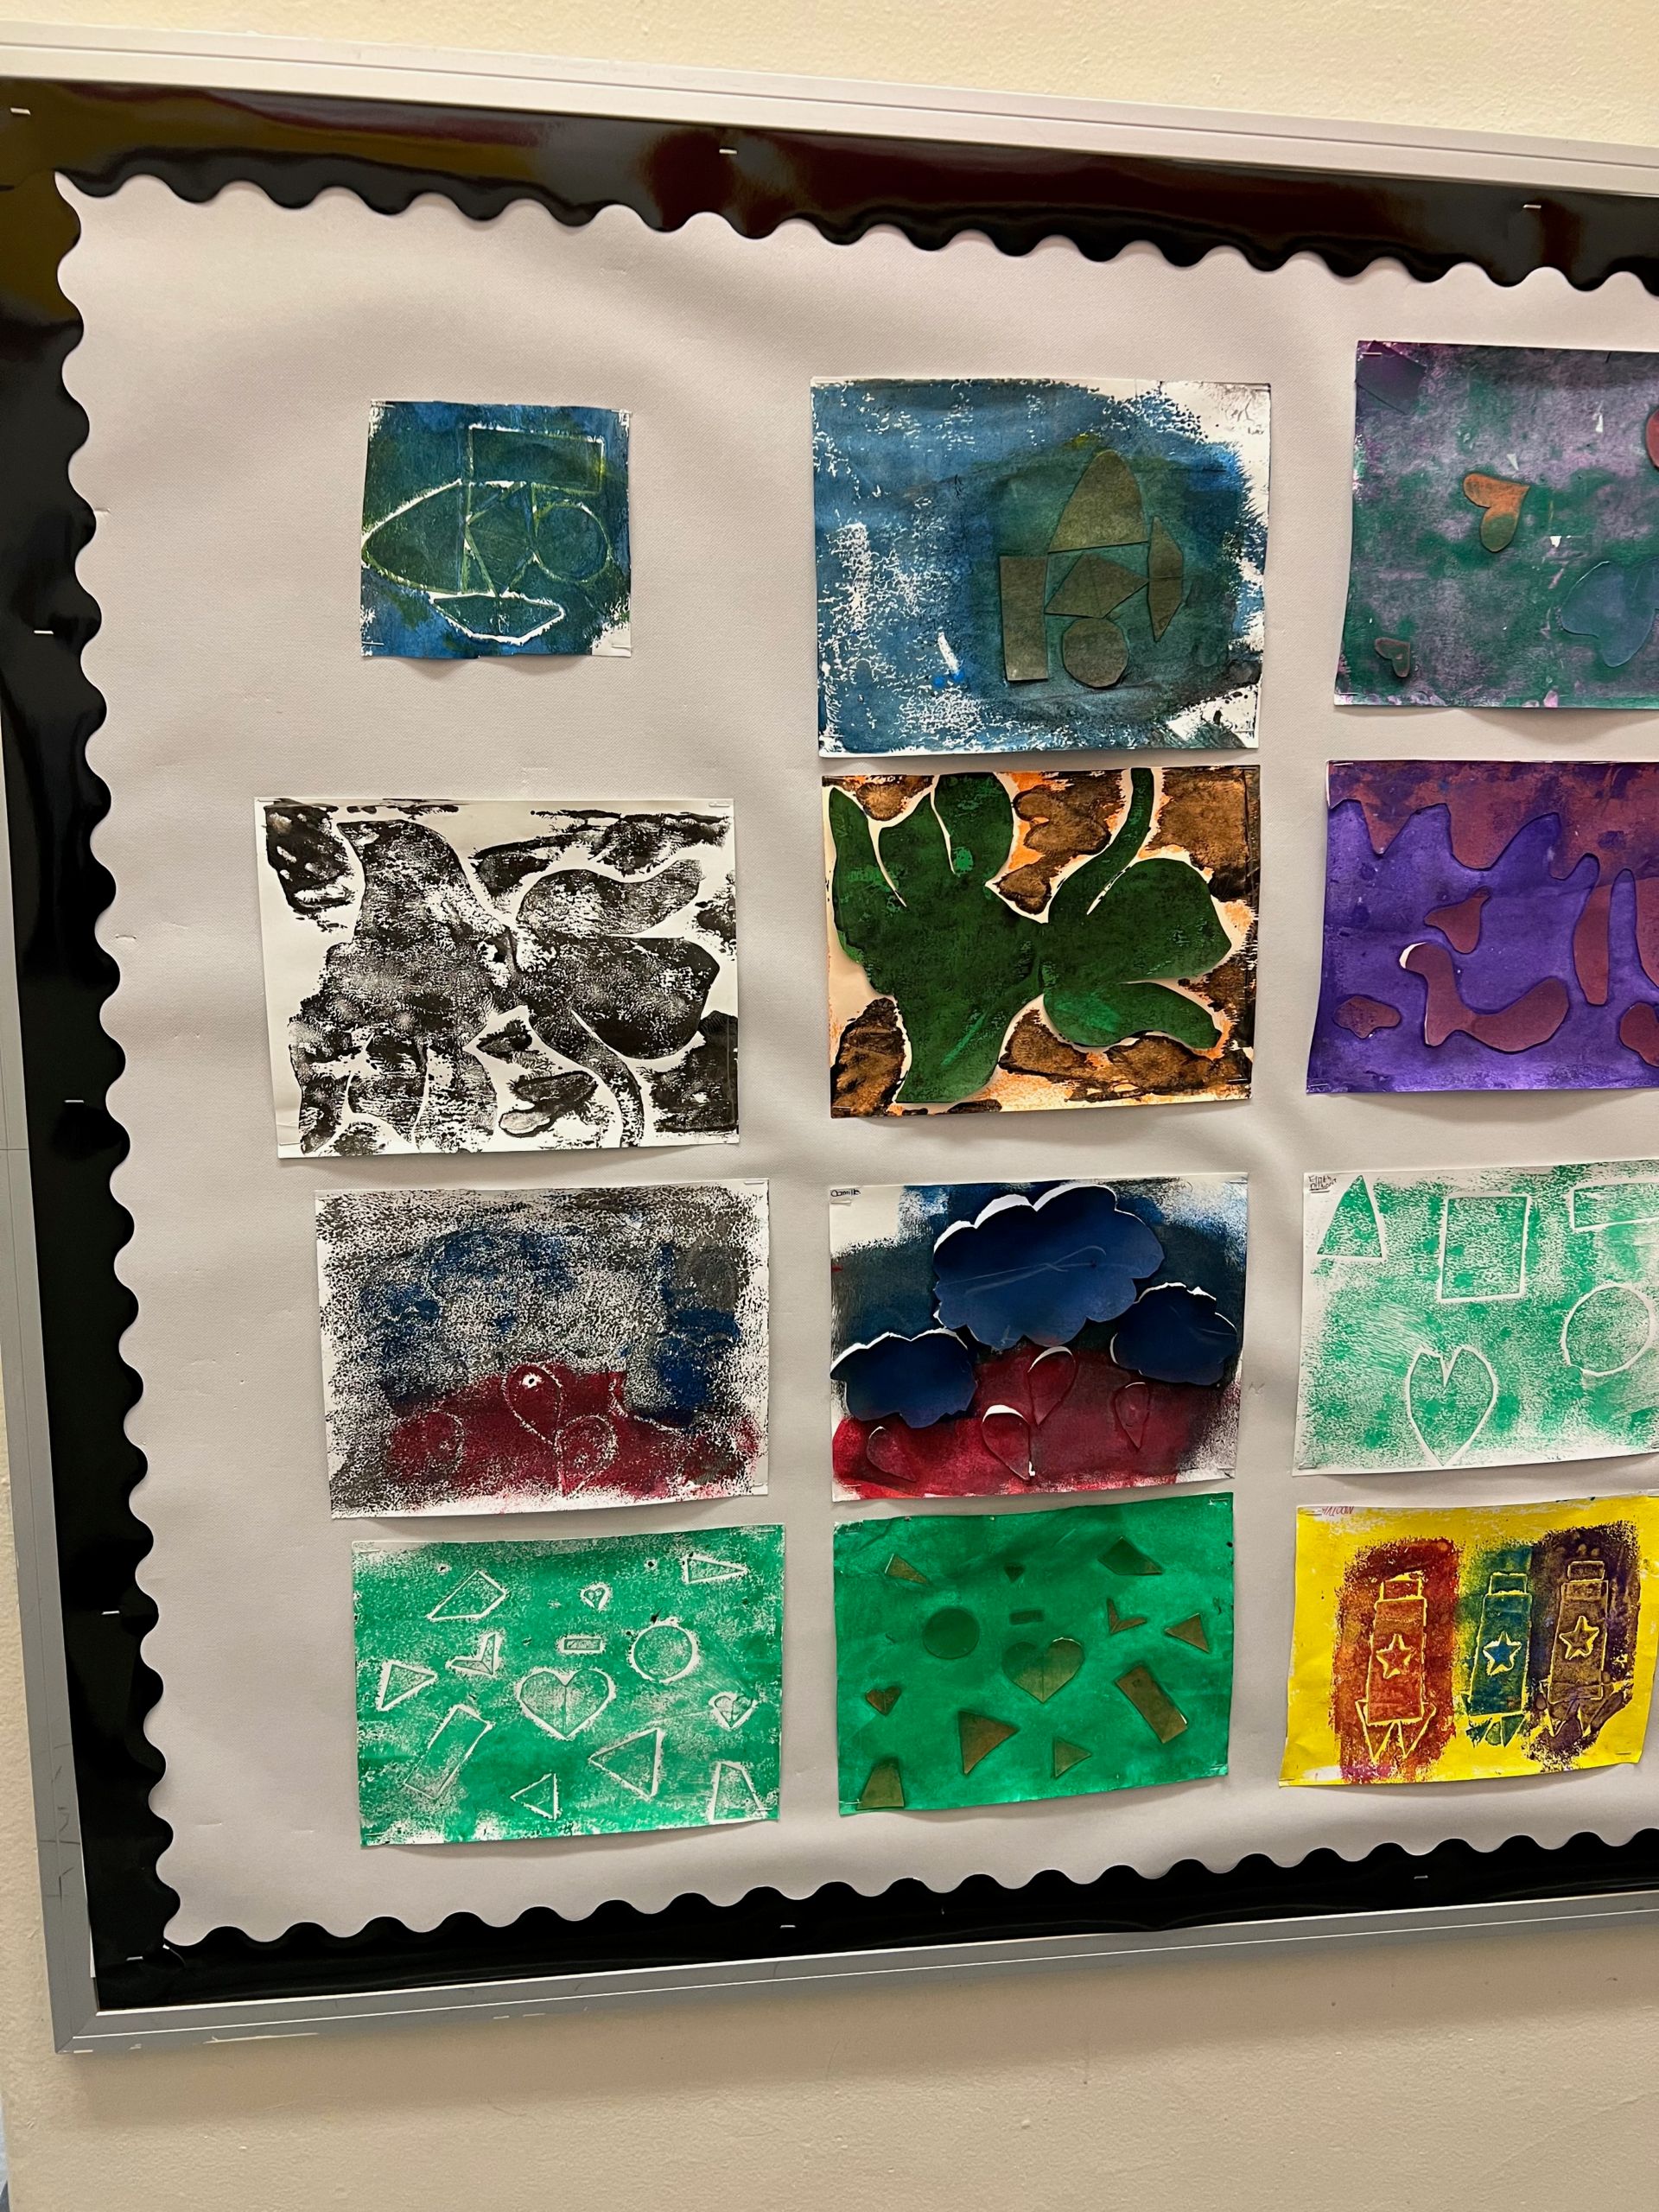
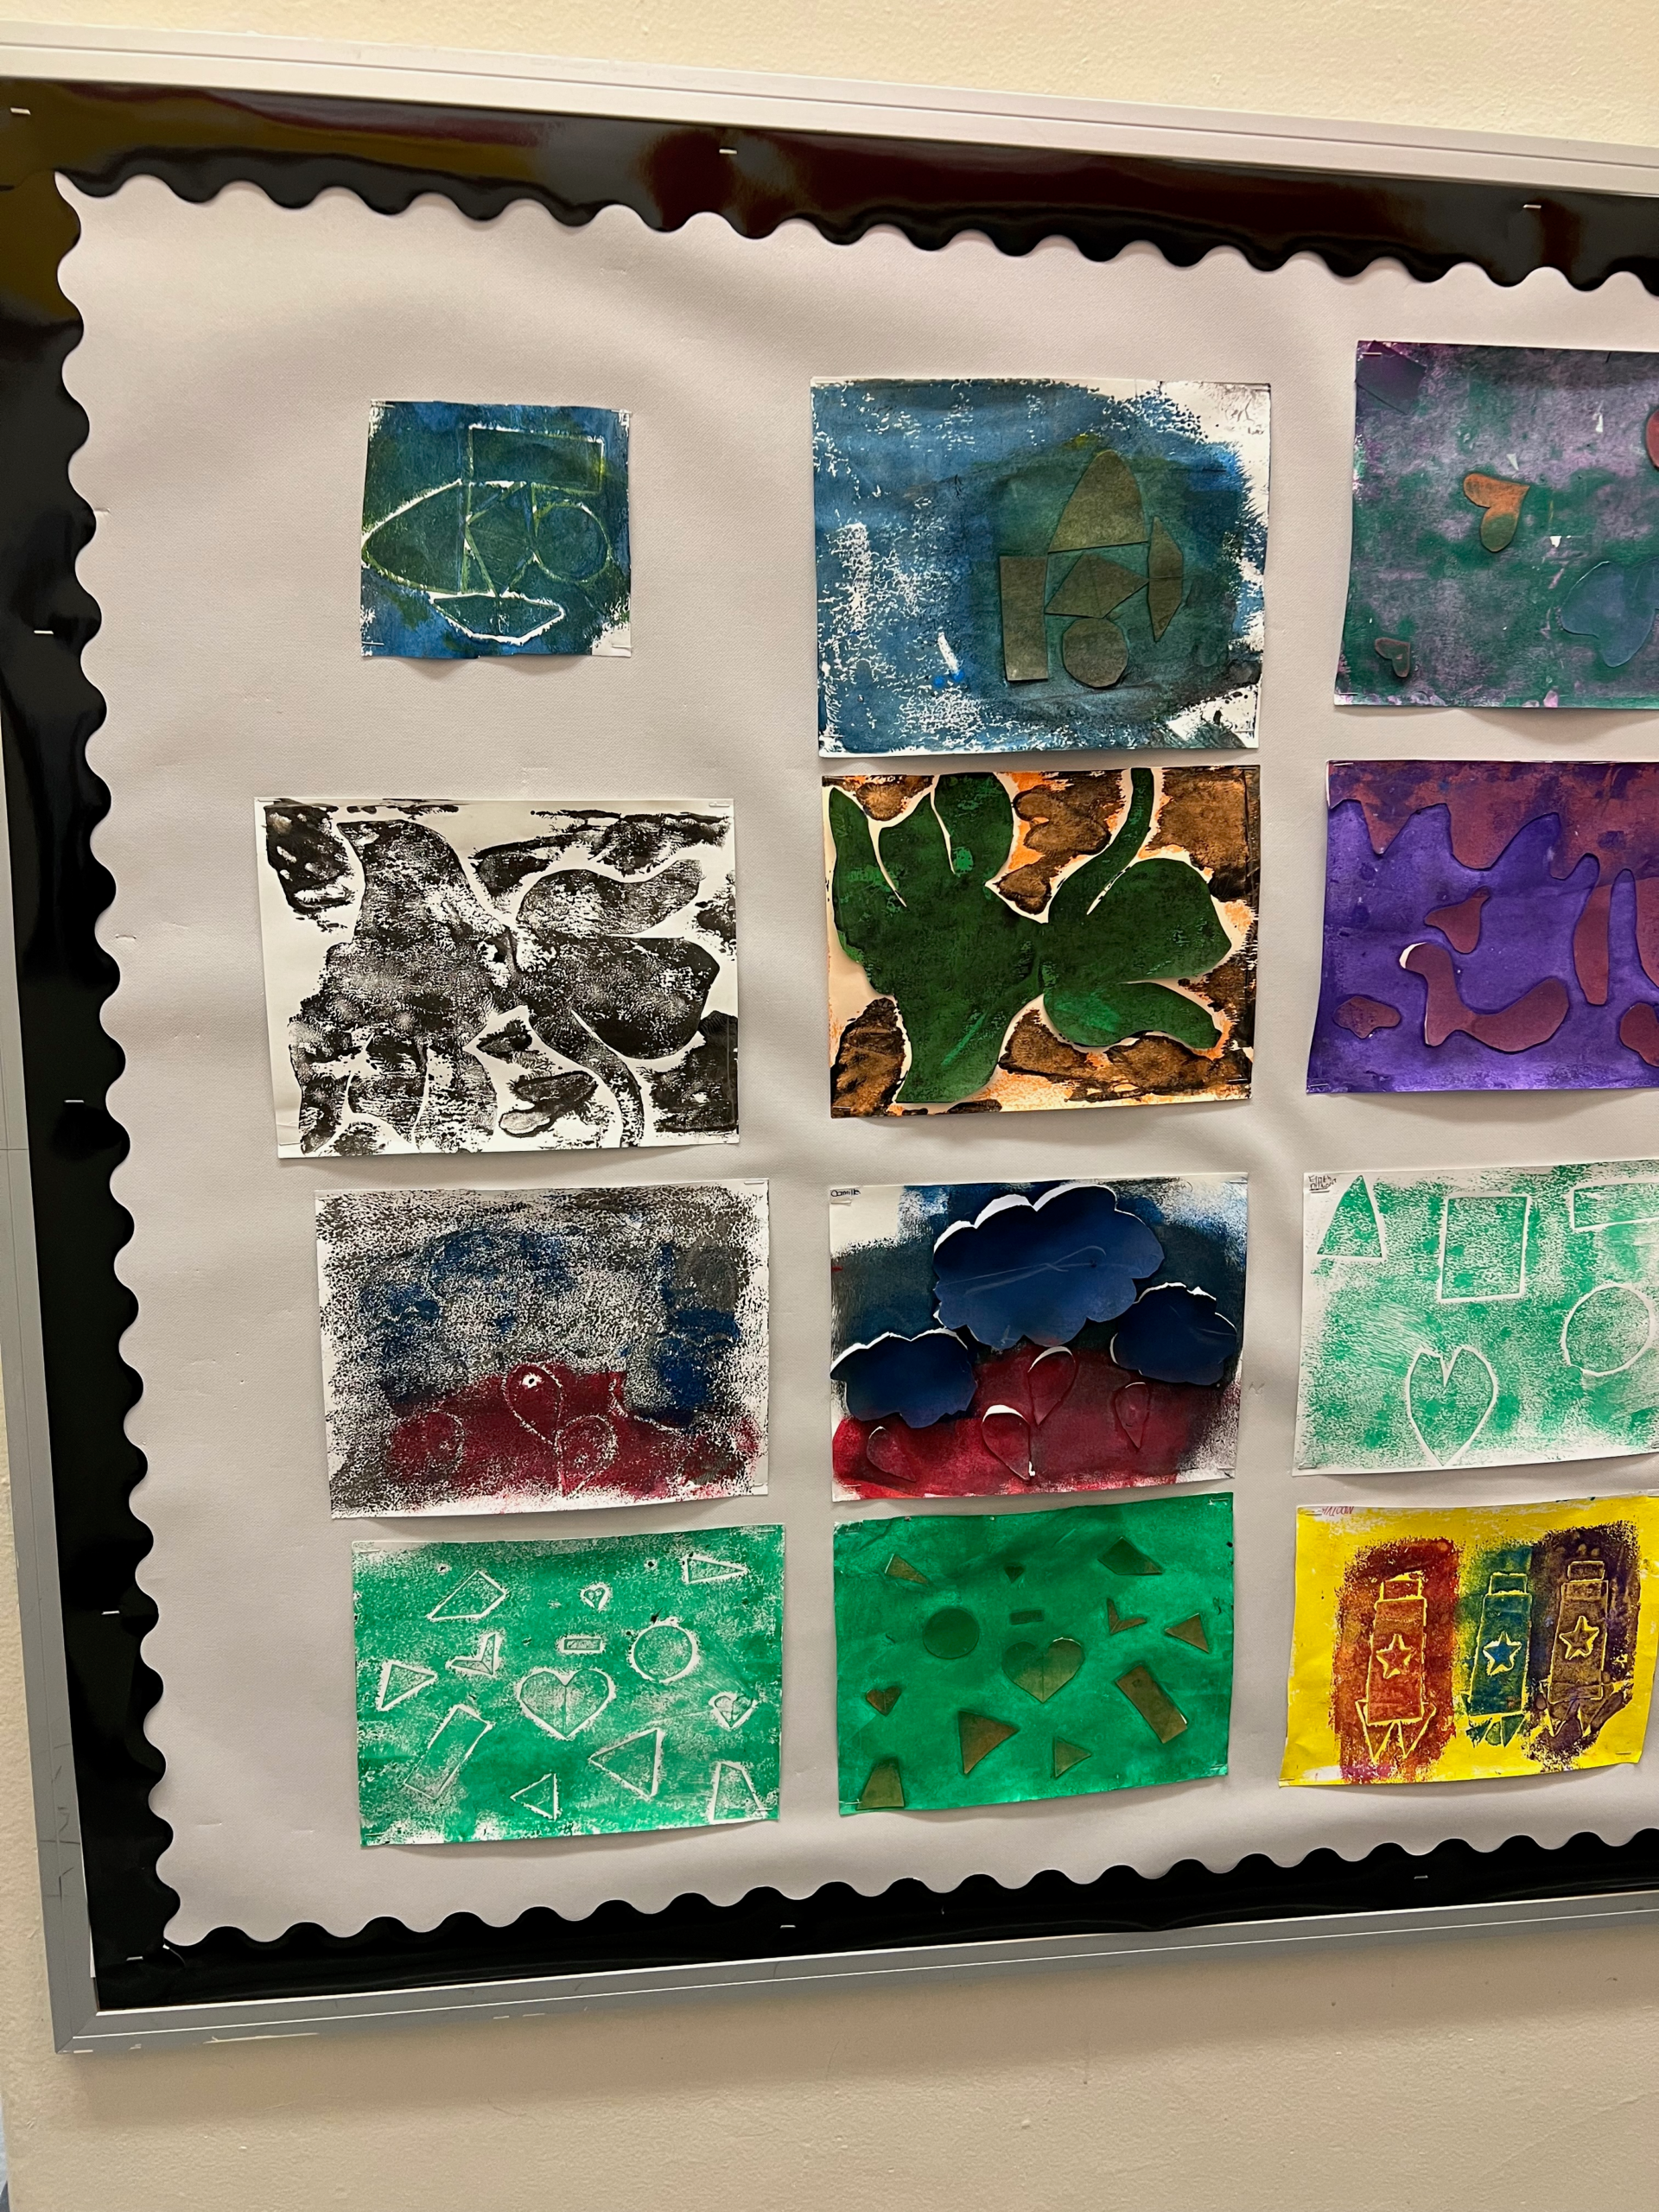
Unit design and session scripts: Kacy George, Grade 6 Unit “Water & Survival: Print for a Cause” and Grade 8 Unit “The Fight for Freedom: Protest Printmaking,” 2026–27. Artist references: Elizabeth Catlett; Emory Douglas. Classroom photograph: KC George’s classroom archive; it shows related printmaking, not this unit.