Printmaking Explorations
Free to teach, adapt and share in your classroom.
- Grade K–5 (proposed)
- Subject Visual Arts
- Duration 4 sessions · 45 min
- Instructor Mr. George
Overview
Unit Context: First printmaking explorations · stamping, foam and foil monoprints, found-object and flower printing · a garden composition built from the techniques
Big Idea
A print is a mark that can travel. Young artists discover that everyday things such as foam, foil, fruit, flowers and puzzle pieces can carry ink to paper. They compare what each one transfers, then combine their favorite techniques into a garden composition.
The central question is: What can carry a mark from one surface to another?
Planning status: This lesson is developed from KC George’s 2021 materials-and-methods printmaking explorations. The original had no pacing and needed corrections: edition numbering is taught correctly here, monoprints are not numbered as editions, and techniques that are unsafe or out of scope for young students, such as acid etching, are left out. The four-session pacing is a proposed adaptation, not a report of a taught unit.
Unit at a Glance
| # | Session and goal | Time |
|---|---|---|
| 1 | Block or not? Stamping and the monoprintMake a stamp print and turn it into a picture with my imagination. | 45 min |
| 2 | Foil and foam monoprintsMake a one-of-a-kind print from a painted plate. | 45 min |
| 3 | Nature prints and puzzle printsCompare what fruits, vegetables, flowers and puzzle pieces print. | 45 min |
| 4 | Birds, bees and gardensCombine three printing techniques in one garden composition. | 45 min |
| 4 sessions | 180 min |
NYS Visual Arts Standards Alignment
Suggested alignment for grades K–5. Confirm the exact indicator wording for your grade.
- VA:Cr1.1 (K–5) Creating: engaging in exploration and imaginative play with materials.
- VA:Cr2.1 (K–5) Creating: experimenting with art-making approaches. Each printing technique.
- VA:Cr2.2 (K–5) Creating: using tools and materials safely and responsibly. Ink, brayers and cleanup.
- VA:Re7.1 (K–5) Responding: describing what you notice in your own and others’ prints.
Instructional Outcomes (Objectives)
- Studio / Experiential Students will make prints with at least four techniques and combine three of them in a garden composition.
- Cognitive / Analytical Students will compare what different objects print, such as texture, shape and edges, and choose techniques for a purpose.
Key Vocabulary
- Print A picture made by pressing an inked surface onto paper.
- Matrix / plate The surface that carries the ink: foam, foil, a stamp or a puzzle-piece board.
- Monoprint A one-of-a-kind print. Only one good print comes from the painted plate.
- Stamp An object pressed into ink and then onto paper.
- Brayer A roller that spreads ink evenly.
- Edition A set of matching prints from the same plate, numbered like 1/4, 2/4 (print number / how many in the set).
- Texture How a surface looks or feels, and what it prints.
Materials & Resources
- Ink: water-based, washable block-printing ink or tempera only.
- Plates and stamps: foam sheets, recycled aluminum foil, sponges, and cardboard with old puzzle pieces glued on.
- Found and natural objects: fruit and vegetables cut in half by an adult beforehand (apples, peppers, celery, okra), flowers and leaves.
- Tools: brayers, brushes, dull pencils for pressing lines into foam, inking trays.
- Paper: 11 × 14 or 12 × 18 absorbent paper, newsprint for test prints, and viewfinders made from two L-shaped pieces of paper.
- Cleanup: smocks, table covers, buckets, sponges and a drying line or rack.
Safety: an adult cuts all fruit and vegetables before class, and students never use knives. Inks are water-based. Check for food and plant allergies before printing with produce or flowers, and do not eat the printing produce. Wash hands after every printing session.
Differentiation
- Fine-motor supports Large-handled stamps, a brayer instead of a brush, pre-inked trays, and paper taped down.
- Multilingual learners A picture card for each technique and a sample print on the board. Students point to the object that made each mark.
- Social-emotional Messy or “wrong” prints are kept as discoveries. There is no single correct result.
- Older grades (4–5) Pull a four-print edition from the puzzle-piece plate and number it correctly, then explain why the monoprints cannot be an edition.
Anticipated Misconceptions
Misconception More ink makes a better print.
Intervention Show a blob print beside a thin, even one. Roll the brayer until it sounds sticky, not wet.
Misconception Every print can be numbered as an edition.
Intervention Only matching prints from the same plate form an edition. A monoprint is one of a kind, so it is signed but not numbered.
Instructional Sequence
Four proposed 45-minute sessions: entry (0–5), demo (5–12), studio (12–33), share (33–38) and a wet cleanup (38–45). For younger grades, shorten the studio block and run fewer stations.
Session 1Block or not? Stamping and the monoprint
45 min
Today, I can… make a stamp print and turn it into a picture with my imagination.
Materials today: Foam pieces, sponges, brushes, ink trays, paper, pencils.
Do Now: what makes a mark?
Show a rubber stamp and its print.
“What made this picture? Could it make it again?”
Demo: paint, stamp, imagine
Brush ink onto a foam shape, stamp it, then add pencil lines that turn the shape into something new.
“What could this shape become?”
Studio: stamp and invent
Students stamp two or three shapes, let them dry briefly, and use pencil to turn each one into part of a picture.
“Your stamp is the start. Your imagination finishes it.”
Check: Each student has a stamped shape turned into a picture.
Share: what did it become?
Students hold up one print and say what the shape became.
“How did you change it?”
Wet cleanup
Prints to the drying line, brayers and trays to the sink, tables wiped, smocks off, hands washed.
“Prints dry, tools clean, hands washed.”
Session 2Foil and foam monoprints
45 min
Today, I can… make a one-of-a-kind print from a painted plate.
Materials today: Precut recycled foil, foam sheets, dull pencils, primary-color tempera, brushes, paper.
Do Now: predict
“If I paint on foil and press paper on top, what will the paper show?”
Demo: paint thick, press gently
Paint a quick picture thickly on foil, lay paper on top, pat gently, and lift. Then press lines into foam with a dull pencil and print it.
“Paint thick so it does not dry before you print.”
Studio: foil, then foam
Students make one foil monoprint, then one foam print, mixing a secondary color from two primaries.
“Which plate gave you sharper lines?”
Check: One foil print and one foam print per student.
Share: same or different?
Compare a foil print and a foam print side by side.
“Why can you only pull one good print from the foil?”
Wet cleanup
Prints to the drying line, brayers and trays to the sink, tables wiped, smocks off, hands washed.
“Prints dry, tools clean, hands washed.”
Session 3Nature prints and puzzle prints
45 min
Today, I can… compare what fruits, vegetables, flowers and puzzle pieces print.
Materials today: Pre-cut produce, flowers and leaves, ink trays, puzzle-piece boards prepared in advance, paper, viewfinders.
Do Now: guess the printer
Show three mystery prints.
“Which one did an apple make? How do you know?”
Demo: dip, blot, press
Dip half a pepper, blot it on scrap, and press. Dip a flower lightly and press. Ink the puzzle board with a brayer and pull a print.
“Too much ink hides the texture. Blot first.”
Studio: printing stations
Students rotate through produce, flower and puzzle stations, making at least one print at each. Grades 4–5 pull a four-print edition at the puzzle station and number it in pencil: 1/4, 2/4, 3/4, 4/4.
“Use a viewfinder to find the most interesting texture.”
Check: At least three techniques tried.
Share: favorite texture
Students choose one viewfinder area they love.
“Which object printed the best texture?”
Wet cleanup
Prints to the drying line, brayers and trays to the sink, tables wiped, smocks off, hands washed.
“Prints dry, tools clean, hands washed.”
Absent last time? Make one stamp print and one foam print at a side station; any technique you missed can be used in the garden.
Session 4Birds, bees and gardens
45 min
Today, I can… combine three printing techniques in one garden composition.
Materials today: All printing materials, large paper, drawing tools, the theme on the board.
Do Now: plan the garden
“What lives in a garden? Draw three things small and circle the technique you will use for each.”
Demo: layer techniques
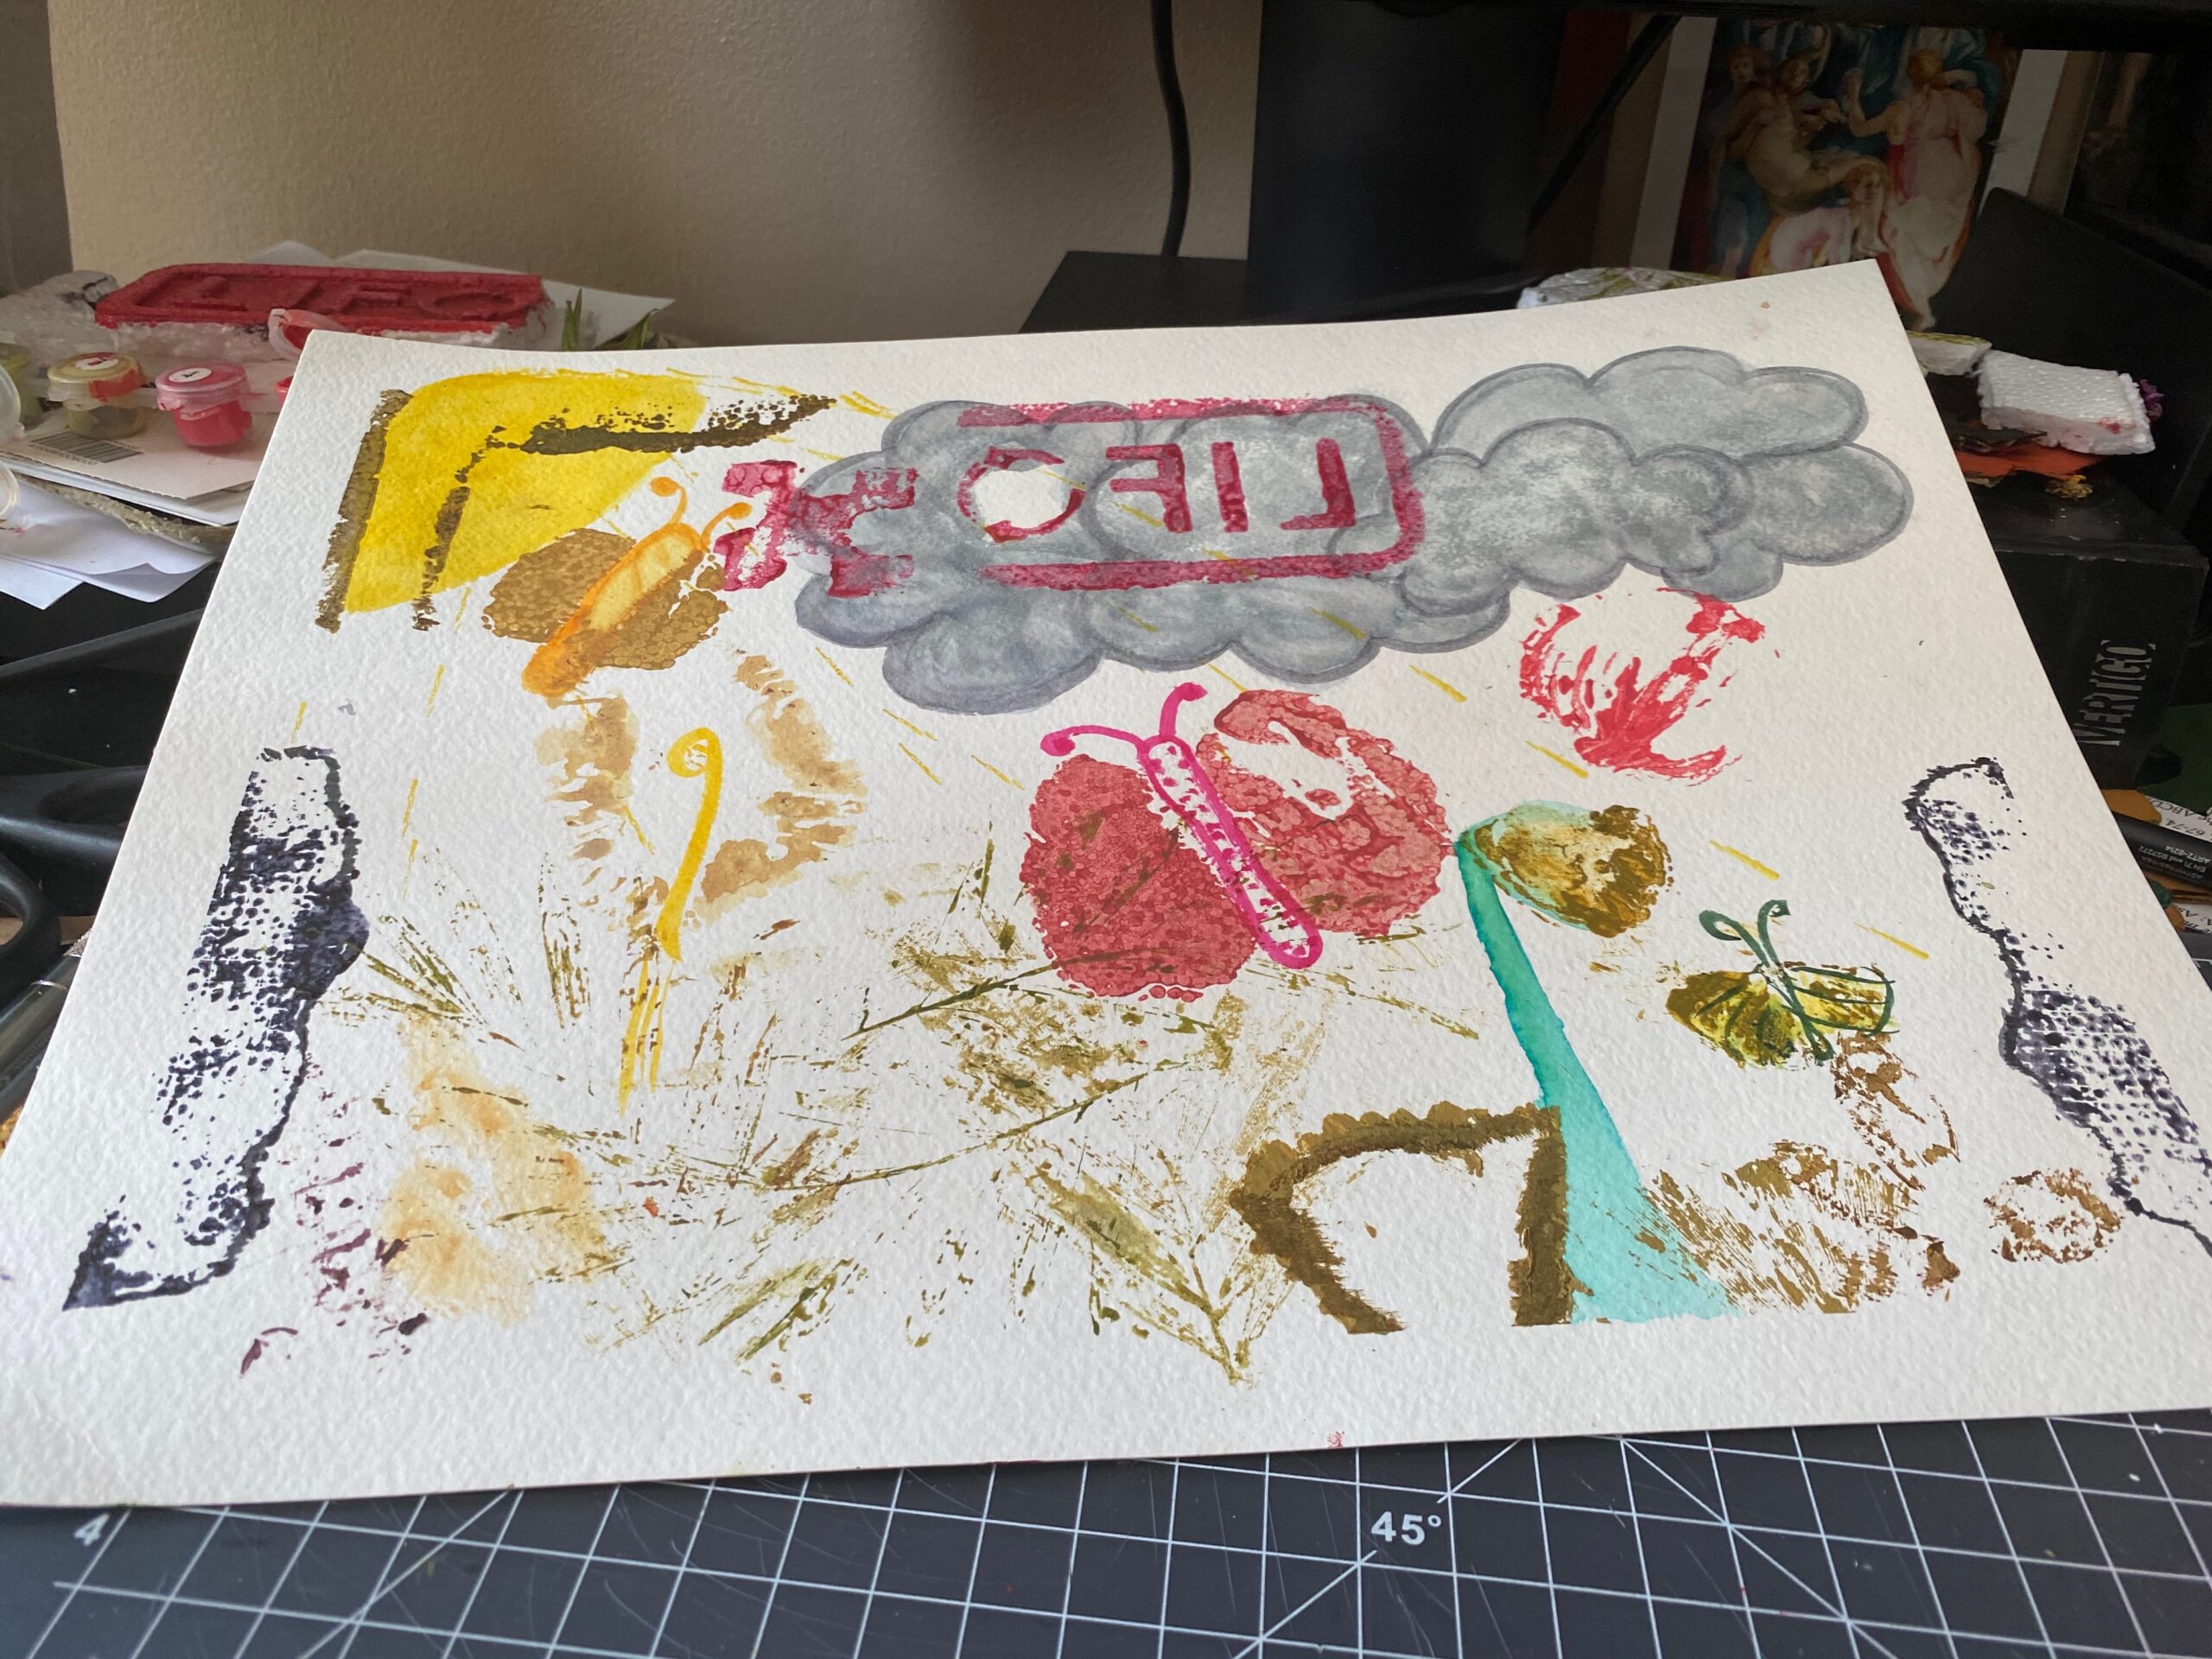
Show the theme: a garden with bees, butterflies and friends. Model printing a background first, then flowers, then small details, adding drawing at the end.
“Big shapes first, small details last.”
Studio: compose the garden
Students make a garden composition using at least three techniques, adding drawing where it helps.
“Which technique is best for leaves? For a bee?”
Check: Three or more techniques in one composition.
Share: gallery walk
A quiet walk past the drying line.
“Point to a part made by a technique you did not use. How was it made?”
Wet cleanup
Prints to the drying line, brayers and trays to the sink, tables wiped, smocks off, hands washed.
“Prints dry, tools clean, hands washed.”
Absent last time? Make one stamp print and one foam print at a side station; any technique you missed can be used in the garden.
Exit Ticket Prompt
Point to one part of your garden and tell which object printed it and why you chose it.
Signing and Numbering Prints
When students pull several matching prints from the same plate, they write in pencil under the image: the edition number at the lower left (print number / total, such as 2/4), the title in the center, and their name at the lower right. Monoprints are one of a kind, so they are signed and titled but not numbered.
Assessment & Reflection
- Exploration At least four printing techniques tried.
- Comparison The student describes what different objects print: texture, edges, shape.
- Composition The garden combines three or more techniques with a clear purpose.
- Care (separate) Ink, brayer and cleanup routines are coached, not graded as art.
Related Lessons
Print for a Purpose is the middle-school next step, with an edition of three for a real audience.
Sources & Credits
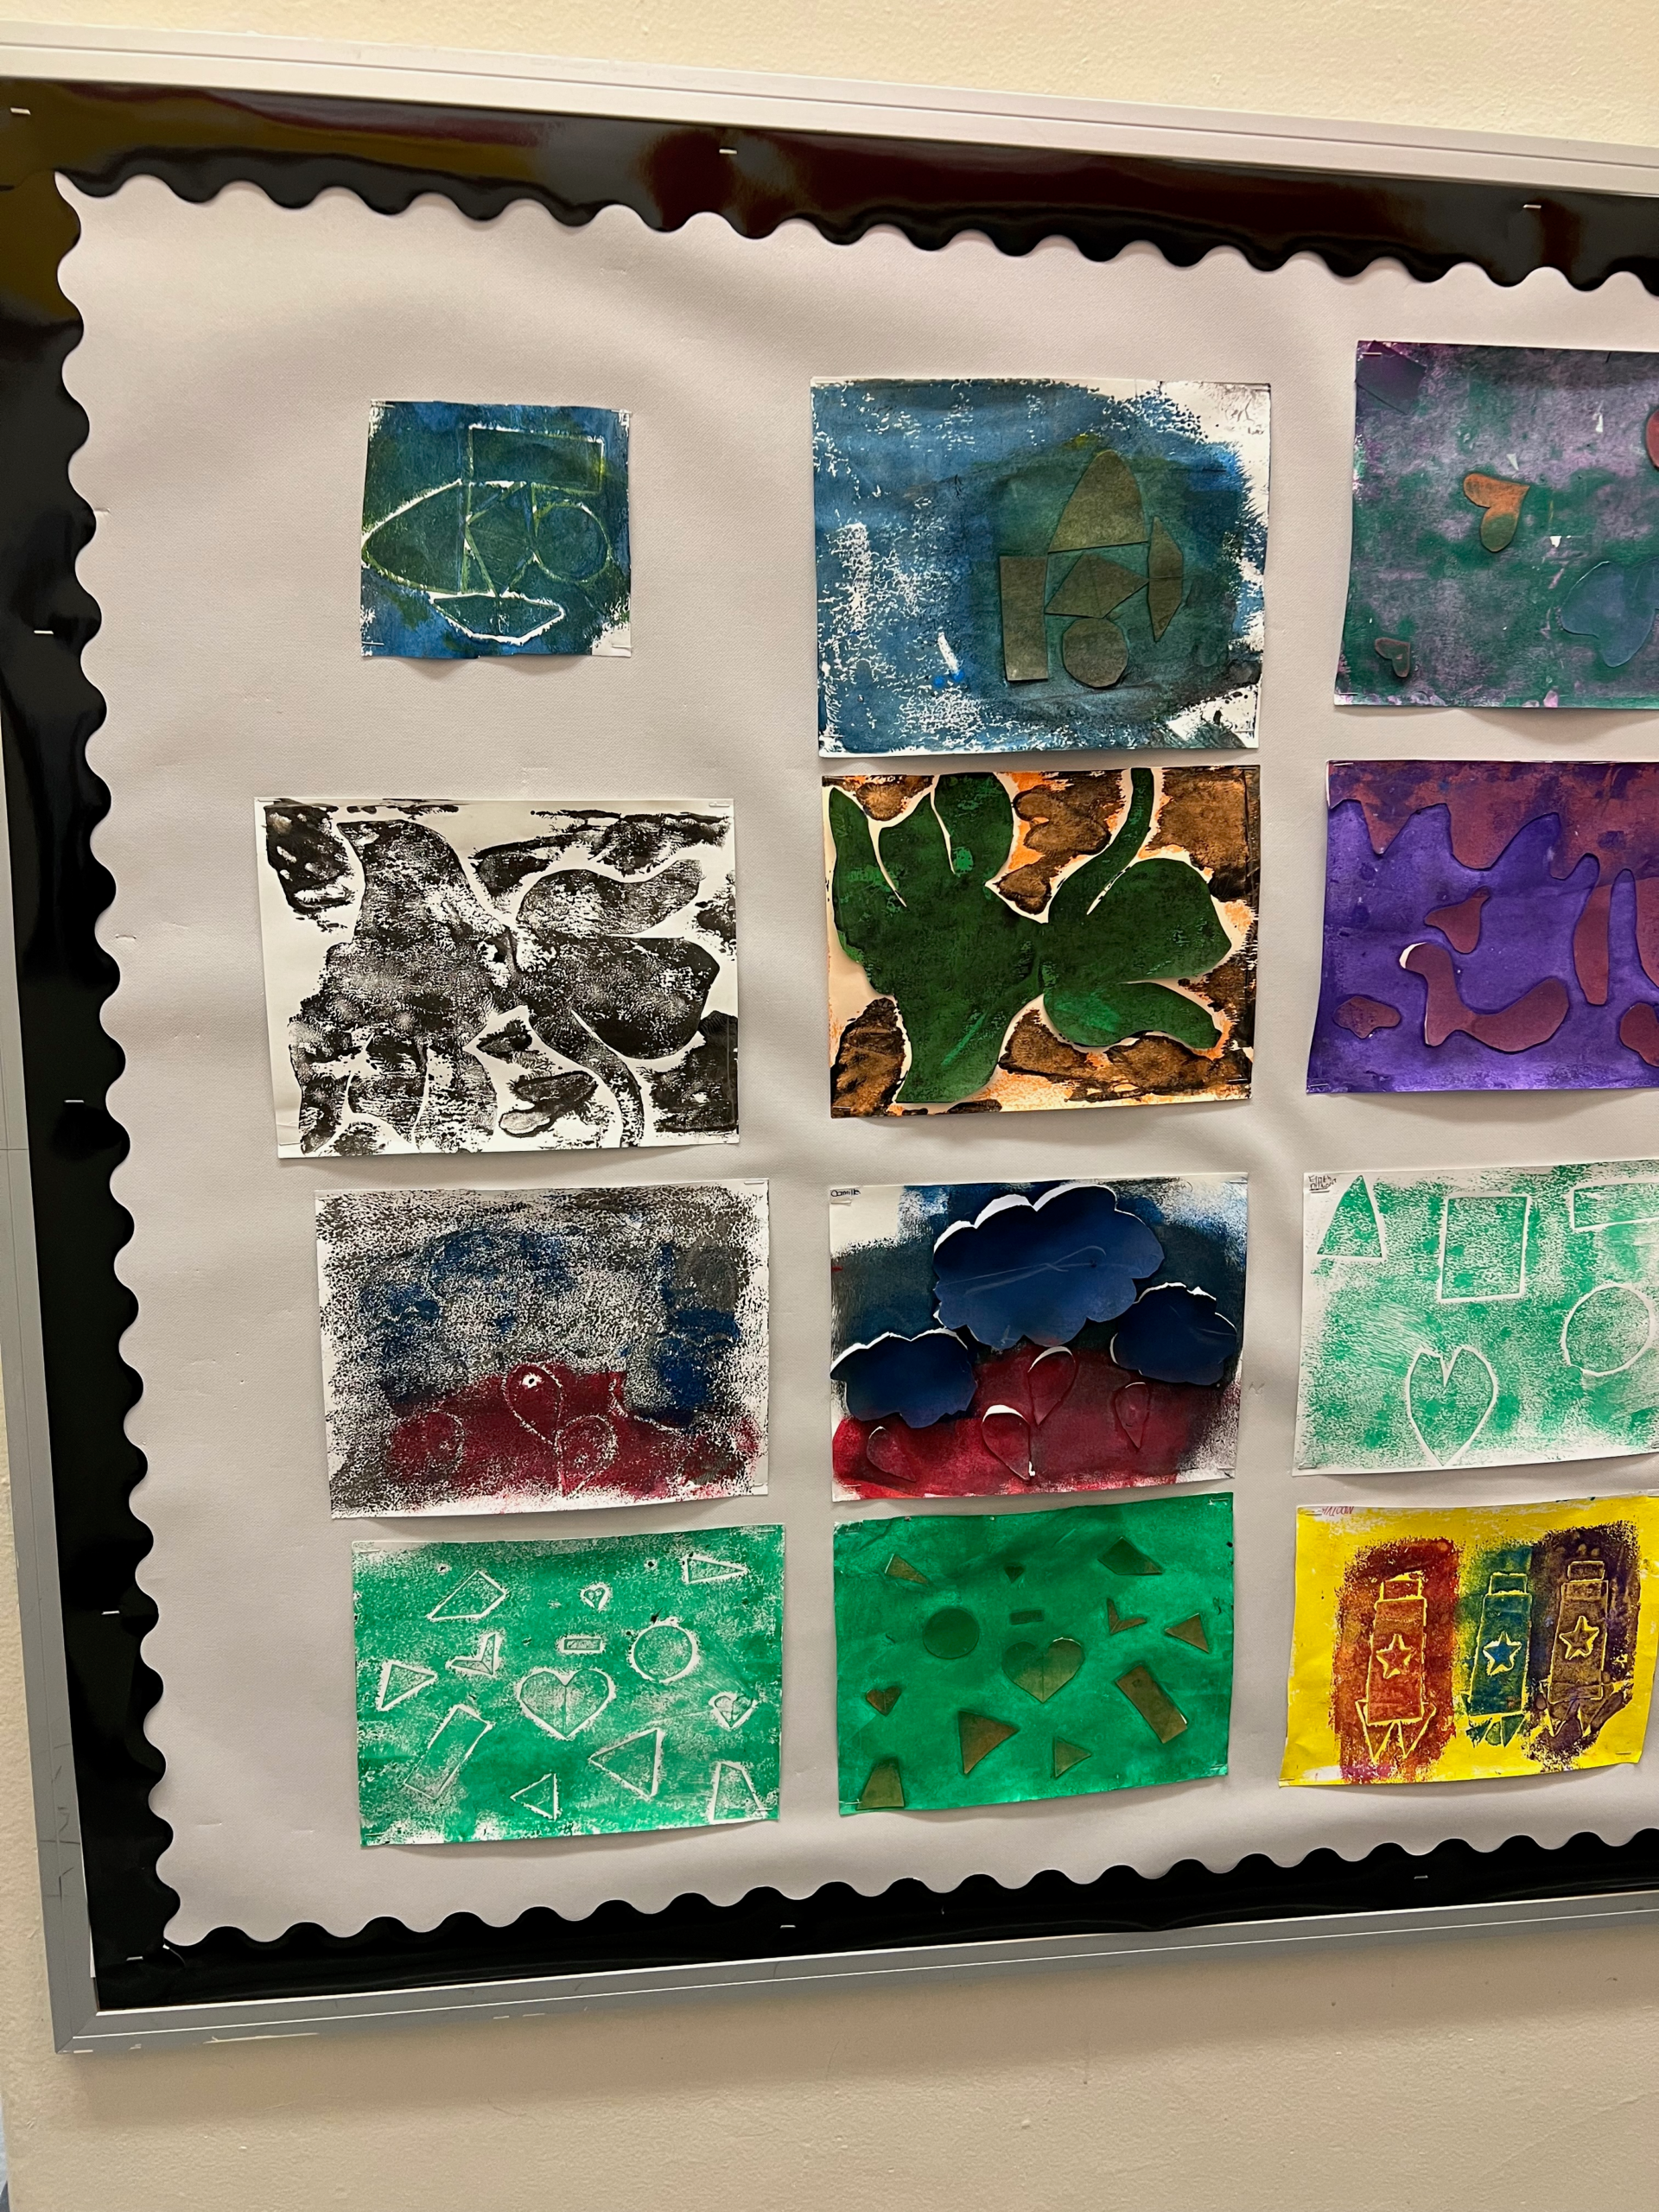
Explorations: Kacy George, materials-and-methods printmaking explorations, 2021 (Block or Not?, seasonal monoprints, fruit and vegetable prints, foil and foam monoprints, painting with flowers, puzzle prints, and the Birds, Bees and Gardens composition). Proposed pacing, corrections and safety notes adapted for this page in 2026. Classroom photograph: KC George’s classroom archive.