Form, Nature and Meaning: Cardboard Relief
Free to teach, adapt and share in your classroom.
- Grade 6–8
- Subject Visual Arts
- Duration 11 × 45-minute meetings
- Instructor Mr. George
Overview
Unit Context: Form, Nature and Meaning · natural observation, symbolic interpretation and shallow cardboard relief
Big Idea
An observed natural form can become a symbol through material choices. Relief makes meaning physical: a shallow layer, an open area, a repeated edge or a tested join changes what a viewer notices. Students investigate those relationships without copying an artist’s style.
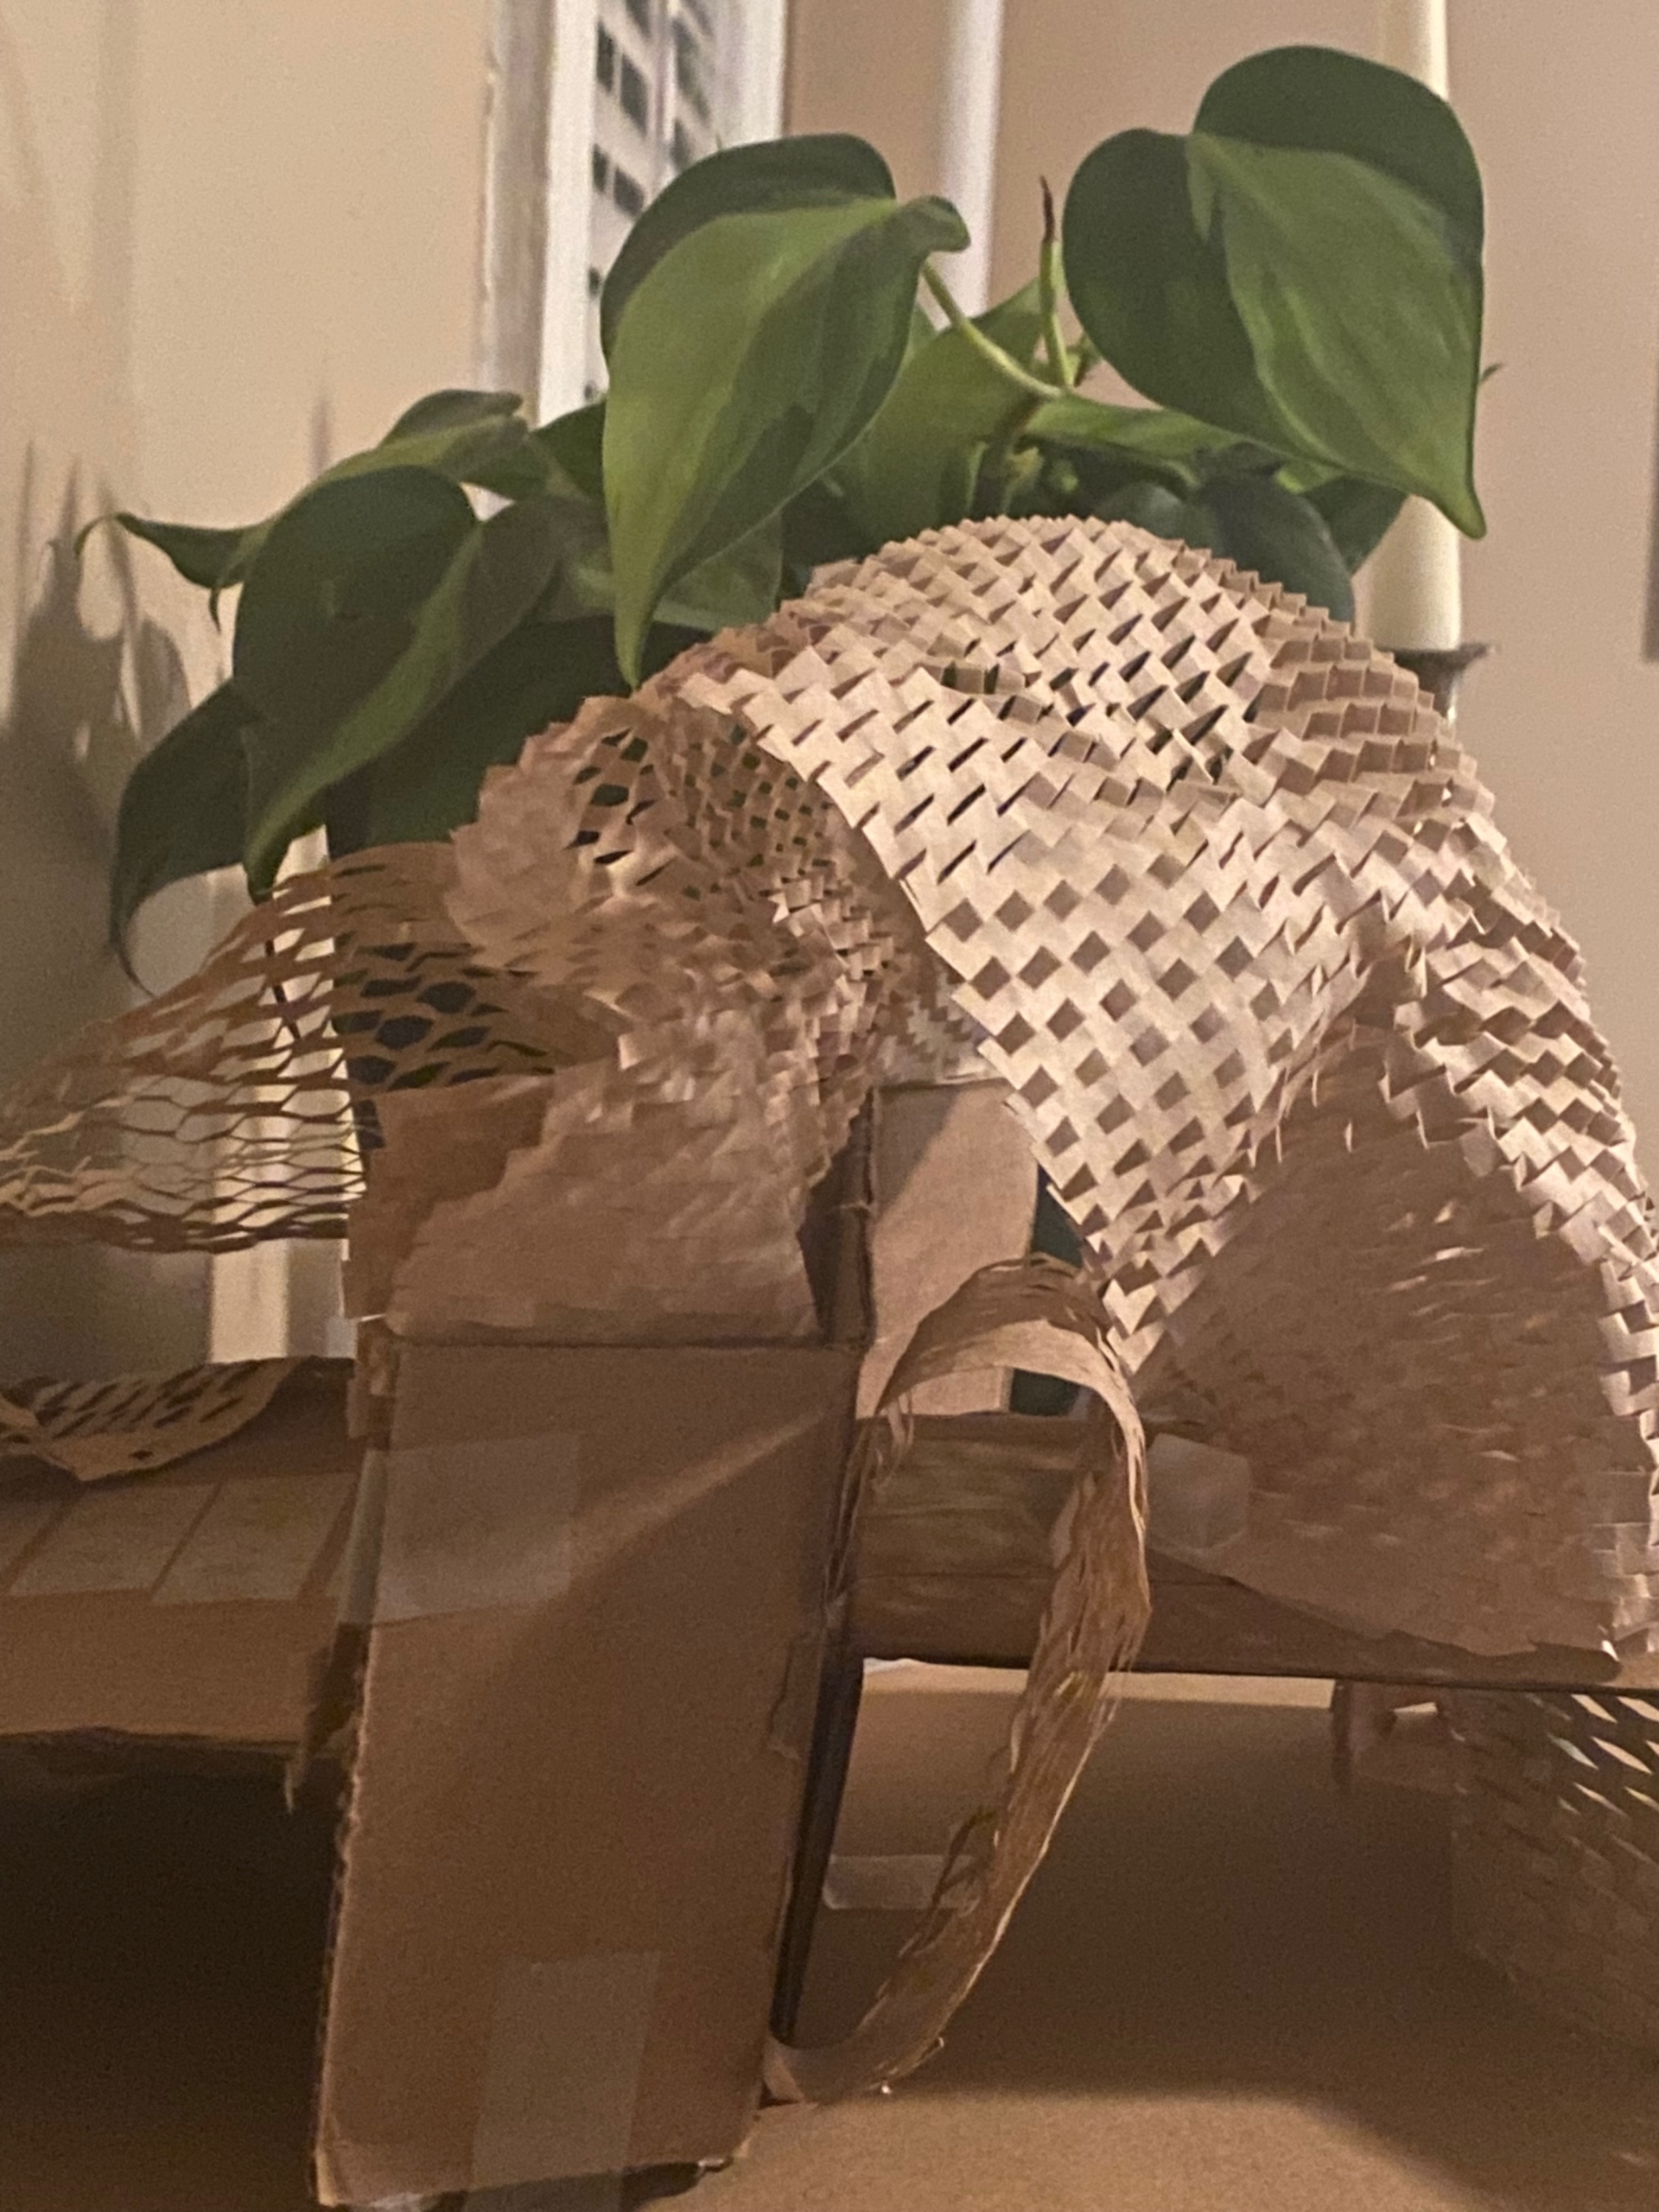
Cover image: a related cardboard animal study showing material construction, not the shallow relief outcome.
A natural form can carry an idea. In this eleven-meeting unit, learners observe a feature, explore what it could mean and construct a shallow cardboard relief connected to a flat base. The sequence makes room for tests, repairs and changes in interpretation.
Grades: 6-8. Instructor: Mr. George. Duration: eleven 45-minute meetings, with additional observation or revision time when needed.
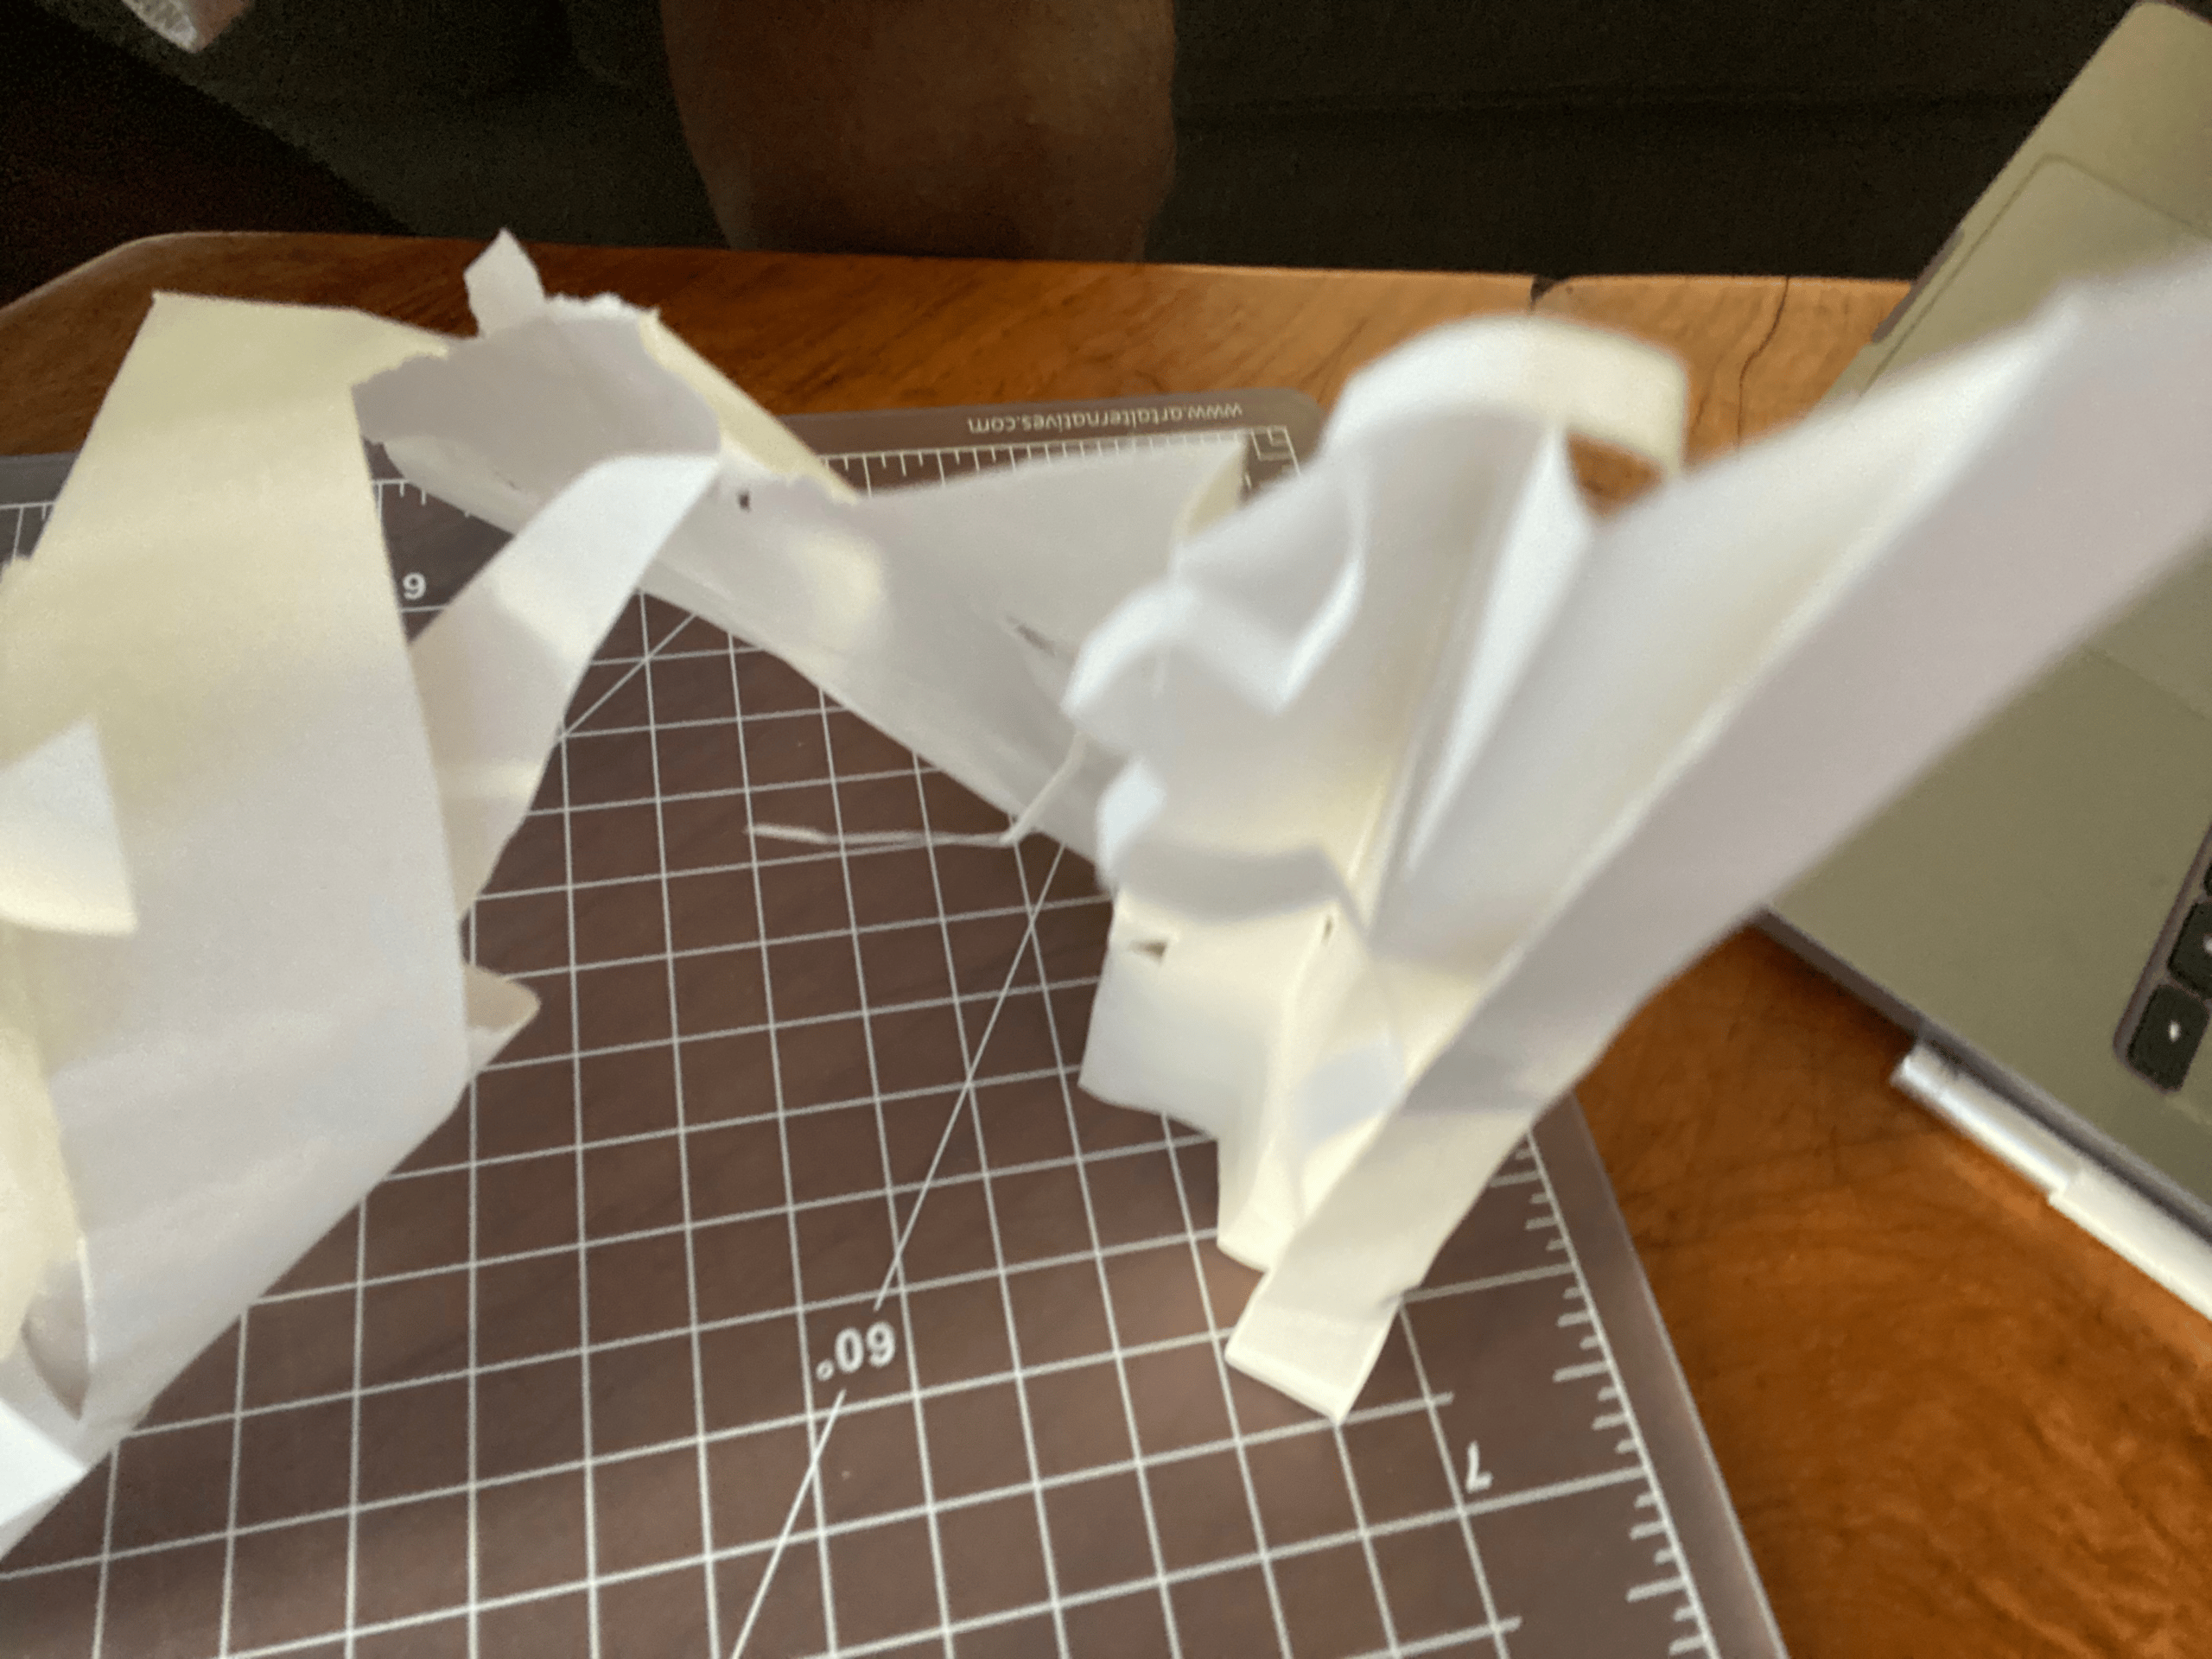
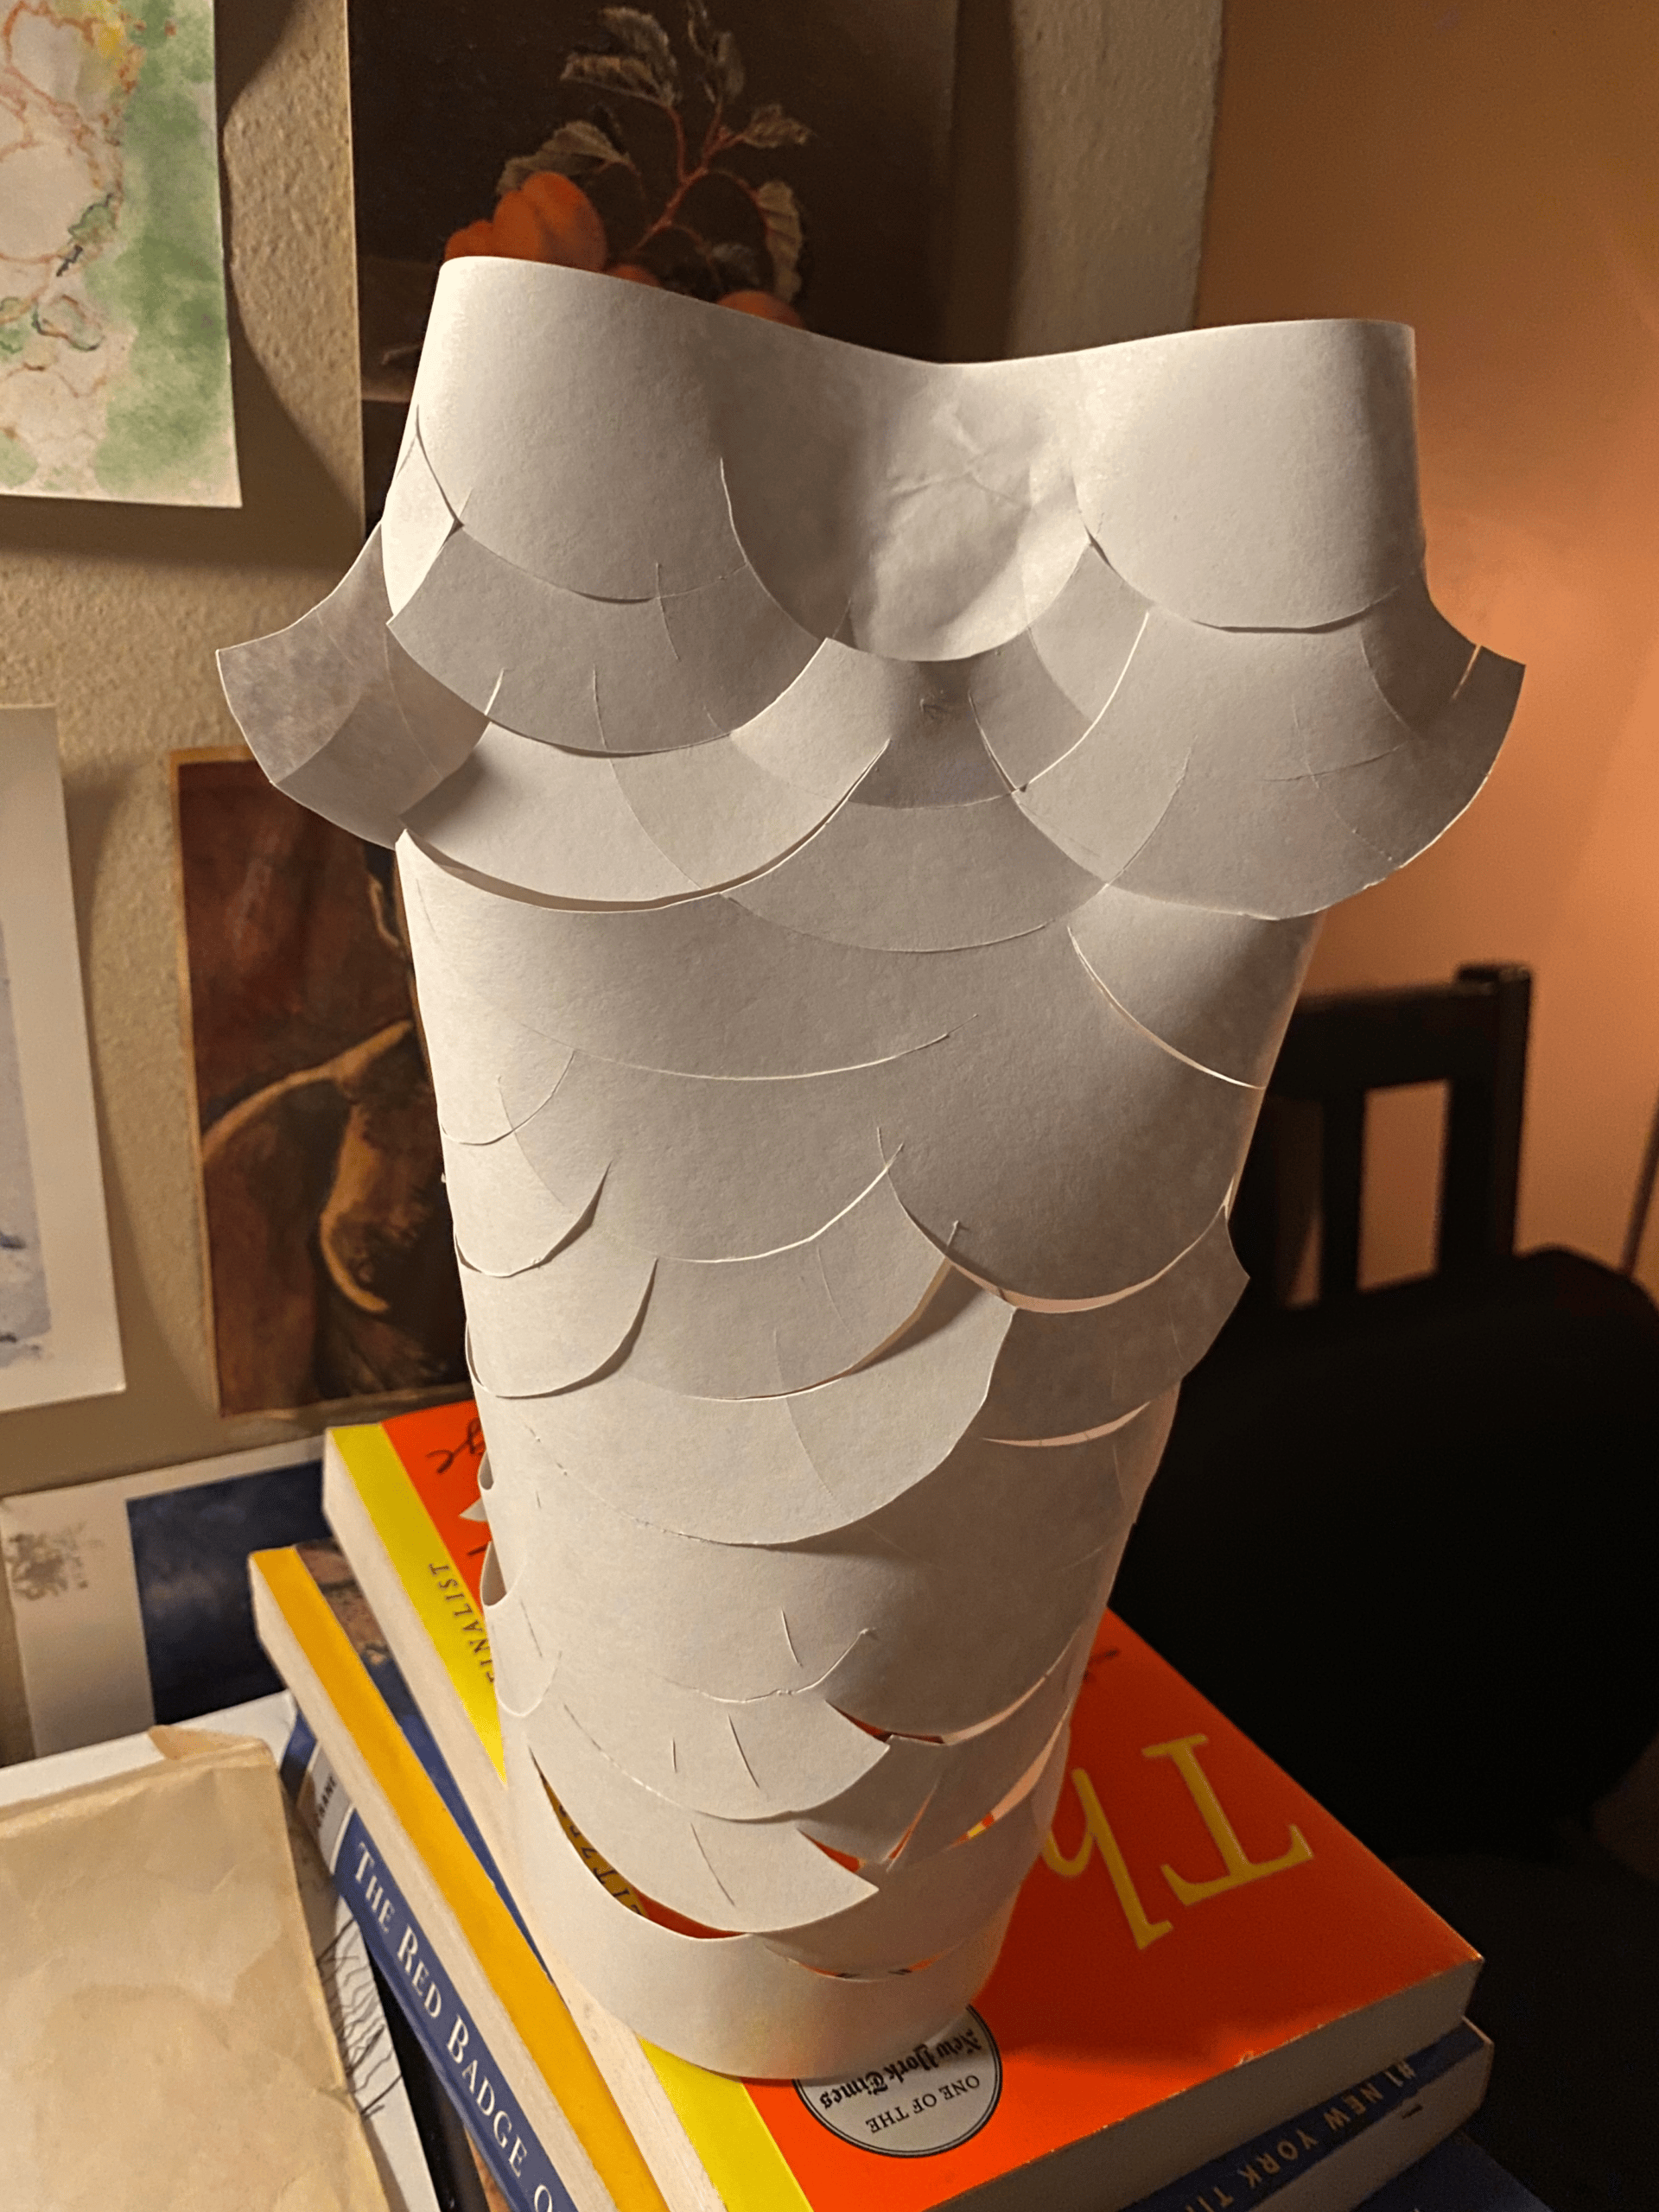
Material studies: folds, layers and shadow
These related paper-construction studies from the teaching archive make form and surface visible. They are comparison references, not finished examples of the shallow cardboard relief assignment.
NYS Visual Arts Standards Alignment
- Grade 6 · VA:Cr3.1.6a Reflect on how effectively the relief communicates meaning and revise when needed.
- Grade 7 · VA:Cr3.1.7a Explain important choices in the relief through an artist statement or another accessible format.
- Grade 8 · VA:Cr3.1.8a Use relevant criteria to examine the developing relief and plan purposeful revisions.
The descriptions above are lesson-specific applications of the NYSED Visual Arts performance indicators, not replacement wording for the standards. Use the learner’s enrolled grade to select indicators; access supports do not create a separate lower artistic target.
Instructional Outcomes (Objectives)
- Studio / Experiential Observe a natural feature, compare symbolic possibilities, test joints, plan and build a stable shallow relief, and select a surface treatment for a reason.
- Cognitive / Analytical Connect visible form and material with an intention; use viewer evidence to decide on a revision; and explain a decision through words, a labeled sketch or supported oral response.
- Grade progression Grade 6 explains a visible choice; Grade 7 compares options and explains a revision; Grade 8 relates form and material to personal or environmental meaning and revises using viewer evidence.
Key Vocabulary
- Relief: a form that projects from a background.
- Structure: how parts support a form.
- Symbol: a form used to carry meaning.
- Emphasis: a feature that draws attention.
- Revision: a considered change to the work.
Materials & Resources
- Prepare one roughly 8-inch cardboard base per learner, clean scraps, scissors, pencils, trays and appropriate classroom adhesive. Test a prototype and shelf clearance. Provide safe objects or photographs for observation; home supplies are not required.
- Study Sopheap Pich’s Morning Glory (2011) through the Guggenheim teaching packet. Its rattan and bamboo structure offers a discussion of material, open space and meaning. Our small relief is a classroom adaptation rather than a replica.
Differentiation
- Visual / Fine Motor Offer a broad silhouette to trace, prepared shapes, larger pieces and student-directed assisted cutting. Use one shallow layer when that preserves access; retain the conceptual task.
- Social / Emotional An invented meaning is valid. Students decide which associations to share. Offer a private conference instead of public critique.
- Multilingual / Communication Accept pointing, dictated labels, oral comparisons and labeled sketches. Read back recorded words. Evaluate the material decision and meaning, not English fluency.
- Re-entry / Absence Keep plans and pieces beside labeled bases with a next-action note. Returning students can use a supplied natural-form image and prepared shape, test one shallow layer, and explain a choice without recreating every missed task.
Anticipated Misconceptions
Misconception More height and more parts always improve sculpture.
Intervention Compare the effect of a shallow layer, open space and a focal feature. Stability and deliberate meaning matter more than a quantity of decoration.
Misconception All sculpture must stand alone or use tape-free joins.
Intervention Show the teacher’s shallow relief attached to one base. This unit permits school glue. The separate paper-animal challenge has a different construction constraint.
Misconception A wet join can be tested immediately.
Intervention Inspect contact visually while wet. Demonstrate strength testing only on a fully dry sample; follow the adhesive’s drying instructions.
Misconception An artist reference supplies a style to copy.
Intervention Discuss Pich’s material and context, and Basquiat’s use of words and images, before asking students to develop meanings from their own observations.
Preparation, Storage & Weekly Inquiry
- Test before launch: Use actual thin card, student scissors and school glue. Prepare a shallow prototype plus loose stages and fully dry successful/failed joints. Set height from real shelf clearance.
- Shared materials: Approximately 8-inch bases, clean scissor-cuttable card, school glue, spreaders, pencils, accessible scissors, named envelopes and flat trays. Markers and reused paper scraps provide optional surface accents. No home supplies are required.
- Construction: Remove staples and sharp packaging. Broad overlaps and low folded tabs on flexible card are sufficient. Craft knives, hot glue, thick-board scoring, wire, slots and tall constructions are not requirements.
- Drying: Apply a thin film across contact surfaces, press as tested and leave flat for the manufacturer’s drying time. Keep wet works separate; do not stack directly on reliefs.
- Daily autonomy: Protect 00–04 for independent dry sketchbook choice. Private inquiry pages are separate from shared assessment evidence.
- Weekly inquiry: On the last meeting each week, park glue during 22–25; use 25–33 for independent dry inquiry and 33–35 for a next-action record. Keep reflection at 35–38 and cleanup at 38–45. Unfinished work does not remove access to inquiry.
- Optional paint: Use only after testing warping and cleanup. Dry surface work is equally valid. If needed, stop paint at 30, wash 30–35, reflect at dry tables 35–38, then finish the reset. On weekly-choice days, stop paint at 22, preserve 25–33 choice, then clean from 33 and combine reflection with the dry next-action record.
- Reference photographs: The cover is a related freestanding cardboard study, not the relief outcome. Where the original guide names an AOE or paper photograph, use it as a comparison if available; the actual teacher prototype is the construction model. Do not infer cardboard strength from a paper image.
Instructional Sequence
All eleven meetings are below. Each uses a complete 45-minute clock with teacher actions, prompts and access cues. Allow additional drying or revision contacts when needed; do not shorten cleanup to catch up.
- Session 1: Looking at natural forms
- Session 2: Natural forms as symbols
- Session 3: Joining and layer tests
- Session 4: Planning the relief
- Session 5: Cutting the main forms
- Session 6: Building the first layers
- Session 7: Depth and stability
- Session 8: Surface and material choices
- Session 9: Emphasis and meaning
- Session 10: Critique and revision
- Session 11: Reliefs and the year portfolio
Session 1: Looking at natural forms
Target
Record observed structures and connect material choices with meaning.
Materials and Prep
☐ Set out sketchbooks and pencils, clean teacher-selected leaves or shells if available, and projected flower reference.
☐ Prepare one shallow relief prototype, loose pieces and a flat base; test shelf clearance.
☐ Open the Pich artwork and caption.
☐ No outdoor collection or home supplies are required.
Vocabulary
contour, structure, form, relief
Your sketchbook choice
Teacher Action: Students choose an independent dry sketchbook inquiry. Keep glue closed and reliefs parked during arrival.
Teacher Prompt: “Choose something you want to investigate for these four minutes. You may continue an earlier idea.”
Access / Scaffolding: Offer an object or starting mark only if needed. The projected reference is optional; private pages may stay private.
Sopheap Pich
Teacher Action: Identify Pich as a Cambodian artist. His large sculpture uses rattan and bamboo, alongside wire, plywood and steel. Its plant subject connects with nourishment and memory; the museum relates water spinach to survival during the Khmer Rouge period. Keep this brief and factual, without inviting personal trauma accounts.
Teacher Prompt: “An everyday natural form can carry a history. What do the materials help you notice?”
Access / Scaffolding: Offer pointing or tracing in the air. Students can respond to visible structure before discussing context.
Observation before invention
Teacher Action: Students observe a safe object or the photograph. Model slow looking at an outer edge, then an inner fold or vein. Make two small views or one view plus a detail.
Teacher Prompt: “Draw what you can actually see before you decide what it could mean.”
Access / Scaffolding: Offer a large silhouette to trace, then ask the student to add an observed internal line. Drawing realism is not the goal.
Evidence in a drawing
Teacher Action: Partners point to a feature in the object or reference and locate it in the drawing. Clarify observed evidence versus invented marks.
Teacher Prompt: “Show me the feature that changed your first idea of this form.”
Access / Scaffolding: Use a labeled arrow or oral explanation. Keep unknown species names unspecified.
Our small relief
Teacher Action: Show the actual teacher cardboard prototype from the front and side. Explain that relief projects from a background. The paper photo illustrates raised surfaces; Pich’s sculpture occupies open space. Students will use one roughly 8-inch base and shallow attached shapes.
Teacher Prompt: “Your form will stay connected to a base. We can make depth without making a tall sculpture.”
Access / Scaffolding: Let students handle a dry sample. Limit depth to the tested shelf allowance and offer one raised layer.
A feature worth keeping
Teacher Action: Save an observation and circle one feature to develop next time.
Teacher Prompt: “Choose a feature, such as a curve, branching line or protective edge.”
Access / Scaffolding: Teacher scribes a short phrase or accepts pointing to the chosen feature.
Our seven-minute reset
Teacher Action: 38–39: confirm names and next steps. 39–42: carry reliefs on flat trays to section storage, keep wet joins separate, close glue and return scissors. 42–44: sort usable scraps, wipe tables and wash hands as needed. 44–45: check tool count, floor and shelf clearance, then teacher dismisses. Optional paint follows the earlier tested cleanup adjustment.
Teacher Prompt: “Keep your plan and loose pieces with your base so you can return to the work.”
Access / Scaffolding: Give one clear first job and rotate responsibilities. A manager may move the tray. Studio responsibility receives feedback separately from artistic quality.
Session 2: Natural forms as symbols
Target
Develop two symbolic possibilities from an observed feature.
Materials and Prep
☐ Bring saved observations, pencils and scrap paper.
☐ Project the Basquiat artwork with its title and context.
☐ Prepare two quick variations of the same leaf or shell outline.
Vocabulary
symbol, context, simplify, intention
Your sketchbook choice
Teacher Action: Students choose an independent dry sketchbook inquiry. Keep glue closed and reliefs parked during arrival.
Teacher Prompt: “Choose something you want to investigate for these four minutes. You may continue an earlier idea.”
Access / Scaffolding: Offer an object or starting mark only if needed. The projected reference is optional; private pages may stay private.
Jean-Michel Basquiat
Teacher Action: Identify Hollywood Africans as Basquiat’s 1983 painting. The Whitney connects it to stereotypes of Black people in entertainment. Distinguish his critique from endorsement of the labels in the painting. Discuss how words, images and repetition direct attention.
Teacher Prompt: “These choices respond to a particular context. Our symbols will come from our own observations and ideas.”
Access / Scaffolding: Students can identify a repeated word or visible contrast. Do not require crowns, crossed-out text or imitation of Basquiat’s style.
Two symbolic possibilities
Teacher Action: Students use one observation to test two transformations. Model a branching leaf as a possible symbol of connection, then an enclosing outline as possible protection. State that these are proposed meanings, not universal definitions.
Teacher Prompt: “What could your form mean to you or communicate about the environment?”
Access / Scaffolding: Offer connection, growth or shelter as optional starting ideas. An invented meaning can protect privacy.
A first interpretation
Teacher Action: Partners view the two plans before hearing the maker’s intention. Compare readings. Explain that the AOE constructions show several symbols; our relief may focus on one.
Teacher Prompt: “A different reading gives you information about your choices.”
Access / Scaffolding: Allow the maker to reveal only the meaning they wish to share. Accept more than one plausible reading.
A selected direction
Teacher Action: Students select or combine a trial and simplify fragile narrow parts. Keep one recognizable feature from observation and record a possible meaning.
Teacher Prompt: “Make the important feature clear enough to cut and arrange.”
Access / Scaffolding: Use larger contours, prepared shapes or student-directed assisted cutting. Older students can compare ambiguity deliberately.
A provisional intention
Teacher Action: Retain both trials and the selected intention.
Teacher Prompt: “You may revise the idea when the materials teach you something new.”
Access / Scaffolding: An oral statement with a small labeled sketch is sufficient.
Our seven-minute reset
Teacher Action: 38–39: confirm names and next steps. 39–42: carry reliefs on flat trays to section storage, keep wet joins separate, close glue and return scissors. 42–44: sort usable scraps, wipe tables and wash hands as needed. 44–45: check tool count, floor and shelf clearance, then teacher dismisses. Optional paint follows the earlier tested cleanup adjustment.
Teacher Prompt: “Keep your plan and loose pieces with your base so you can return to the work.”
Access / Scaffolding: Give one clear first job and rotate responsibilities. A manager may move the tray. Studio responsibility receives feedback separately from artistic quality.
Session 3: Joining and layer tests
Target
Compare attachment methods using the actual project materials.
Materials and Prep
☐ Provide thin card, school glue, glue spreaders and scrap bases.
☐ Prepare a fully dry successful joint and a failed edge-only joint from the same materials.
☐ Set flat drying trays and named test locations; review manufacturer drying instructions.
Vocabulary
contact area, layer, joint, stability
Your sketchbook choice
Teacher Action: Students choose an independent dry sketchbook inquiry. Keep glue closed and reliefs parked during arrival.
Teacher Prompt: “Choose something you want to investigate for these four minutes. You may continue an earlier idea.”
Access / Scaffolding: Offer an object or starting mark only if needed. The projected reference is optional; private pages may stay private.
A joint that holds
Teacher Action: Demonstrate a broad overlap with a thin film of glue. Compare a narrow edge-only join. Show a folded tab on flexible card only if it folds easily. Explain that the AOE photo includes box nets, which are optional references rather than requirements.
Teacher Prompt: “More useful contact can help a join. Extra glue cannot replace contact and drying time.”
Access / Scaffolding: Use pre-folded card or flat layering. Do not ask students to force scissors through thick corrugated board.
Two small joint trials
Teacher Action: Students make two small labeled tests on scraps with school glue, pressing the touching surfaces and parking them flat. If folding is inaccessible, compare a narrow and a wider overlap.
Teacher Prompt: “Change one part of the join so your comparison tells you something.”
Access / Scaffolding: Provide glue spreaders, larger parts and a support partner directed by the student. Store tests for a later dry check.
Wet and dry behave differently
Teacher Action: Look for surface contact and excess glue now. Demonstrate a gentle stability check on the teacher’s fully dry examples. Student tests must dry before stress testing.
Teacher Prompt: “Today we can inspect contact. Next meeting we can test whether it holds.”
Access / Scaffolding: Keep checks gentle and over a tray. A separated joint is useful evidence, not a failure grade.
A shallow layer trial
Teacher Action: Students use a loose flat stack or a low folded strip to compare height and shadow on a scrap base. Keep the same symbol shape while changing its height.
Teacher Prompt: “Choose the least height that makes the difference you need.”
Access / Scaffolding: One flat layer of card is a valid relief. Open loops and folded structures are optional after successful tests.
A test record
Teacher Action: Label each test with name, section and changed feature. Record a predicted result and next check.
Teacher Prompt: “Save the evidence that will help you choose a join.”
Access / Scaffolding: Students may draw the joint and add a check box for the next meeting.
Our seven-minute reset
Teacher Action: 38–39: confirm names and next steps. 39–42: carry reliefs on flat trays to section storage, keep wet joins separate, close glue and return scissors. 42–44: sort usable scraps, wipe tables and wash hands as needed. 44–45: check tool count, floor and shelf clearance, then teacher dismisses. Optional paint follows the earlier tested cleanup adjustment.
Teacher Prompt: “Keep your plan and loose pieces with your base so you can return to the work.”
Access / Scaffolding: Give one clear first job and rotate responsibilities. A manager may move the tray. Studio responsibility receives feedback separately from artistic quality.
Session 4: Planning the relief
Target
Choose a composition and construction plan based on a dry joint test.
Materials and Prep
☐ Return fully dry tests and provide 8-inch square bases, scrap shapes and pencils.
☐ Check actual storage clearance and show the class height limit with a physical sample.
☐ Keep one teacher arrangement loose for comparison.
Vocabulary
composition, emphasis, negative space
Your sketchbook choice
Teacher Action: Students choose an independent dry sketchbook inquiry. Keep glue closed and reliefs parked during arrival.
Teacher Prompt: “Choose something you want to investigate for these four minutes. You may continue an earlier idea.”
Access / Scaffolding: Offer an object or starting mark only if needed. The projected reference is optional; private pages may stay private.
The dry joint check
Teacher Action: Gently handle dry student tests over trays. Compare contact, glue quantity and drying. If the glue is still wet, use the teacher’s dry samples and postpone conclusions about student tests.
Teacher Prompt: “Use the result to choose your construction method.”
Access / Scaffolding: Offer flat layering when a folded join remains unreliable. Do not pull hard enough to deliberately tear otherwise sound card.
Two arrangements
Teacher Action: Students arrange paper stand-ins on the base in two positions. Sketch or record each. Consider open space, the main shape and where depth might direct attention.
Teacher Prompt: “Which arrangement makes your chosen feature easier to notice?”
Access / Scaffolding: Provide three broad movable shapes. Students may direct a partner and explain the preferred arrangement orally.
A buildable plan
Teacher Action: Conference with 4–6 students while partners locate contact areas on plans. Check height against the physical limit and make sure the base supports the pieces.
Teacher Prompt: “Point to the place that will carry this raised part.”
Access / Scaffolding: Mark attachment areas on the back of a paper stand-in. Reduce an unsupported overhang or widen the tab.
The chosen composition
Teacher Action: Students save a selected plan and choose a small set of thin card pieces. Label front/back and layer order as useful.
Teacher Prompt: “Plan enough to begin. You can revise when you test the real material.”
Access / Scaffolding: Offer a teacher-scribed assembly sequence. Ready students explain how open space supports meaning.
The first construction step
Teacher Action: Store the plan with the named base and loose pieces in an envelope.
Teacher Prompt: “Leave a physical next action you can use next time.”
Access / Scaffolding: Attach a starting-shape sample or circle the first piece on the plan.
Our seven-minute reset
Teacher Action: 38–39: confirm names and next steps. 39–42: carry reliefs on flat trays to section storage, keep wet joins separate, close glue and return scissors. 42–44: sort usable scraps, wipe tables and wash hands as needed. 44–45: check tool count, floor and shelf clearance, then teacher dismisses. Optional paint follows the earlier tested cleanup adjustment.
Teacher Prompt: “Keep your plan and loose pieces with your base so you can return to the work.”
Access / Scaffolding: Give one clear first job and rotate responsibilities. A manager may move the tray. Studio responsibility receives feedback separately from artistic quality.
Session 5: Cutting the main forms
Target
Translate a plan into usable cardboard shapes.
Materials and Prep
☐ Set out tested thin card, accessible scissors, pencils and named envelopes.
☐ Prepare large starter shapes for students who need them.
☐ Keep a sorted scrap tray and dry bases at tables.
Vocabulary
contour, scale, support
Your sketchbook choice
Teacher Action: Students choose an independent dry sketchbook inquiry. Keep glue closed and reliefs parked during arrival.
Teacher Prompt: “Choose something you want to investigate for these four minutes. You may continue an earlier idea.”
Access / Scaffolding: Offer an object or starting mark only if needed. The projected reference is optional; private pages may stay private.
A contour for cutting
Teacher Action: Model transferring a broad outline to thin card, cutting away large outside scraps first, and turning the card as scissors cut. Round tight notches or simplify them.
Teacher Prompt: “Keep the feature that carries the idea. Simplify an edge that the material cannot support.”
Access / Scaffolding: Teacher prepares challenging cuts. No craft knives, hot glue, wire or cutting slots through thick board are required.
The main shapes
Teacher Action: Students draw and cut main silhouettes, stopping to compare them with the base. Keep useful offcuts for smaller layers.
Teacher Prompt: “Check the shape against your base before adding small parts.”
Access / Scaffolding: Use prepared silhouettes or assisted cutting directed by the student. A larger simplified shape retains the conceptual task.
Shape and strength
Teacher Action: Partners look for fragile stems or narrow connections. Test flexibility gently without creasing finished parts.
Teacher Prompt: “Which part needs more width or support?”
Access / Scaffolding: Broaden a connection or add a backing piece. Accept changes from the original drawing when the student explains them.
A loose construction
Teacher Action: Students arrange full-size pieces and compare with the selected thumbnail. Trim only where a change serves the form or open space.
Teacher Prompt: “What changed when the drawing became a material shape?”
Access / Scaffolding: Keep pieces loose if decisions remain. Ready students compare two placements without adding complexity automatically.
A saved set of parts
Teacher Action: Store loose shapes in named envelopes beside bases. Record one shape revision.
Teacher Prompt: “Keep the pieces and the reason for your change together.”
Access / Scaffolding: Number backs lightly if the order is difficult to remember.
Our seven-minute reset
Teacher Action: 38–39: confirm names and next steps. 39–42: carry reliefs on flat trays to section storage, keep wet joins separate, close glue and return scissors. 42–44: sort usable scraps, wipe tables and wash hands as needed. 44–45: check tool count, floor and shelf clearance, then teacher dismisses. Optional paint follows the earlier tested cleanup adjustment.
Teacher Prompt: “Keep your plan and loose pieces with your base so you can return to the work.”
Access / Scaffolding: Give one clear first job and rotate responsibilities. A manager may move the tray. Studio responsibility receives feedback separately from artistic quality.
Session 6: Building the first layers
Target
Attach the main forms with controlled contact and drying.
Materials and Prep
☐ Return bases, plans and cut pieces.
☐ Provide school glue, spreaders, protective scraps and section drying trays.
☐ Bring the dry joint pair and a loose layered demonstration.
Vocabulary
assembly, overlap, layer order
Your sketchbook choice
Teacher Action: Students choose an independent dry sketchbook inquiry. Keep glue closed and reliefs parked during arrival.
Teacher Prompt: “Choose something you want to investigate for these four minutes. You may continue an earlier idea.”
Access / Scaffolding: Offer an object or starting mark only if needed. The projected reference is optional; private pages may stay private.
Layer order
Teacher Action: Demonstrate a shallow cardboard stack on the actual prototype. Work from base upward. Spread a thin layer of glue only across surfaces that touch, press as tested, and keep the base level. The AOE camera is a separate example of cardboard construction.
Teacher Prompt: “Name the underneath piece before committing the next layer.”
Access / Scaffolding: Use two broad layers and prepared card spacers only if the tested join supports them.
The first attachments
Teacher Action: Students glue the main flat layers. Pause after each attachment to check placement and contact. Keep optional raised pieces loose until the support is dry.
Teacher Prompt: “A secure beginning gives you more choices later.”
Access / Scaffolding: Offer a glue spreader and a limited amount at a time. A student may direct placement while a partner presses.
A contact check
Teacher Action: Look from the side without lifting wet joins. Check gaps, sliding and puddles. Remove excess glue with scrap card.
Teacher Prompt: “What can you adjust while this is still movable?”
Access / Scaffolding: Re-seat a sliding piece and reduce glue. Do not add heavy weights that flatten intentional relief.
Work while joins dry
Teacher Action: Students park wet bases flat. Develop loose parts or sketch the next layer without stressing the attachment. Return to independent sketchbook inquiry when the unit action is ready.
Teacher Prompt: “Drying is part of the process. Choose useful work that leaves this joint undisturbed.”
Access / Scaffolding: Offer a dry scrap experiment. Never promise the same-session joint is ready for lifting.
A drying plan
Teacher Action: Name the next action and assign each base to its section tray.
Teacher Prompt: “Carry your work by its base with both hands.”
Access / Scaffolding: A table manager can move the tray while the student checks their label.
Our seven-minute reset
Teacher Action: 38–39: confirm names and next steps. 39–42: carry reliefs on flat trays to section storage, keep wet joins separate, close glue and return scissors. 42–44: sort usable scraps, wipe tables and wash hands as needed. 44–45: check tool count, floor and shelf clearance, then teacher dismisses. Optional paint follows the earlier tested cleanup adjustment.
Teacher Prompt: “Keep your plan and loose pieces with your base so you can return to the work.”
Access / Scaffolding: Give one clear first job and rotate responsibilities. A manager may move the tray. Studio responsibility receives feedback separately from artistic quality.
Session 7: Depth and stability
Target
Adjust shallow raised forms to support emphasis and stable construction.
Materials and Prep
☐ Return dry reliefs and the tested height sample.
☐ Set out thin card, glue and broad prepared tabs.
☐ Keep flat drying spaces available for revised joins.
Vocabulary
depth, shadow, emphasis
Your sketchbook choice
Teacher Action: Students choose an independent dry sketchbook inquiry. Keep glue closed and reliefs parked during arrival.
Teacher Prompt: “Choose something you want to investigate for these four minutes. You may continue an earlier idea.”
Access / Scaffolding: Offer an object or starting mark only if needed. The projected reference is optional; private pages may stay private.
A raised relationship
Teacher Action: View the prototype from front and side under ordinary room light. Compare a flat piece and a raised piece. Use the paper photograph for visual comparison, not evidence of cardboard strength.
Teacher Prompt: “Depth can guide attention. More height is not automatically more meaning.”
Access / Scaffolding: Allow one raised layer. Students can point to a shadow or edge instead of naming a technical term.
The next layer
Teacher Action: Students attach a tested shallow layer or low folded feature. Keep unsupported spans short and within the actual shelf clearance.
Teacher Prompt: “Choose a join from your tests and use it deliberately.”
Access / Scaffolding: Return to flat layering if a fold springs open. Ready students compare shadow and negative space at two depths.
A stability conference
Teacher Action: Check 4–6 works at a time, first observing contact. Gently handle only fully dry areas. Identify one construction change that would improve reliability.
Teacher Prompt: “Point to the support. Is it doing the job you expected?”
Access / Scaffolding: Widen an attachment or shorten an overhang. Use school glue and drying time rather than substituting hot glue.
A purposeful adjustment
Teacher Action: Students revise an unstable or visually distracting area. Retain a note about the change. Park newly glued areas flat.
Teacher Prompt: “Can your repair help the form communicate as well as hold together?”
Access / Scaffolding: Offer a prepared backing strip or a broader replacement shape. Artistic assessment stays separate from tool dexterity.
A construction reason
Teacher Action: Record the material decision using a side sketch, words or an oral conference.
Teacher Prompt: “Explain what this choice does for your idea.”
Access / Scaffolding: Teacher scribes a brief reason beside the student’s sketch.
Our seven-minute reset
Teacher Action: 38–39: confirm names and next steps. 39–42: carry reliefs on flat trays to section storage, keep wet joins separate, close glue and return scissors. 42–44: sort usable scraps, wipe tables and wash hands as needed. 44–45: check tool count, floor and shelf clearance, then teacher dismisses. Optional paint follows the earlier tested cleanup adjustment.
Teacher Prompt: “Keep your plan and loose pieces with your base so you can return to the work.”
Access / Scaffolding: Give one clear first job and rotate responsibilities. A manager may move the tray. Studio responsibility receives feedback separately from artistic quality.
Session 8: Surface and material choices
Target
Test color or texture before applying it to the relief.
Materials and Prep
☐ Provide dry scraps, markers, colored pencils and remaining painted-paper scraps from Unit 4.
☐ Keep limited tempera optional only after a successful dry-card paint trial and cleanup rehearsal.
☐ Return fully dry reliefs and identify areas of exposed card to preserve.
Vocabulary
surface, texture, contrast
Your sketchbook choice
Teacher Action: Students choose an independent dry sketchbook inquiry. Keep glue closed and reliefs parked during arrival.
Teacher Prompt: “Choose something you want to investigate for these four minutes. You may continue an earlier idea.”
Access / Scaffolding: Offer an object or starting mark only if needed. The projected reference is optional; private pages may stay private.
The material surface
Teacher Action: Compare the AOE painted and exposed-card surfaces. Demonstrate a dry marker or attached colored-paper accent on the prototype. Color may emphasize a form while visible cardboard may communicate reuse or construction.
Teacher Prompt: “Choose the surface for what it contributes to your symbol.”
Access / Scaffolding: Keeping natural cardboard color is valid. Avoid assuming reused material is automatically environmentally harmless.
Two surface tests
Teacher Action: Students use scraps to compare two surface choices. Record one reason connected to their intention. Optional tempera uses a thin coat on a dry scrap first; keep wet paint away from fresh joins.
Teacher Prompt: “Test before covering the surface you already built.”
Access / Scaffolding: Limit choices to two colors or one mark tool. No painting purchase is assumed.
A contrast check
Teacher Action: Revisit the painting briefly to identify how contrast and repetition direct attention. Return to student tests and ask which choice will bring their own symbol forward.
Teacher Prompt: “What visible relationship helps your main idea stand out?”
Access / Scaffolding: Offer size, dark/light or open space as alternatives to adding more colors.
The selected surface
Teacher Action: Students apply a controlled dry accent or attach a small paper area. If using approved tempera, paint lightly and park flat to dry. Avoid soaking card or filling open spaces with glue.
Teacher Prompt: “Leave some decisions visible. You do not have to cover every surface.”
Access / Scaffolding: A small focal accent is enough. Keep the same conceptual expectation for dry and painted routes.
A surface decision
Teacher Action: Save a surface test with the relief’s process record.
Teacher Prompt: “Record the reason, including a reason to leave something unchanged.”
Access / Scaffolding: Accept a pointed comparison between test and final area.
Our seven-minute reset
Teacher Action: 38–39: confirm names and next steps. 39–42: carry reliefs on flat trays to section storage, keep wet joins separate, close glue and return scissors. 42–44: sort usable scraps, wipe tables and wash hands as needed. 44–45: check tool count, floor and shelf clearance, then teacher dismisses. Optional paint follows the earlier tested cleanup adjustment.
Teacher Prompt: “Keep your plan and loose pieces with your base so you can return to the work.”
Access / Scaffolding: Give one clear first job and rotate responsibilities. A manager may move the tray. Studio responsibility receives feedback separately from artistic quality.
Session 9: Emphasis and meaning
Target
Refine a material or surface relationship to make the intention clearer.
Materials and Prep
☐ Return dry work, surface tests and initial intentions.
☐ Provide familiar dry tools and small card scraps.
☐ Bring the prototype and one removable accent for comparison.
Vocabulary
emphasis, interpretation, restraint
Your sketchbook choice
Teacher Action: Students choose an independent dry sketchbook inquiry. Keep glue closed and reliefs parked during arrival.
Teacher Prompt: “Choose something you want to investigate for these four minutes. You may continue an earlier idea.”
Access / Scaffolding: Offer an object or starting mark only if needed. The projected reference is optional; private pages may stay private.
Material and meaning
Teacher Action: Revisit the open lattice and scale of Morning Glory. Keep the discussion on visible structure and previously introduced context. Compare with students’ small attached reliefs.
Teacher Prompt: “What can your material say that a flat drawing might not?”
Access / Scaffolding: Use pointing to open space, repeated strips or a shadow. Do not require weaving or Pich’s materials.
A focused refinement
Teacher Action: Students compare work with their initial intention. Test one adjustment to a focal shape, texture or open area before committing.
Teacher Prompt: “Which change would make the largest difference to your meaning?”
Access / Scaffolding: Give two possible moves, such as reducing a busy area or strengthening one edge. No decorative detail quota.
A quiet viewer check
Teacher Action: Invite a partner to view from the front and slightly to the side without touching. Compare first impressions with the maker’s intention.
Teacher Prompt: “Point to the feature that led to your interpretation.”
Access / Scaffolding: Offer silent pointing or a short audio/oral response. Makers can decline to explain private associations.
A deliberate finish
Teacher Action: Students decide whether repeated marks or added shapes support the work. Any removal must be safe for the base; covering or simplifying is an alternative.
Teacher Prompt: “Finishing can mean leaving enough space for the important part.”
Access / Scaffolding: Allow a focused unresolved work with a next-step plan if glue needs more time.
A reasoned choice
Teacher Action: Save a sentence, labeled sketch or oral note linking visible choice with meaning.
Teacher Prompt: “Use a feature a viewer can actually point to.”
Access / Scaffolding: Teacher prompts with material, height, edge or color.
Our seven-minute reset
Teacher Action: 38–39: confirm names and next steps. 39–42: carry reliefs on flat trays to section storage, keep wet joins separate, close glue and return scissors. 42–44: sort usable scraps, wipe tables and wash hands as needed. 44–45: check tool count, floor and shelf clearance, then teacher dismisses. Optional paint follows the earlier tested cleanup adjustment.
Teacher Prompt: “Keep your plan and loose pieces with your base so you can return to the work.”
Access / Scaffolding: Give one clear first job and rotate responsibilities. A manager may move the tray. Studio responsibility receives feedback separately from artistic quality.
Session 10: Critique and revision
Target
Use viewer evidence to plan and make a purposeful revision.
Materials and Prep
☐ Arrange pairs with viewing space and no-touch handling.
☐ Provide the feedback stems and familiar repair materials.
☐ Keep a section tray available for any newly glued work.
Vocabulary
evidence, revision, intention
Your sketchbook choice
Teacher Action: Students choose an independent dry sketchbook inquiry. Keep glue closed and reliefs parked during arrival.
Teacher Prompt: “Choose something you want to investigate for these four minutes. You may continue an earlier idea.”
Access / Scaffolding: Offer an object or starting mark only if needed. The projected reference is optional; private pages may stay private.
A useful response
Teacher Action: Model a response to the teacher prototype, separating a visible feature from a guess. Explain that agreement with the maker is not the only useful response.
Teacher Prompt: “Describe the effect before suggesting a change.”
Access / Scaffolding: Allow oral response, pointing or a labeled sketch. Avoid judging by neatness, realism or personal taste alone.
A partner interpretation
Teacher Action: Partners inspect reliefs from two angles. Each offers an interpretation and evidence. Makers then share the public intention and note where readings meet or differ.
Teacher Prompt: “Which part of that response helps you decide your next move?”
Access / Scaffolding: Offer a teacher conference or private written response instead of public sharing.
The revision decision
Teacher Action: Students select one achievable revision. Keeping a choice is acceptable when they explain how the evidence supports it. Check whether the change needs extra drying.
Teacher Prompt: “Choose a revision that solves a real problem in the work.”
Access / Scaffolding: Name one concrete move, such as strengthen a tab or open space beside the focal form.
The chosen revision
Teacher Action: Students complete the selected repair or visual adjustment. Record the before/after with a sketch, words or a teacher-approved photograph. Dry new joins fully before display.
Teacher Prompt: “Use the viewer’s evidence and your intention together.”
Access / Scaffolding: Support cutting or attachment while the student retains the decision. Extend drying into the next meeting when needed.
What the revision did
Teacher Action: Save a brief explanation and note any remaining drying or display needs.
Teacher Prompt: “What should a viewer notice differently now?”
Access / Scaffolding: An oral comparison with pointing is equivalent evidence.
Our seven-minute reset
Teacher Action: 38–39: confirm names and next steps. 39–42: carry reliefs on flat trays to section storage, keep wet joins separate, close glue and return scissors. 42–44: sort usable scraps, wipe tables and wash hands as needed. 44–45: check tool count, floor and shelf clearance, then teacher dismisses. Optional paint follows the earlier tested cleanup adjustment.
Teacher Prompt: “Keep your plan and loose pieces with your base so you can return to the work.”
Access / Scaffolding: Give one clear first job and rotate responsibilities. A manager may move the tray. Studio responsibility receives feedback separately from artistic quality.
Session 11: Reliefs and the year portfolio
Target
Present a stable relief and explain a choice across the year’s work.
Materials and Prep
☐ Prepare stable tabletop display spaces with room between reliefs.
☐ Bring selected process evidence and available work or images from Units 1–4.
☐ Provide label paper and familiar dry repair materials.
Vocabulary
curation, presentation, reflection
Your sketchbook choice
Teacher Action: Students choose an independent dry sketchbook inquiry. Keep glue closed and reliefs parked during arrival.
Teacher Prompt: “Choose something you want to investigate for these four minutes. You may continue an earlier idea.”
Access / Scaffolding: Offer an object or starting mark only if needed. The projected reference is optional; private pages may stay private.
A display that helps viewers
Teacher Action: Compare viewing needs of a large museum sculpture with a shallow classroom relief. Use tabletop display unless mounting hardware and support have been separately tested. Do not hang heavy card with an untested attachment.
Teacher Prompt: “Our display should help people see the form and its meaning.”
Access / Scaffolding: Allow a photograph or teacher-assisted positioning. Keep wet or unstable works off display.
Selection and labels
Teacher Action: Students select a plan or joint/surface test that explains an important decision. Write or dictate title, natural-form starting point and a material-choice reason. Finish only small dry repairs.
Teacher Prompt: “Show the work and some thinking that a viewer cannot see immediately.”
Access / Scaffolding: No private disclosure is required. A short label or recorded explanation can replace a long statement.
A class display plan
Teacher Action: Explain the AOE photo as a different sculpture format, then return to the class display. Grade 6 students explain a viewing choice; Grade 7 propose an arrangement; Grade 8 help organize a shared theme and short narrative.
Teacher Prompt: “Group work for a reason that helps viewers understand it.”
Access / Scaffolding: Keep each maker’s intention intact. Offer accessible viewing heights and avoid crowded edges.
A year of decisions
Teacher Action: Students choose this relief and an earlier work or process record. Compare how they planned, tested or revised. Share voluntarily through a gallery conversation or written/oral reflection.
Teacher Prompt: “Find one decision you make differently now. Show evidence from your work.”
Access / Scaffolding: If earlier work is unavailable, compare the Unit 5 first sketch and final relief. Do not penalize missing archived work.
Your next inquiry
Teacher Action: Students record a self-chosen inquiry for their sketchbooks. Collect the relief evidence and leave private pages with students.
Teacher Prompt: “Choose a question that could keep your art going.”
Access / Scaffolding: Offer an object, a material or a previous unfinished idea as a starting point.
Our seven-minute reset
Teacher Action: 38–39: confirm names and next steps. 39–42: carry reliefs on flat trays to section storage, keep wet joins separate, close glue and return scissors. 42–44: sort usable scraps, wipe tables and wash hands as needed. 44–45: check tool count, floor and shelf clearance, then teacher dismisses. Optional paint follows the earlier tested cleanup adjustment.
Teacher Prompt: “Keep your plan and loose pieces with your base so you can return to the work.”
Access / Scaffolding: Give one clear first job and rotate responsibilities. A manager may move the tray. Studio responsibility receives feedback separately from artistic quality.
Closure & Assessment
- Collect: An observation, symbolic trials, a joint test, viewer feedback, the relief and a revision explanation. A short oral explanation or labeled sketch is valid evidence.
- Look for: Intention and meaning, visual organization, control of the taught process, and reflection/revision. A tested attachment and purposeful depth should serve the idea.
- Feedback: Developing work needs a specific next action; resolved work connects choices coherently; extending work compares alternatives and consequences. Do not score realism, speed, detail count, motor dexterity, access support or studio behavior as artistic quality.
- Portfolio close: Compare this relief with an earlier available work or process record. If earlier work is unavailable, compare the first Unit 5 sketch with the final relief. Do not penalize missing archived work.
Exit Ticket / Evidence Check
“The choice I made is ___. A viewer can see its effect here: ___. After looking or listening, I decided ___ because ___.” Accept pointing, speaking, dictation or a labeled sketch.
Downloads & Teaching References
Download the 3-page relief roadmap. The complete eleven-session teacher script is on this page; the PDF is a concise planning companion.
Sequence source: Unit 5 Form, Nature and Meaning Teaching Guide. Artist context: Sopheap Pich, Morning Glory and Jean-Michel Basquiat, Hollywood Africans. Up to six additional contacts may support observation, joint comparison, depth studies, focused revision or curatorial comparison, using the same materials.