Space, Depth and Dimension
Free to teach, adapt and share in your classroom.
- Grade Grade 7 · G29 access route
- Subject Visual Arts
- Duration 45 minutes per route
- Instructor Mr. George
Overview
Unit Context: A Space I Imagine · overlap, relative size and the explanation of visual depth
Big Idea
Depth is a relationship a viewer reads. By hiding an edge and comparing the apparent size of similar objects, learners can make a flat scene suggest near and far. The subject remains the maker’s choice; clear visual evidence makes that choice understandable to someone else.
How can a flat drawing suggest a place a viewer could enter? This Grade 7 and G29 launch begins with two visible cues: overlap and relative size. Learners choose a park, room, imagined place or another setting, then make near and far readable.
Instructor: Mr. George. Use this as a launch or scaffold within a longer spatial drawing sequence. Begin with one depth cue and add another when the learner is ready.
In the studio: making depth visible
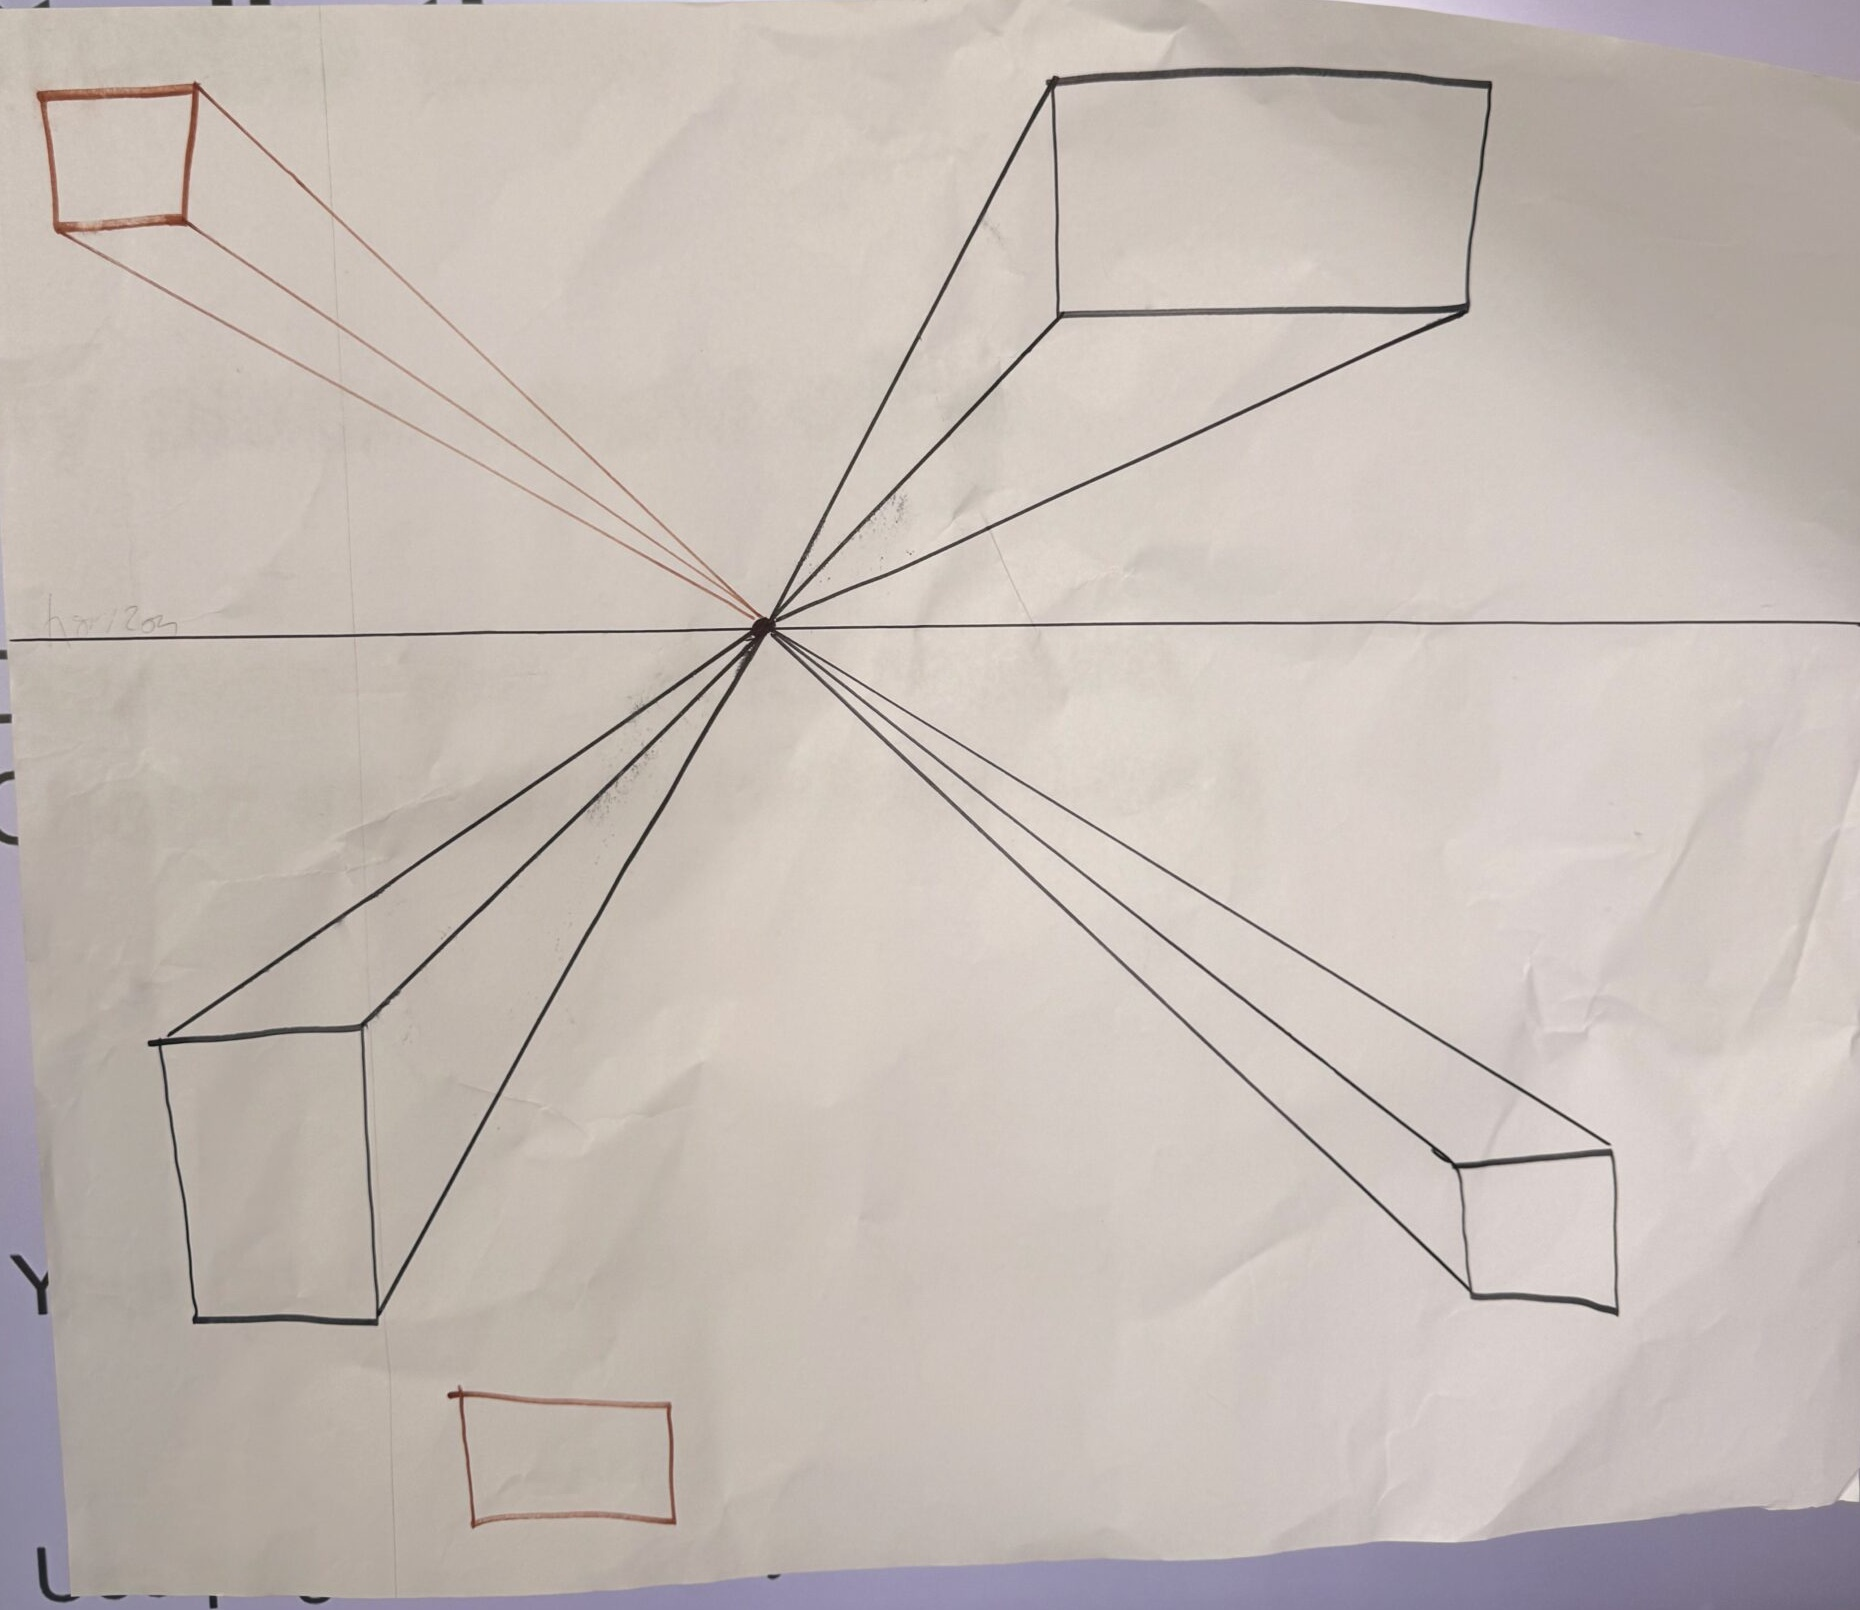
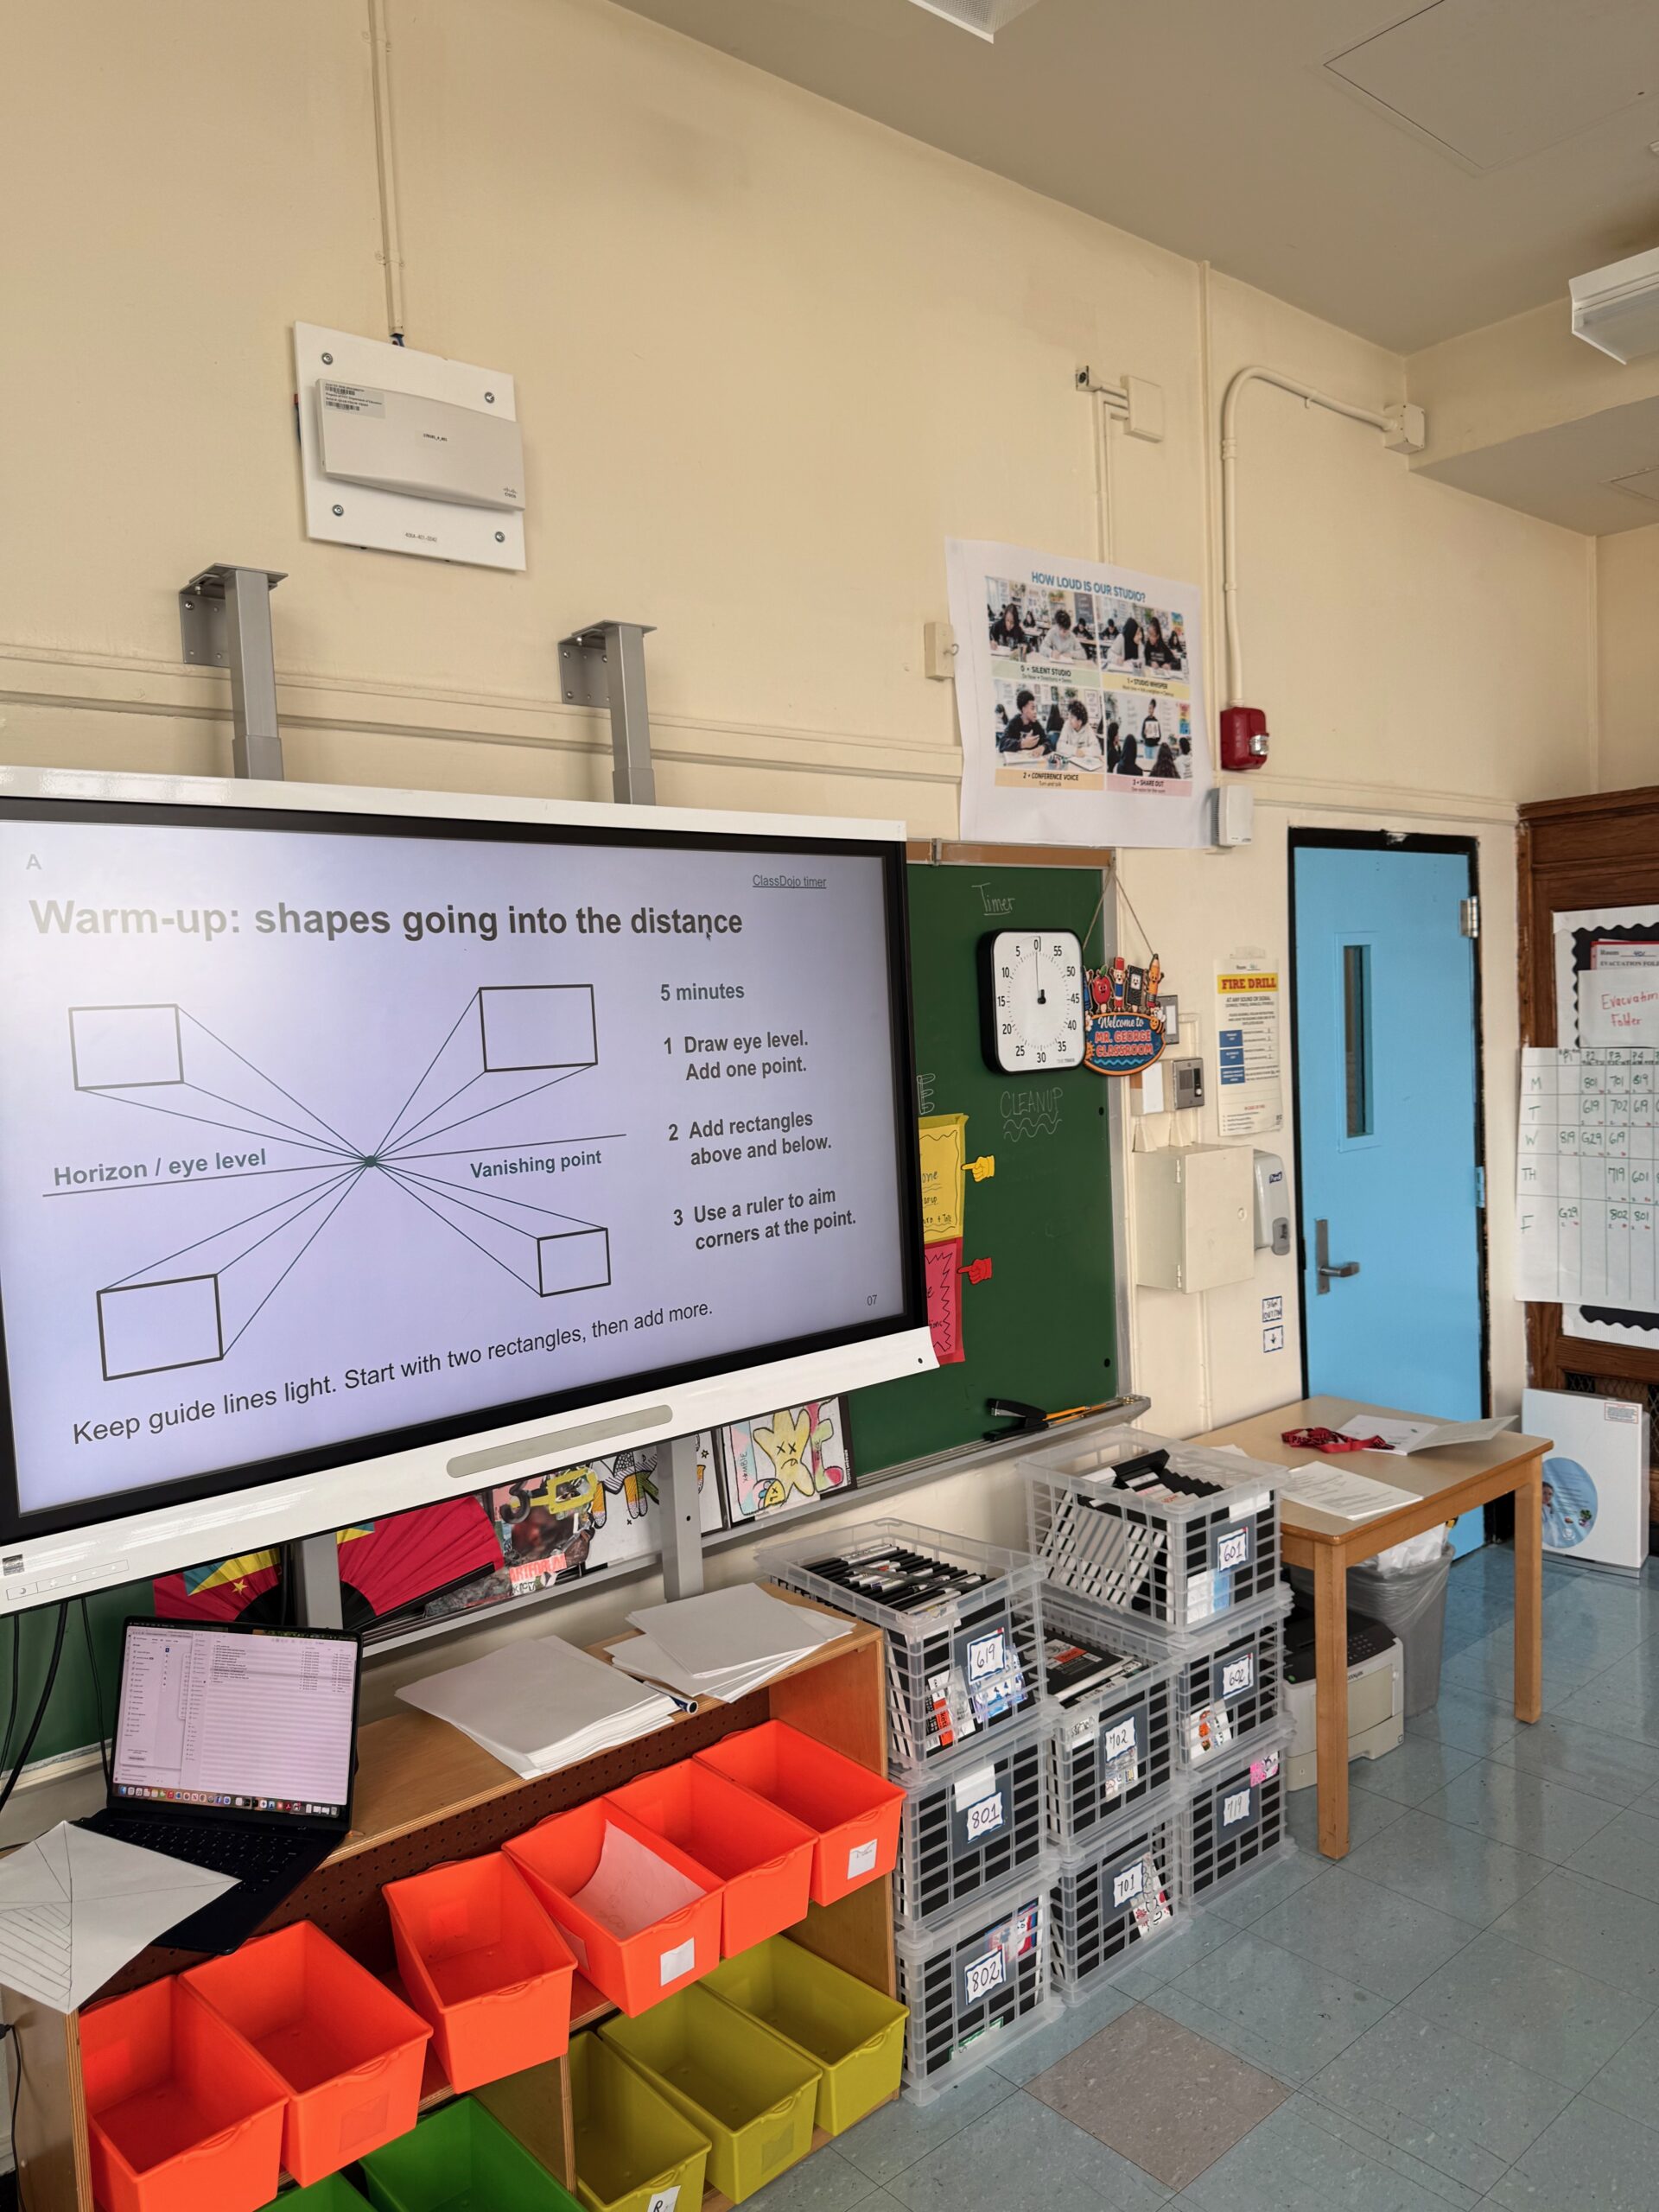
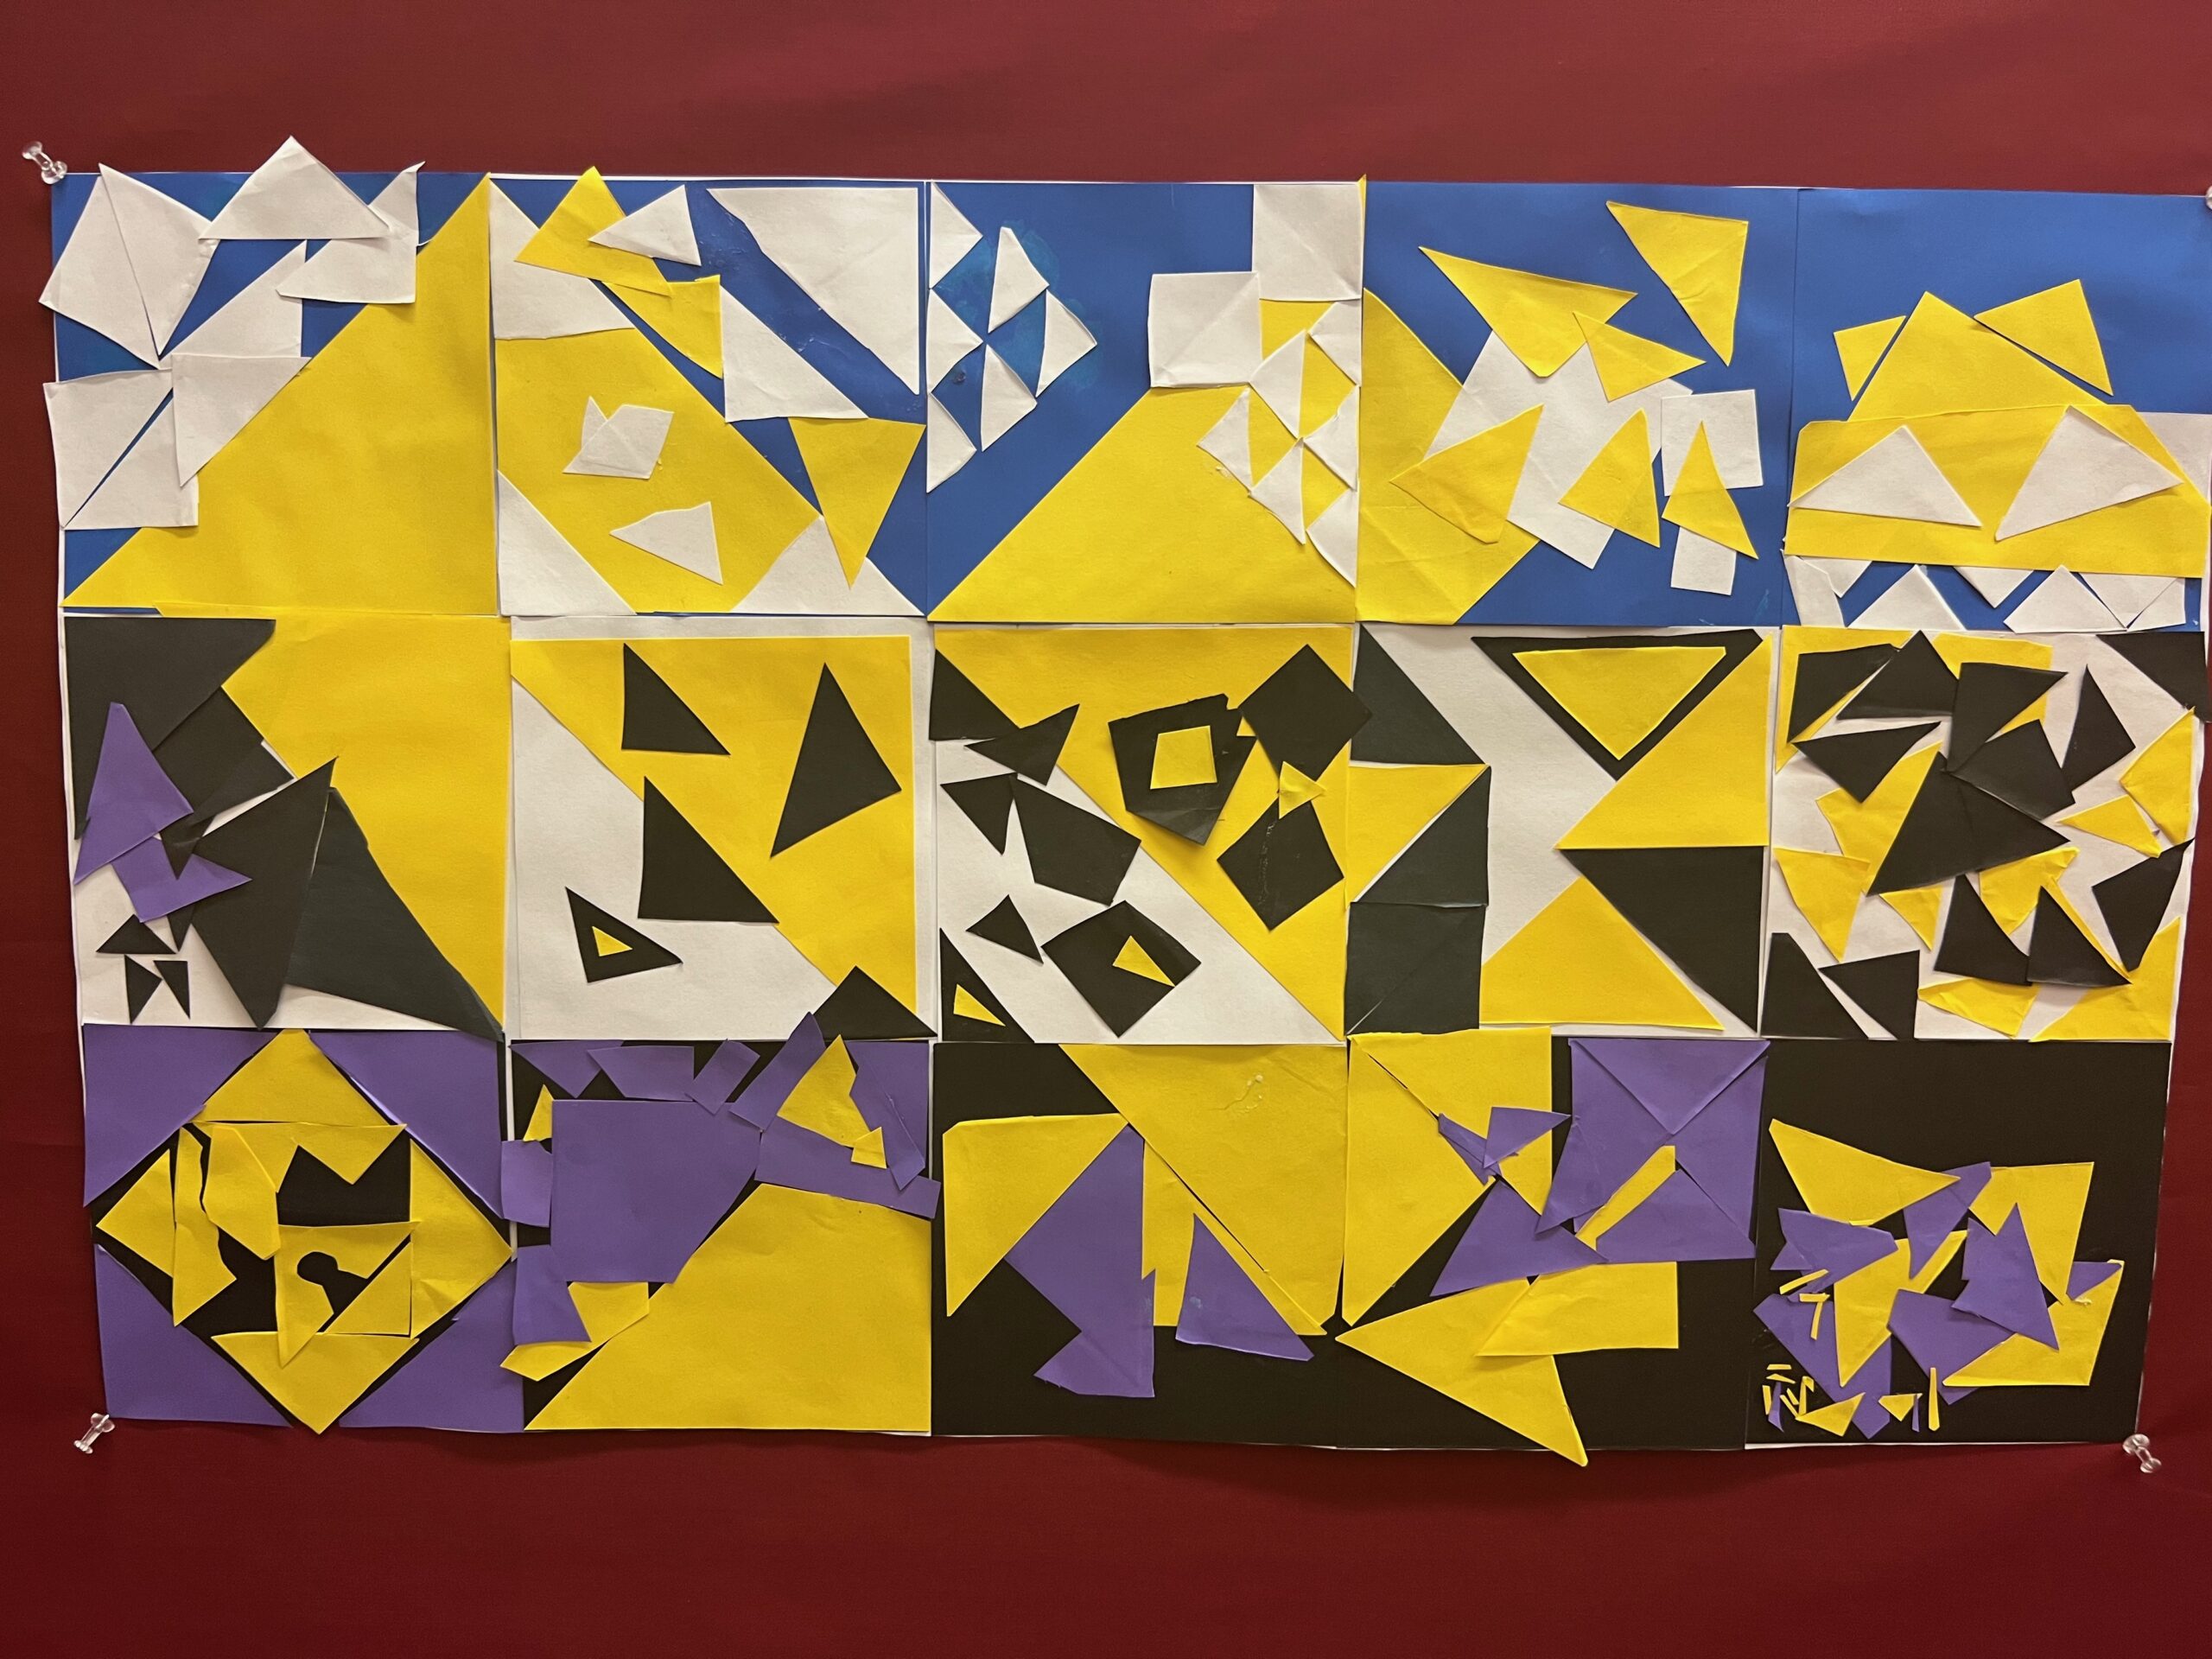
The classroom photographs show a related perspective investigation. The collage display offers a second way to discuss overlap and shape relationships. The teaching routes below retain their own tasks and timing.

NYS Visual Arts Standards Alignment
- VA:Cr2.1.7a — Develop through practice. Students persist with placement and size decisions until the intended depth becomes readable.
- VA:Cr3.1.7a — Explain artistic choices. Students explain visible near/far evidence orally, in writing, or through another supported format.
The descriptions above are lesson-specific applications of the NYSED Visual Arts performance indicators, not replacement wording for the standards. Use the learner’s enrolled grade to select indicators; access supports do not create a separate lower artistic target.
Instructional Outcomes (Objectives)
- Studio / Experiential Create an original arrangement with near and far using overlap and relative size. Begin with one cue and develop the second; ruler construction is not required.
- Cognitive / Analytical Point to a hidden edge and explain the size relationship between similar objects. Check whether a viewer reads the intended space and revise when that relationship is unclear.
- Evidence Keep the drawing and a supported explanation together. Notes are formative. The optional three-tree continuation assesses both cues and their explanation, not decoration or speed.
Key Vocabulary
- Space: areas within, around and between things.
- Overlap: one shape hides part of another.
- Relative size: similar objects can appear smaller when farther away.
- Depth cue: a visible choice that suggests distance.
Materials & Resources
- Provide drawing paper, pencils and the one-page student notes sheet. Two movable paper shapes make the overlap demonstration concrete. Offer larger pieces or contrasting colors when they make the demonstration easier to see.
- The pack also contains the studio’s “Fold into thirds and draw a head” diagram. Treat it as an optional sequence-following warm-up; it is a separate task from the depth-cue drawing.
Differentiation
- Visual / Fine Motor Move two contrasting paper shapes before drawing. Offer a near-object starter, a scrap trial or a larger drawing area; the student chooses the arrangement.
- G29 access route Begin with one cue, work toward the second, and record observations by pointing, drawing, speaking or dictation. Use one notes location rather than duplicate copying.
- Multilingual / Writing Say the idea aloud, point to evidence, then write or dictate. An adult may record the student’s words and read them back. Do not require rewriting a dictated statement.
- Readiness / Continuation Existing drawings may continue when they fit the task. Another depth cue or one-point perspective is an optional extension, not a reward for speed. Save unfinished studies for another contact.
Anticipated Misconceptions
Misconception Smaller always means farther away.
Intervention Compare similar actual-size objects on shared ground from one viewpoint. A small cup beside a large table is not automatically farther away.
Misconception Overlap means drawing every contour through the front object.
Intervention Move one paper shape across another and identify the hidden edge. Draw the visible contours rather than a transparent object unless transparency is intended.
Misconception A ruler or extra detail proves understanding of depth.
Intervention Ask for visible near/far evidence. Color, neatness, decoration and ruler control are not substitutes for overlap and plausible relative size.
Teaching Resources & Route Choice
- Choose one route: Grade 7 first lesson; G29 original-scene lesson; or the 719 three-tree continuation. Each is a complete 45-minute contact. Do not combine all routes into one period.
- Materials: Drawing paper, pencil, eraser, two movable paper shapes, the existing notes page and, where used, the Artist Statement sheet. A ruler is optional only for a chosen perspective extension.
- First-lesson / G29 video: Art with Kunstler, Space as an Element of Art (4:56). Preview playback, sound and captions before class. Use two paper shapes and teacher-drawn examples if playback fails.
- Three-tree video: Stephany Elsworth, Drawing Trees using Overlapping (1:50). Use it for hidden edges; the rear-tree sizes are not the relative-size model for this task.
- Printable notes: The existing toolkit includes the notes and challenge. The folding diagram is an optional separate warm-up, not an additional activity squeezed into these clocks.
- Caption sheet: Existing Bulletin Board Artist Statement sheet. If unavailable, use paper with a draft area and a display-caption area. The learner supplies and approves the words.
- Reference access: The source deck uses Whitney Panetta / Look Between the Lines space references. Use a lawfully available classroom copy if you have it; the paper-shape demonstrations below teach the same two cues without requiring that pack.
Instructional Sequence
Route A: Grade 7 first lesson
Independent arrival
Teacher Action / Student Task: Students choose an independent sketchbook drawing. Set out pencil, drawing paper and the common notes page.
“Draw something you choose. Today we will make a flat drawing look deep.”
Monitor / Support: Preserve the full four minutes; do not add a material collection task.
Watch and notice
Teacher Action / Student Task: State the viewing question, play the 4:56 space video and pause at a useful near/far example. Students sketch or label one observation after looking.
“What makes something look near or far?”
Monitor / Support: Avoid continuous copying during playback. If playback fails, overlap two paper shapes and compare two similar objects from one viewpoint.
Name and demonstrate the two cues
Teacher Action / Student Task: Define space as areas within, around and between things. Complete the short definition and sketch one cue. Model overlap for 20–30 seconds, then compare apparent size of similar objects.
“Which edge is hidden? When can size help us read distance?”
Monitor / Support: Clarify that different real-world object sizes are not reliable distance comparisons. Pointing or a dictated label is valid.
Choose the original scene
Teacher Action / Student Task: Read the full challenge before materials move: choose a park, room, imagined place or another scene with near and far. Continue suitable existing work or start a small depth study.
“Choose what is near and far. Start with one cue, then add the second.”
Monitor / Support: This is a bridge into making, not a substitute for separate one-point perspective requirements.
Make, check and change
Teacher Action / Student Task: Students draw. Confer briefly: ask a viewer to identify what seems nearer and what in the drawing creates that effect. Revise a placement, size or hidden edge when needed.
“Point to the part that is stuck. What tells your viewer which object is nearer?”
Monitor / Support: Return quickly to sustained making. No ruler is needed for overlap and relative size; do not require a change when the relationship already works.
Draft the artist statement
Teacher Action / Student Task: Use the top draft area of the caption sheet. Say an idea, point to the drawing, then write or dictate: My artwork shows ___. I used ___ to make ___ look near/far. I changed ___ so ___, if a change actually happened.
“Say it first. Show the evidence. Then record your words.”
Monitor / Support: Use the sheet’s word bank or the vocabulary above. An adult may scribe; read back for approval. Do not invent a revision to fill a stem.
Make the display caption
Teacher Action / Student Task: Model a caption briefly, then use the bottom area for title, name, class and a statement matching the actual artwork. Submit the whole sheet with the drawing and notes.
“Read it back: does it describe what a viewer can see?”
Monitor / Support: Keep private planning off the display. Label unfinished art as work in progress rather than implying completion.
Seven-minute reset
Teacher Action / Student Task: Name and save notes and artwork together; return tools; clear tables and check the floor; follow table checks and teacher dismissal.
“Save the drawing and the evidence that explains it.”
Monitor / Support: Retrieve a depth cue with a new example next meeting, then choose continuation from the work.
Weekly inquiry adjustment: If inquiry is due, use 22–30 for independent inquiry, leaving 18–22 for an initial drawing. Keep caption time at 30–38 and cleanup at 38–45; continue unfinished artwork before display when needed.
Route B: G29 original scene
Independent sketchbook choice
Teacher Action / Student Task: Keep the established arrival routine. Prepare the existing notes page and a space reference if available. A sketchbook may replace the notes page.
“Choose your drawing. Today we will make an original scene feel deep.”
Monitor / Support: Use one recording location; do not require duplicate copying or assign the city-block exercise.
Space in and around things
Teacher Action / Student Task: Use a chair image, actual chair or simple teacher drawing. Point to the object and gaps around and through it.
“Point to the chair. Point to a gap. How can a flat picture seem deep?”
Monitor / Support: Accept pointing. There is no cube-construction requirement today.
Watch, then record
Teacher Action / Student Task: Show the space video, pausing at a clear overlap example. Ask which object looks in front and why. After playback, students record two sketched or written observations in the WATCH box or sketchbook.
“What shows you that one shape is in front?”
Monitor / Support: Set appropriate audio/captions and read labels aloud when needed. If playback fails, model the two cues live and record in the same place. Finish by minute 13.
Demonstrate overlap and relative size
Teacher Action / Student Task: Move paper shapes across one another and draw only visible contours. Compare two similar real-size objects on one ground plane, then make a small drawing.
“Which edge is hidden? How can the size of similar objects help us show distance?”
Monitor / Support: No rulers are required. Contrast a small different object with a farther similar object to check the misconception.
Choose and plan
Teacher Action / Student Task: Use the existing quick-plan area to name or sketch an original subject and identify intended nearer/farther objects.
“Two cues today: overlap and relative size. Begin with one, then add the second.”
Monitor / Support: A third technique is optional. No copied composition or city-block assignment is required.
Protect original making
Teacher Action / Student Task: Students develop the scene on drawing paper or suitable existing work. Keep notes and references available. Offer movable shapes, a scrap trial or an oral plan, then return the decision.
“Show what is nearer. What lets a viewer see that? Where will the second cue help?”
Monitor / Support: Protect seventeen minutes. Do not turn a brief conference into a whole-class redraw; revise only where intended depth is unclear.
Point and explain
Teacher Action / Student Task: Each student points to nearer/farther and explains visible cues. Record each cue as evident, emerging or needing support. Save artwork and notes together.
“This looks closer because ___.”
Monitor / Support: Accept oral response, dictation or writing. Use I changed only for an actual revision. Notes are formative; handwriting, spelling, speed and neatness are not measures of space understanding.
Reset and save the next step
Teacher Action / Student Task: 38–39: name and store work with notes. 39–42: return materials. 42–44: clear tables and floor. 44–45: managers check readiness; teacher dismisses.
“Keep your work and notes together so you can return to the idea.”
Monitor / Support: Use next meeting’s work to choose reteaching or continuation rather than assigning an unrelated predetermined task.
Weekly inquiry adjustment: Preserve 27–35 for independent inquiry when due. Students then have 18–27 to begin a drawing that can continue next class. Keep the explanation and full cleanup blocks.
Route C: Three Trees in a Park — 719 continuation
Independent arrival
Teacher Action / Student Task: Keep four minutes of sketchbook choice. At the transition, take half-sheet landscape paper, pencil and eraser. Have the existing Artist Statement sheet nearby.
“Today: watch the demo, draw your park, then explain two choices.”
Monitor / Support: No new notes task or practice worksheet. Earlier notes are optional references.
Watch once, pause once, draw directly
Teacher Action / Student Task: Play Drawing Trees using Overlapping to about 0:58, then pause for approximately two minutes while students draw a first large tree directly on the final half-sheet. Resume through 1:50.
“Watch the hidden edges. Start your first tree on the paper you will keep.”
Monitor / Support: The total planned viewing plus pause is 3:50. Preview before teaching. If playback fails, model the first tree and a hidden edge within the same block. Avoid lengthy branch detail.
Correct the size relationship
Teacher Action / Student Task: Show or sketch a developed model: a near tree hides part of another and a farther similar tree is smaller. Compare same-kind trees on one lawn.
“Use the video’s overlap. In our drawing, make a farther similar tree smaller.”
Monitor / Support: The video is an overlap demonstration, not the required relative-size model. Move directly into making at minute 10.
Sustained drawing
Teacher Action / Student Task: Continue the first tree and add two more of the same kind on shared ground. Coordinate overlap and relative size. Pencil is enough; rounded or pointed crowns are valid.
“Which edge is hidden? Which tree is farther?”
Monitor / Support: Protect twenty-four minutes; confer quietly. No whole-class stop-and-score, extra decoration quota, new worksheet or forced revision. Use two paper shapes or a near-tree starter only as needed.
Two-sentence explanation
Teacher Action / Student Task: Use only the existing bottom caption box. Add title, name and class, then explain the overlap and size effects. Skip the top draft and printed change prompt. Read back and submit the whole sheet with the drawing.
“I used overlap: ___ hides ___, so ___ looks nearer. I drew ___ smaller than ___, so it looks farther away.”
Monitor / Support: A scribe may record the learner’s words. A more complex response can explain near/middle/far in the same two sentences. Do not add a spelling grade or require a revision narrative.
Restore the studio
Teacher Action / Student Task: 38–39: submit drawing and whole statement sheet. 39–42: return tools. 42–44: clear tables/floor. 44–45: table check and teacher dismissal.
“Save your drawing and explanation together.”
Monitor / Support: Do not collect or regrade prior notes today. An unfinished study may already show understanding; plan continuation from evidence.
Weekly inquiry adjustment: Use 10–26 for drawing and 26–34 for independent inquiry. Keep statement 34–38 and cleanup 38–45. Save unfinished studies for continuation.
Closure & Formative Assessment
Exit Ticket / Evidence Check
“This looks closer because ___.” Point to both cues in the actual drawing. Explain a real revision only if one occurred. Accept speaking, pointing with explanation, dictation or writing.
- Original-scene routes: Check original arrangement, a readable hidden edge, plausible relative size for similar objects, and an explanation of visible near/far evidence. Notes help diagnose understanding; they do not replace the artwork.
- Three-tree route · Beginning (1): Neither cue is clear. Offer a concrete next move with two paper shapes.
- Emerging (2): One cue is clear, or the cues conflict. Identify the hidden edge or size relationship to reconsider.
- Developed (3): Overlap and relative size establish near/far, and the explanation identifies both effects. This meets the task.
- Well-Developed (4): The same three trees coordinate near/middle/far with both cues and an accurate explanation. More objects, color or decorative detail are not requirements.
- Assessment boundary: These four bands belong to the three-tree continuation. Do not add a compulsory scoring activity to sustained making or apply writing mechanics, neatness and speed as depth criteria.
Downloads & Teaching References
Download the 3-page Space, Depth & Dimension toolkit. It contains the notes/challenge and optional folding diagram; the complete route-specific teaching sequences are above.
Sequence source: Space and Depth — Grade 7 and G29 Launch teaching deck, routes 1–8 (Grade 7 first lesson), 9–16 (G29), and 17–24 (719 continuation). Teacher prompts on this page adapt its slide text and speaker notes. The routes are alternatives or continuations, not three compulsory stages for every group.