Figure It Out: Gesture and Portrait
Free to teach, adapt and share in your classroom.
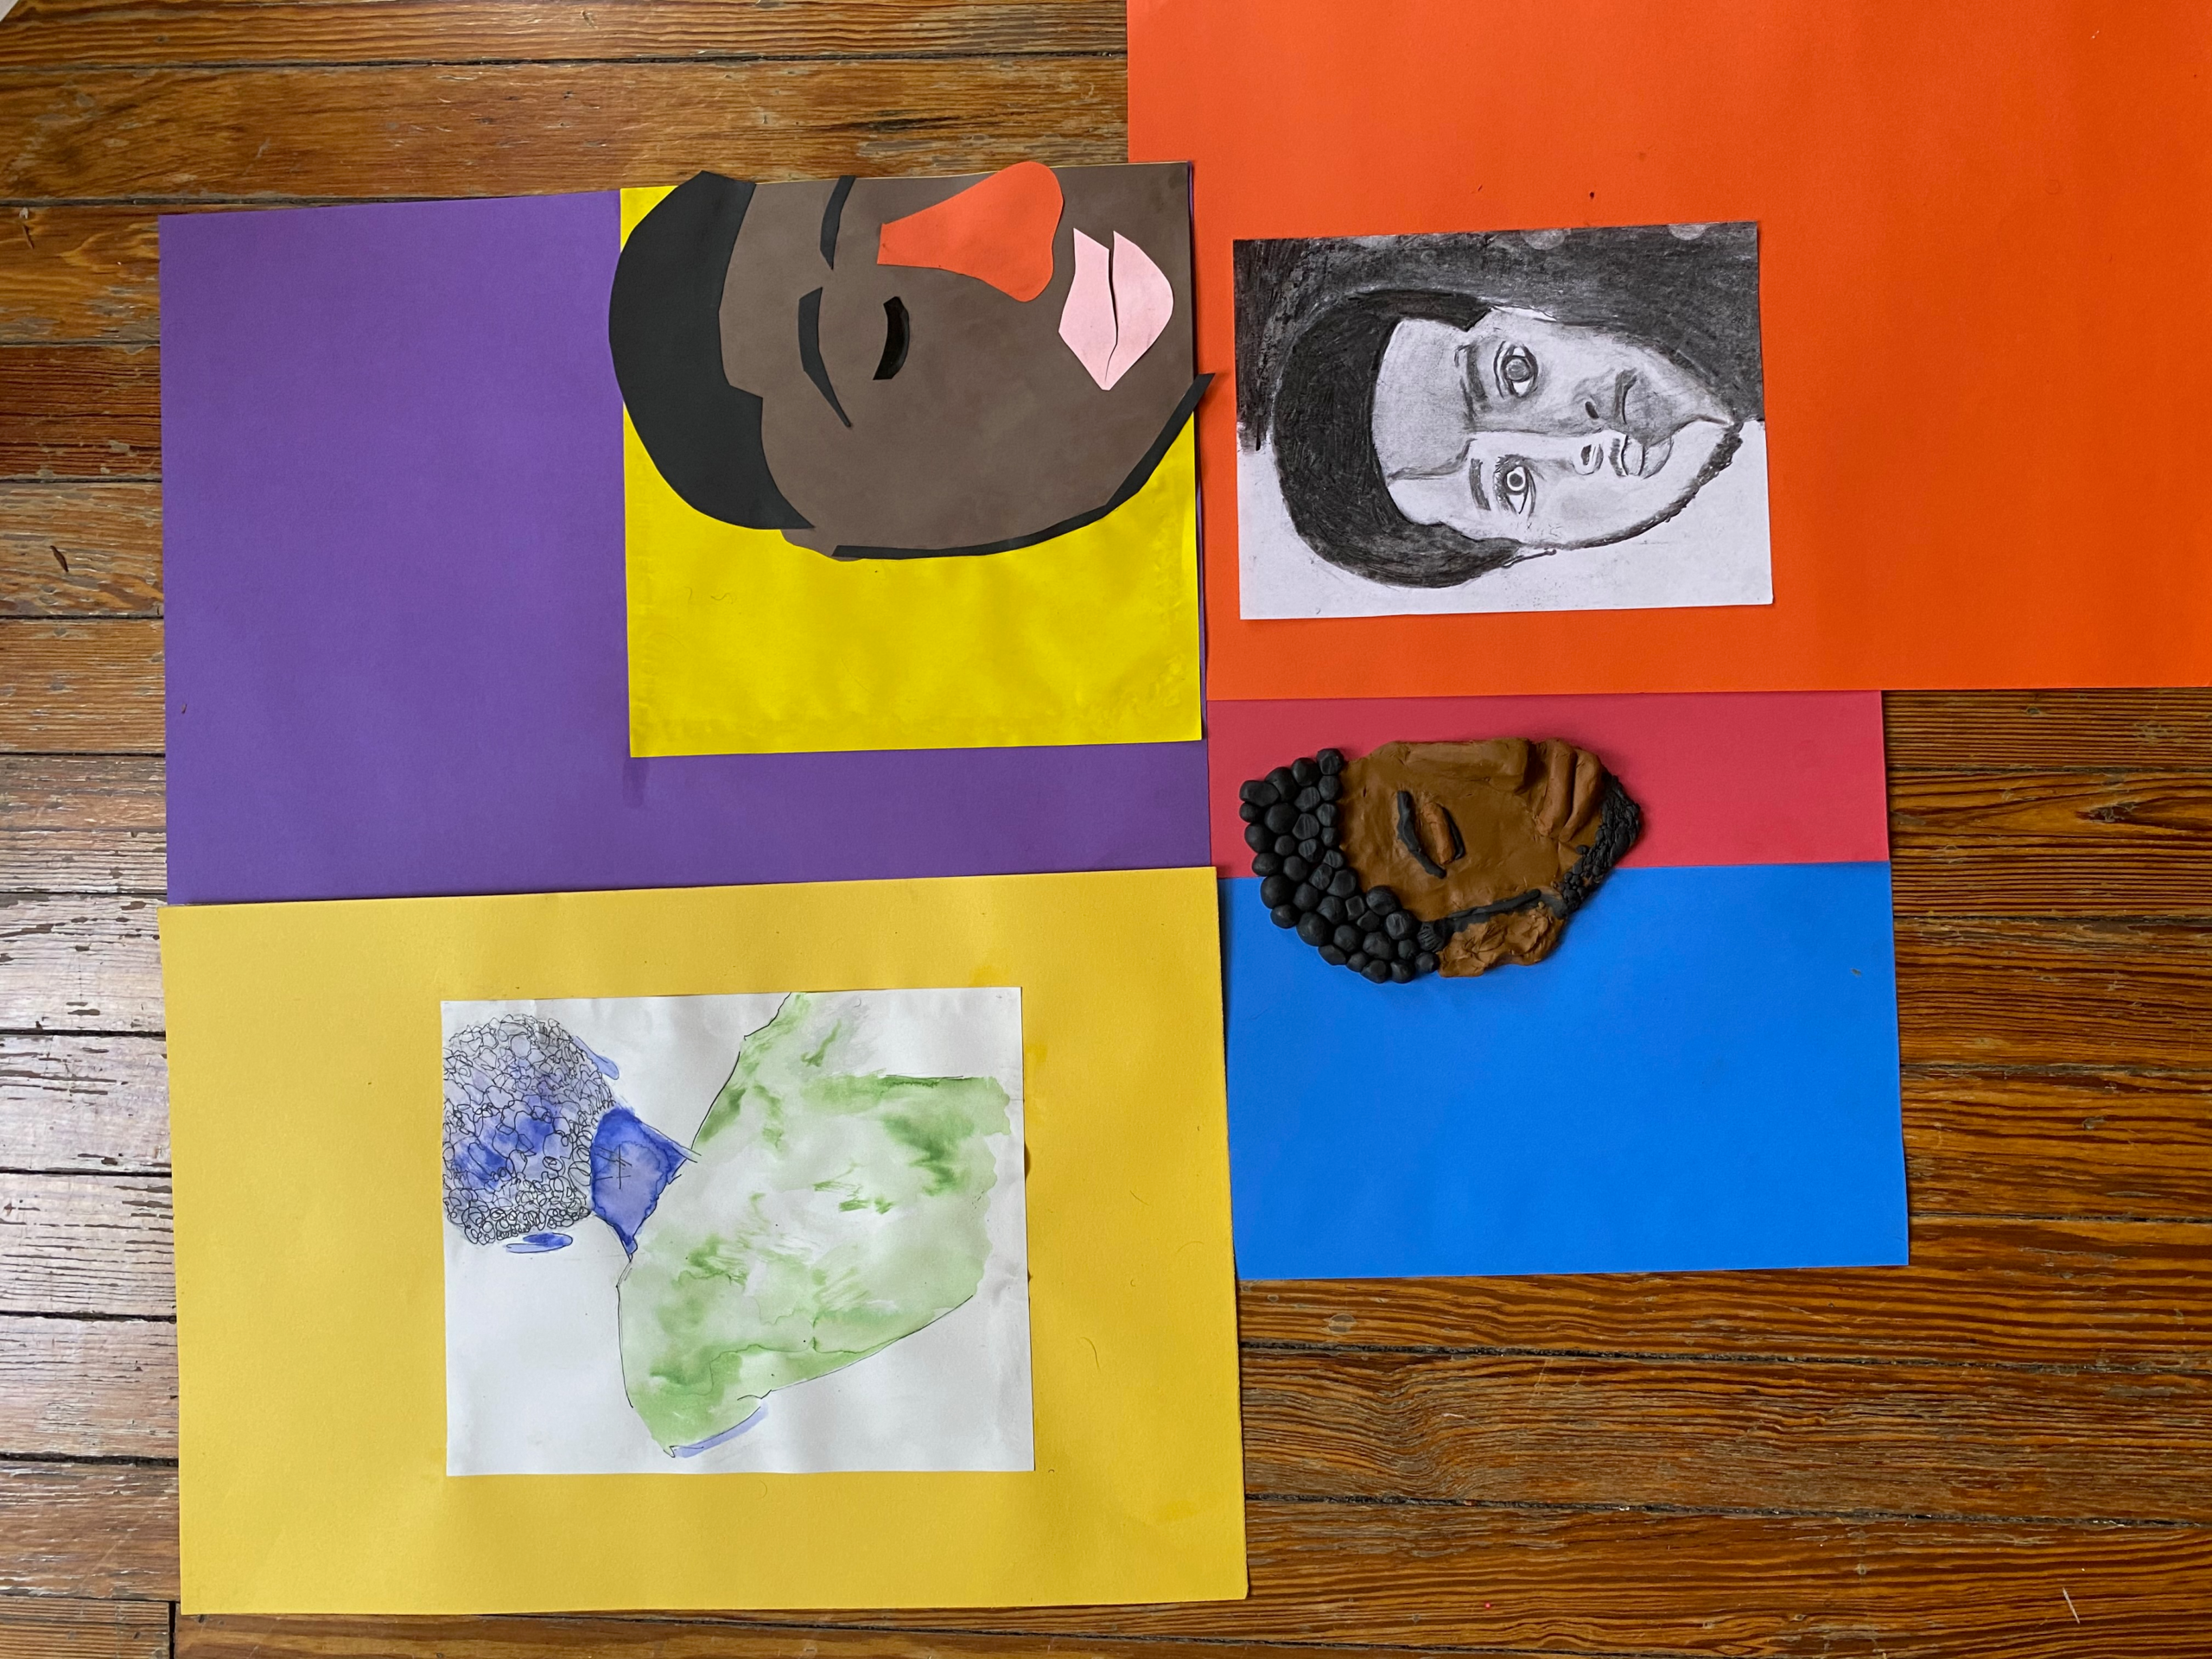
- Grade 6–8
- Subject Visual Arts
- Duration 6 sessions · 30 min
- Instructor Mr. George
Overview
Unit Context: Figure and portrait drawing from observation · gesture, proportion, distortion and the mirror self-portrait
Big Idea
Artists draw how people move and feel, not only how they look. Students capture energy with gesture, measure the figure in head units, learn four ways artists bend the rules on purpose, and observe their own face in a mirror.
The central question is: How can quick sketches show the movement and energy of the human body, and how does distortion change what we feel?
Sessions run 30 minutes, matching the figure unit’s timing. They work as a sequence or as stand-alone drawing lessons.
Planning note: Built from KC George’s figure unit lessons (gesture, proportion, distortion and portrait). The collage-portrait route from that unit is not included here because it relies on an outside resource that needs permission.

Unit at a Glance
| # | Session and goal | Time |
|---|---|---|
| 1 | Line of action and gestureCapture movement in a figure using a line of action and major joints. | 30 min |
| 2 | Measuring with head unitsUse the head as a unit to draw a balanced figure. | 30 min |
| 3 | Four ways to distortExplore how artists distort the figure to show emotion and movement. | 30 min |
| 4 | The organic distorted figureRedraw one distorted figure using only organic shapes and bold lines. | 30 min |
| 5 | Baseline mirror self-portraitObserve my face in a mirror and draw a baseline self-portrait. | 30 min |
| 6 | Facial proportions and planesApply facial proportion guides and observe the planes of my face. | 30 min |
| 6 sessions | 180 min |
Artists for Looking
Rembrandt, Self-Portrait with Two Circles (about 1665–69); Frida Kahlo, Self-Portrait with Thorn Necklace and Hummingbird (1940); Romare Bearden, Sunday After Sermon (1967); Amy Sherald, A Midsummer Afternoon Dream (2021); and John Singer Sargent, Mr. and Mrs. I. N. Phelps Stokes (1897), for measuring proportion. Ask what each face or figure communicates and how the artist made that happen.
NYS Visual Arts Standards Alignment
- VA:Cr2.1.6a–8a Creating: practicing gesture and proportion through experimentation.
- VA:Cr3.1.6a–8a Creating: comparing a baseline portrait with later work.
- VA:Re7.2.6a–8a Responding: how distortion changes meaning.
- VA:Re8.1.6a–8a Responding: interpreting portraits by Rembrandt, Kahlo, Bearden and Sherald.
Instructional Outcomes (Objectives)
- Studio / Experiential Students will draw figures from life using a line of action and head units, and draw an observational self-portrait with the eye line placed halfway.
- Cognitive / Analytical Students will name four distortion strategies and explain how one changes the feeling of a figure.
Key Vocabulary
- Gesture drawing A fast drawing that captures movement, not detail.
- Line of action An imaginary curve down the spine that gives a pose its energy.
- Canon of proportion A guide for body measurements, using the head as the unit.
- Distortion Changing proportion on purpose: simplify, repeat, mismatch or exaggerate.
- Organic / geometric shape Curvy, natural shapes; blocky, precise shapes.
- Contour A line that follows edges.
- Planes of the face The flat-ish surfaces that turn toward or away from light.
Materials & Resources
- Drawing: pencils, charcoal, black markers, oil pastels or colored pencils; sketchbooks and drawing paper; clipboards.
- Mirrors: tabletop or hand-held, one per student for the self-portrait sessions.
- Figure references: posable mannequins (shared between pairs) and projected artworks.
- Timer visible to the room.
Posing: volunteers only, and the teacher models the first pose. Poses are everyday actions; no one is asked to pose who does not want to.
Differentiation
- Fine-motor supports Thicker drawing tools, larger paper, clipboards, and a printed head-unit guide to trace over.
- Multilingual learners Sentence frames such as “I distorted my figure by ___ to show ___.” The proportion diagram is posted.
- Social-emotional “I can’t draw” is answered directly: we train our eyes, and searching lines are evidence of looking. No erasing in the baseline portrait.
- Extension A realistic and exaggerated self-portrait diptych: one side observed, the other distorted on purpose.
Anticipated Misconceptions
Misconception Gesture drawings should look finished.
Intervention Gesture is a messy wireframe. No eyes, fingers or clothing; it should feel like it is moving.
Misconception Eyes go near the top of the head.
Intervention Measure: the eye line sits halfway between the top of the head and the chin.
Instructional Sequence
Six 30-minute sessions. Each ends with a short share; protect two to three minutes for collecting work.
Session 1Line of action and gesture
30 min
Today, I can… capture movement in a figure using a line of action and major joints.
Materials today: Pencils or charcoal, newsprint, timer.
Do Now: a stick figure in motion
“Draw a stick figure running. Ten seconds.”
How does the body move?
Show figures in motion and trace the line of action down the spine.
“The more curved the line, the more energy.”
The 60-second demo
Draw a volunteer in 60 seconds: line of action, then head, ribcage and pelvis blocks, then stick-and-ball limbs.
“It looks like a messy wireframe, but it feels like it is moving.”
Live action posing
Teacher models the first pose (“fatigue,” 1 minute). Volunteers pose “strength” (1 minute), “joy” (2 minutes) and a sports action (3 minutes); repeat as time allows.
“Line of action first, every time.”
Check: Students start with the line of action, not the outline.
Share
Pairs pick their most energetic gesture.
“What made it look like it was moving?”
Session 2Measuring with head units
30 min
Today, I can… use the head as a unit to draw a balanced figure.
Materials today: Pencils, paper, mannequins, the proportion diagram.
Do Now: guess the heads
“How many heads tall is a person? Guess, then write it.”
Measure a painting
Measure a standing figure in Sargent’s painting with a pencil held at arm’s length.
“How many heads from the top to the shoe?”
I do, we do
Stack head units down the page: shoulders about 2, hips about 4, knees about 6, feet about 7 to 7½. Build with ovals, rectangles, circles at joints and cylinders for limbs.
“Map the head units lightly before any detail.”
You do: mannequins
Pairs draw a mannequin in two positions, standing and moving, 5 to 7 minutes each.
“Check your head units before you add anything.”
Check: Both drawings measured in head units.
Pair-share
Compare sketches.
“Where do your proportions look more realistic? Where do you still need practice?”
Absent last time? Use the proportion diagram to draw one standing figure in head units.
Session 3Four ways to distort
30 min
Today, I can… explore how artists distort the figure to show emotion and movement.
Materials today: Sketchbooks, pencils, projected examples.
Do Now: break the rules
“Sketch an exaggerated person: a giant head, tiny legs, stretched arms.”
Four strategies
Show examples of simplifying, repeating, mismatching and exaggerating, with a turn-and-talk on each.
“What feeling does this create?”
Name the move
Simplify for emotion, repeat for motion, exaggerate for energy or humor, mismatch to tell a story.
Three distortions
Students make three small figure sketches, each distorted a different way.
“Use a different strategy for each sketch.”
Check: Three sketches, three strategies.
Say it in a sentence
Two or three students describe their distortion aloud.
““I distorted my figure by ___ to show ___.””
Session 4The organic distorted figure
30 min
Today, I can… redraw one distorted figure using only organic shapes and bold lines.
Materials today: Sketchbooks or drawing paper, pencils, black markers or charcoal, oil pastels or colored pencils.
Do Now: blocky vs. curvy
“Draw two quick figures: one only geometric shapes, one only organic shapes.”
Stiff or alive?
Define shape, form, geometric and organic. Students note the terms.
“Which feels stiff? Which feels alive? Why?”
Simplify into curves
Simplify a figure into large organic shapes: a stretched oval torso, curved limbs, flowing hair.
Redraw and bold
Redraw the chosen distorted figure lightly with organic shapes (about 5 minutes), fill the page (about 5), then outline boldly and add color (about 5).
“Keep your lines confident and strong.”
Check: One page-filling organic figure.
Exit share
“My distortion is ___, and I showed it with organic shapes by ___.”
Absent last time? Pick one sketch from Session 3 or make one now, then redraw it with organic shapes.
Session 5Baseline mirror self-portrait
30 min
Today, I can… observe my face in a mirror and draw a baseline self-portrait.
Materials today: Mirrors, heavy pencils or crayons, paper, portrait reproductions.
Setup
Seat students facing mirrors; paper on desks; timer visible.
Portrait hook
Show Rembrandt, Kahlo and Bearden. Name “I can’t draw” as common, and reframe drawing as training the eyes.
“What do these faces communicate?”
Eye line and contour
Block the head shape, add a center line, place the eye line halfway, then trace contours as if on a pane of glass.
“If a line seems off, add a new line. Do not erase.”
Baseline self-portrait
Students draw while looking at the mirror more than the paper, adding the neck and shoulders in the final minutes.
“Look more at the mirror than the paper.”
Check: Eyes placed roughly halfway; searching lines visible.
Close
Name on the lower right; collect into portfolios for later comparison.
“One word: what did you notice about your face today?”
Session 6Facial proportions and planes
30 min
Today, I can… apply facial proportion guides and observe the planes of my face.
Materials today: Mirrors, pencils, paper, clipboards.
Materials
Fast distribution routine.
Warm-up
Think-pair-share: where are the eyes placed? Review the guides: eye line halfway; thirds from hairline to brow to nose to chin; head about five eyes wide; mouth corners near the pupils; ears from brow to the base of the nose.
Five-step board demo
Head shape and center line; eye line and thirds; features placed on the guides; planes blocked with straight lines; squint to find light and shadow.
“Squint to see big blocks of light and shadow.”
Planes sketch
Students draw a guided self-portrait and block in the planes of the forehead, cheekbones, nose, lips and jaw.
“Which surface faces the light? Which turns away?”
Check: Guides used and planes indicated.
Compare
Place the baseline beside today’s drawing.
“What changed?”
Absent last time? Do the Session 5 baseline first if you missed it, then use the guides.
Exit Ticket Prompt
Place your baseline portrait beside your latest drawing. Name one thing you can now see that you could not before.